Introduction
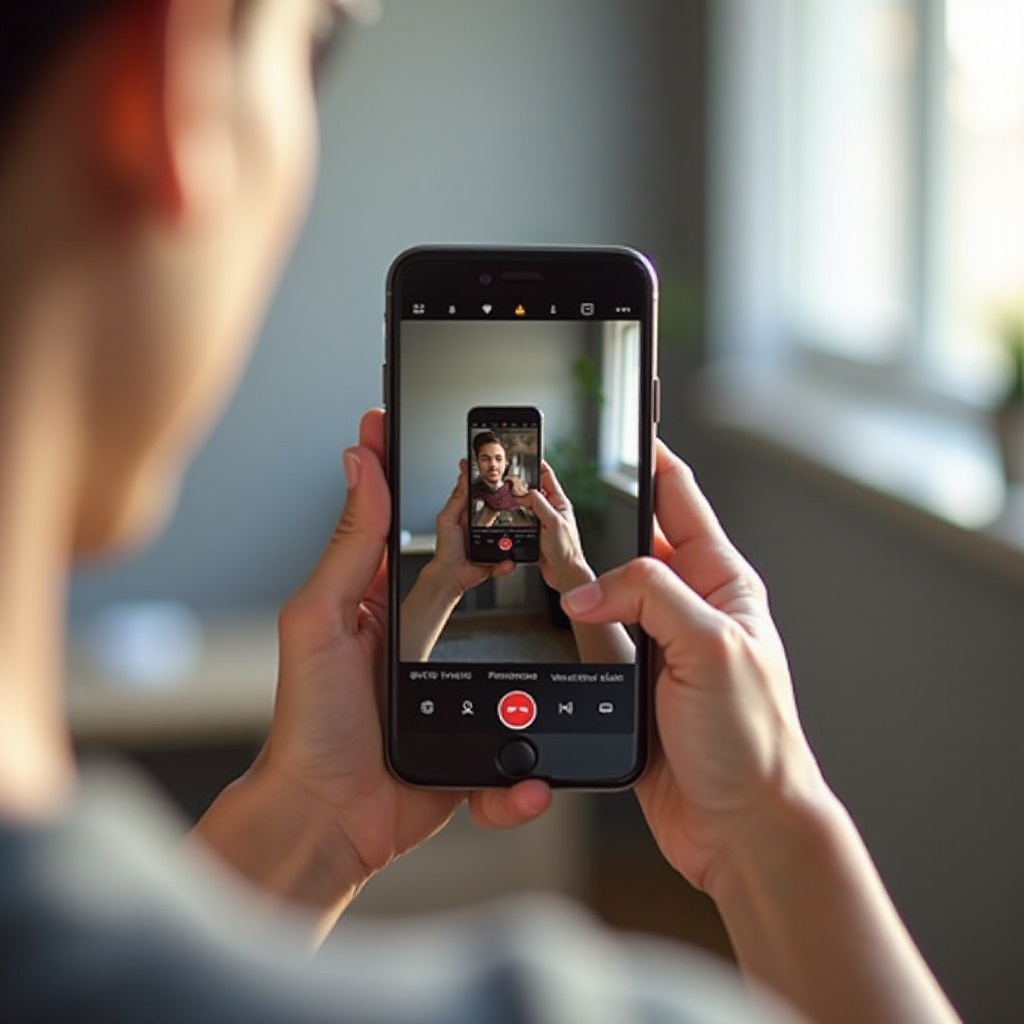
You take a selfie, check the preview, and it looks perfect. Then you open the saved photo, and everything is flipped. Text on your T-shirt looks backward, your parting seems on the wrong side, and the image feels ‘off.’ Many iPhone users call this problem an ‘inverted’ camera, and it can get annoying fast.
The good news: you can control this behavior. Recent versions of iOS give you a built-in setting to stop your iPhone camera from mirroring selfies. You can also fix photos and videos that are already inverted and prevent social media apps from saving flipped images.
This guide shows you exactly how to make iPhone camera not inverted in 2024. You will learn:
- What ‘inverted’ actually means on iPhone
- How to change the Mirror Front Camera setting
- How to correct old photos and videos
- How to handle Instagram, Snapchat, TikTok, and more
By the end, you will know which settings to change and which habits to adopt so your selfies, photos, and videos look the way you expect.
What Does ‘Inverted’ Mean on iPhone Camera?
Before changing anything, you need to understand what ‘inverted’ means on an iPhone. Many people use the word loosely, but the camera handles a few different things: mirroring, rotation, and orientation.
First, there is the live preview. When you open the front camera to take a selfie, your iPhone shows a mirrored image. When you raise your right hand, the preview shows the hand on the right side of the screen, just like a mirror. This feels natural because it matches what you see in real mirrors.
Then there is the saved photo. In earlier behavior, iPhones captured a non-mirrored version of that selfie, so the final image looked different from the preview. That is when people started saying their photos looked inverted or ‘backwards.
You also have rotation and orientation issues. Sometimes a photo looks upside down or sideways. That is not the same as inversion. Rotation means the top and bottom or sides are swapped, while mirroring means left and right are reversed.
Apple mirrors the front camera preview by default so the experience feels familiar. You see yourself the way you usually do in a bathroom mirror. However, if you care about text, logos, or accurate left and right, the mirrored preview and mirrored image can be confusing.
Once you know the difference between mirroring and rotation, it becomes easier to fix the problem. To use the setting that controls inversion, you first need to make sure your iPhone and iOS version support it.
Check Your iOS Version and iPhone Model First
The main control for front camera mirroring is available only on specific iOS versions and iPhone models. Before you hunt for the setting, make sure your device can actually use it.
Follow these steps to find your current iOS version:
- Open Settings.
- Tap General.
- Tap About.
- Look for iOS Version (or Software Version).
If your device runs iOS 14 or later, you should see the Mirror Front Camera setting in the Camera options. For a smoother and more secure experience, aim for iOS 17 or later in 2024. Apple continues to refine camera behavior, so staying updated helps.
Most modern iPhones, such as iPhone 11 and newer, handle this setting well. If you use an older device, you might still be able to update to a newer iOS version, but some very old models may not support the latest features.
Updating iOS in 2024 is important not only for security and performance but also for consistent camera behavior across photos, videos, and apps. Once you confirm your iOS version, you are ready to change the setting that controls inversion on the front camera.
With that checked, you can now adjust the core camera option that stops your selfies from saving as mirrored images.
How to Turn Off Mirrored Selfies in iPhone Settings
Now that you know your iPhone and iOS can handle it, you can change the main setting that causes mirrored selfies. This is the easiest and most effective way to make the iPhone camera not inverted for new photos.
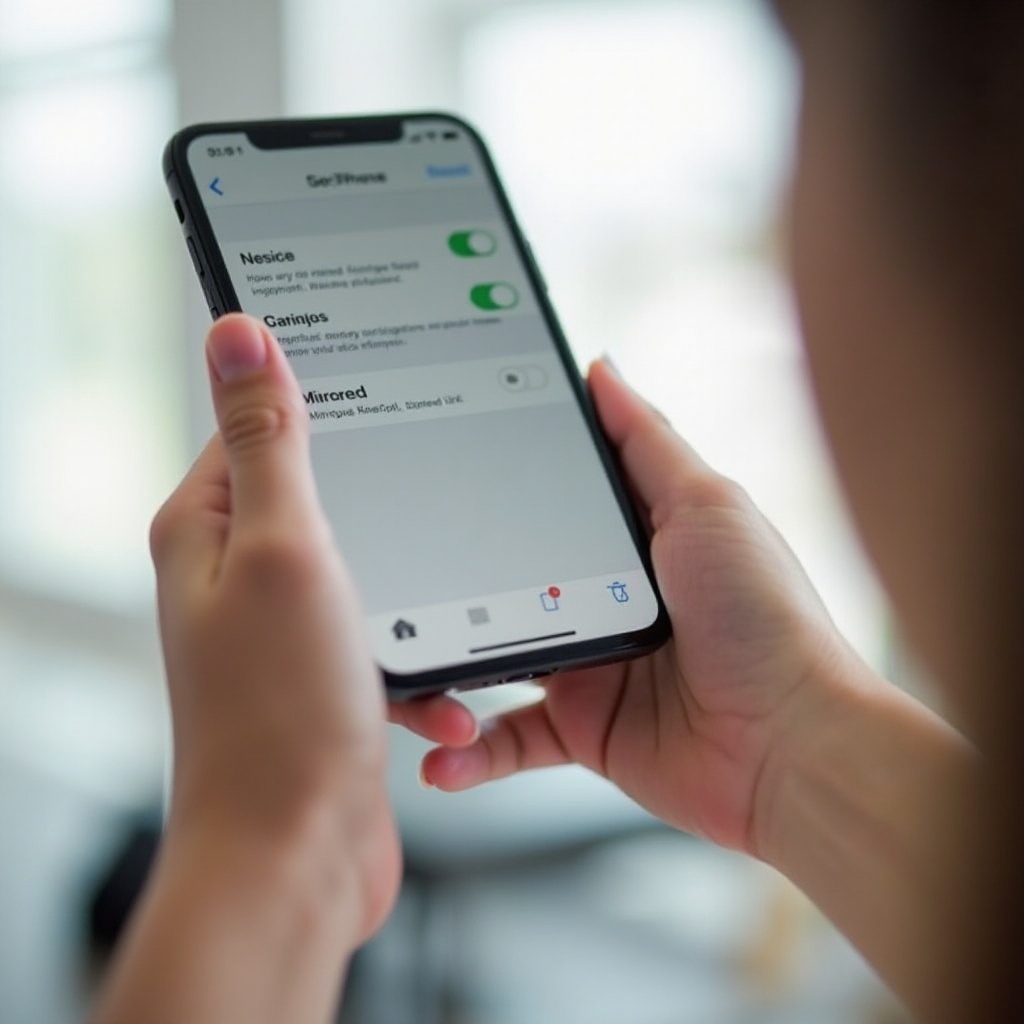
Follow these steps to disable Mirror Front Camera:
- Open Settings.
- Scroll down and tap Camera.
- Look for an option called Mirror Front Camera (on some devices it may say Mirror Front Photos).
- Toggle this switch off.
When you turn this option off, your iPhone stops saving mirrored selfies from the front camera. The preview may still look mirrored when you compose the shot, but the saved photo will match real-world left and right. On some models, both the preview and the saved photo will match reality. Take a quick test shot and see how it behaves on your device.
To test your changes, do this:
- Write a word on a piece of paper or wear a T-shirt with clear text.
- Open the front camera and take a selfie.
- Open the saved image in the Photos app and read the text.
If the text appears normal and readable (not backward), then your camera is no longer saving inverted selfies.
From this point on, new photos you capture with the front camera should follow this setting. However, this does not affect older photos already in your gallery. Those need a separate fix, which we will tackle next.
How to Fix Photos That Are Already Inverted
Even after you change the camera setting, you probably have many existing selfies that still look inverted. You can fix them without special skills or expensive software.
To flip a single photo in the Photos app:
- Open the Photos app.
- Find and tap the image you want to fix.
- Tap Edit in the top-right corner.
- Tap the crop/rotate icon (usually looks like a square with arrows).
- Look for the flip icon (a triangle with arrows, or a mirrored rectangle icon).
- Tap the flip icon once to mirror the image.
- Tap Done to save.
Your photo will now show correct left and right. The text on shirts, signs, or posters should read properly.
If you have many selfies to fix, flipping them one by one can take time. In that case, use a third-party app that allows batch editing. Search the App Store for ‘batch photo editor’ or ‘mirror photo editor,’ then:
- Import several images.
- Apply a horizontal flip to all selected photos.
- Export the corrected versions back to your camera roll.
You should avoid flipping a photo if the original captured scene was already correct and you only feel the image looks wrong. This happens often with portraits, because your brain is used to seeing your mirrored face. Before you flip, check for clues like text, a watch, or a ring on a specific hand. Use those details to decide whether the photo truly needs correction.
With old photos handled, the next issue is apps. Many users see inverted images inside Instagram, Snapchat, or TikTok and think the system camera setting does not work. The real problem is that each app may handle mirroring differently.
Stop the Camera From Appearing Inverted in Social Media Apps
Social media apps often use their own camera instead of the system camera. That means they can ignore some of your iPhone settings and apply their own mirroring rules.
Take Instagram, for example. When you open the Instagram story camera, the preview often appears mirrored. However, the final uploaded image or story may be saved non-mirrored, or the app may auto-correct it on upload. This mismatch confuses users, because the preview and result do not always match.
Snapchat and TikTok have similar behavior. They show a mirrored preview to make it feel like a mirror. Whether they save a mirrored or non-mirrored version depends on the app’s current design and filters. Since these apps update often, the behavior can change over time.
If you want consistent, non-inverted images for posting, follow this simple workflow:
- Open the default Camera app on your iPhone.
- Make sure Mirror Front Camera is turned off in Settings.
- Take your photo or record your video in the Camera app.
- Open Instagram, Snapchat, or TikTok and upload the file from your camera roll instead of using the in-app camera.
This approach gives you control over how the image is captured and saved. Social apps may still apply filters or crops, but the base image will no longer be inverted.
Once you handle still images inside and outside the system camera, the next major concern is video. Selfie videos often look mirrored while recording, which leads many people to think they are saved inverted.
How to Deal With Inverted iPhone Videos
Selfie video adds another layer of confusion. When you record yourself using the front camera, the preview usually looks mirrored so you can move naturally. Many users assume the final video will stay mirrored, but that is not always true.
In many cases, your iPhone records the video with correct left and right, even if the preview seemed mirrored. To verify this:
- Record a short front-camera video while holding a piece of paper with text.
- Save the video.
- Open the video in the Photos app and play it back.
- Check whether the text appears normal or reversed.
If the text appears normal, then the video is not inverted, and only the preview looked mirrored. If the text is reversed, you need to flip the video.
To flip videos directly in the Photos app (if supported on your iOS version):
- Open Photos and select the video.
- Tap Edit.
- Tap the crop/rotate icon.
- Look for the flip icon and tap it once.
- Tap Done to save.
If you do not see a flip option in Photos, use iMovie:
- Download or open iMovie on your iPhone.
- Create a new project and import the video.
- Use the crop or transform tools to apply a horizontal flip, depending on your iMovie version.
- Export the edited video back to your camera roll.
You can also use third-party video editors that offer a clear ‘Mirror’ or ‘Flip horizontal’ function. Just make sure you apply a horizontal flip, not a vertical one.
With photos and videos under control, you might still face odd behavior. Sometimes, even after changing settings, your camera preview or saved files look wrong. Basic troubleshooting can clear out those lingering issues.
Troubleshooting When Your iPhone Camera Still Looks Inverted
If your iPhone camera still appears inverted after changing settings, you should check a few common issues.
First, confirm that you changed the system camera setting, not just an app setting. Go back to:
- Settings > Camera > Mirror Front Camera
Make sure the toggle is off. Then open the native Camera app and test again. If you only changed options inside a social app, that will not affect the system camera.
Next, try these basic troubleshooting steps:
- Force-close apps
- Swipe up from the bottom (on Face ID phones) or double-press the Home button.
- Swipe up on the Camera app and any social media apps to close them.
-
Reopen the Camera app and test again.
-
Restart your iPhone
- Hold the side button and volume button (or follow the restart method for your model).
- Slide to power off.
-
Turn it back on and retest the camera.
-
Reset camera-related settings
- Go to Settings > General > Transfer or Reset iPhone > Reset.
- Choose Reset All Settings (this does not erase your data but resets system settings like Wi-Fi passwords and layout).
- After the reset, go back and turn Mirror Front Camera off again.
Finally, make sure your iPhone runs a current version of iOS. Go to Settings > General > Software Update and install any available updates. After updating, test with a simple scenario: hold a piece of paper with clear text in front of the front camera, take a photo, and check how the text appears. This simple test makes it easy to see whether the image is inverted or not.
Once your camera behaves the way you want, you can focus on making your selfies look not only correct but also flattering and clear.
Extra Tips for Better, Non-Inverted Selfies in 2024
Now that you know how to make your iPhone camera not inverted, you can refine how you take selfies and videos. A few simple habits improve both accuracy and quality.
One of the best tricks is to use the rear camera with a timer for the most accurate image. The rear camera often has better quality, more detail, and better low-light performance. You can:
- Mount your iPhone on a stand or lean it against a stable object.
- Open the Camera app and switch to the rear camera.
- Turn on the grid in Settings > Camera > Grid to help with framing.
- Set a 3-second or 10-second timer.
- Press the shutter button and get into position.
This method gives you higher quality photos and avoids front-camera mirroring entirely.
You should also pay attention to lighting, angles, and composition:
- Stand facing a window or a soft light source.
- Avoid harsh light directly from above or behind you.
- Hold the camera slightly above eye level for a flattering angle.
- Keep your background simple to avoid distractions.
Use features built into your iPhone:
- Turn on Grid to center your face or follow the rule of thirds.
- Use Portrait mode on the front or rear camera to blur the background.
- Use a remote shutter through your Apple Watch, wired earbuds with volume controls, or a Bluetooth remote.
These tips help you get natural, sharp, and correctly oriented selfies. Combined with the correct mirror settings, your iPhone becomes a more predictable and powerful camera.
Conclusion
Fixing an ‘inverted’ iPhone camera comes down to understanding how your device handles mirroring, preview, and saved images. You learned how to make iPhone camera not inverted by:
- Turning off Mirror Front Camera in Settings.
- Flipping existing photos in the Photos app or with batch tools.
- Recording and flipping videos when needed.
- Avoiding surprises in social media apps by capturing in the native Camera app first.
- Troubleshooting odd behavior with restarts, resets, and updates.
Once you set up your iPhone correctly, your selfies and videos will show accurate left and right, and text will appear the right way around. From there, you can focus on better lighting, framing, and composition instead of fighting with mirrored images.
Use the settings and steps from this guide, run a quick text test whenever you are unsure, and you will always know whether your iPhone camera is giving you the real picture.
Frequently Asked Questions
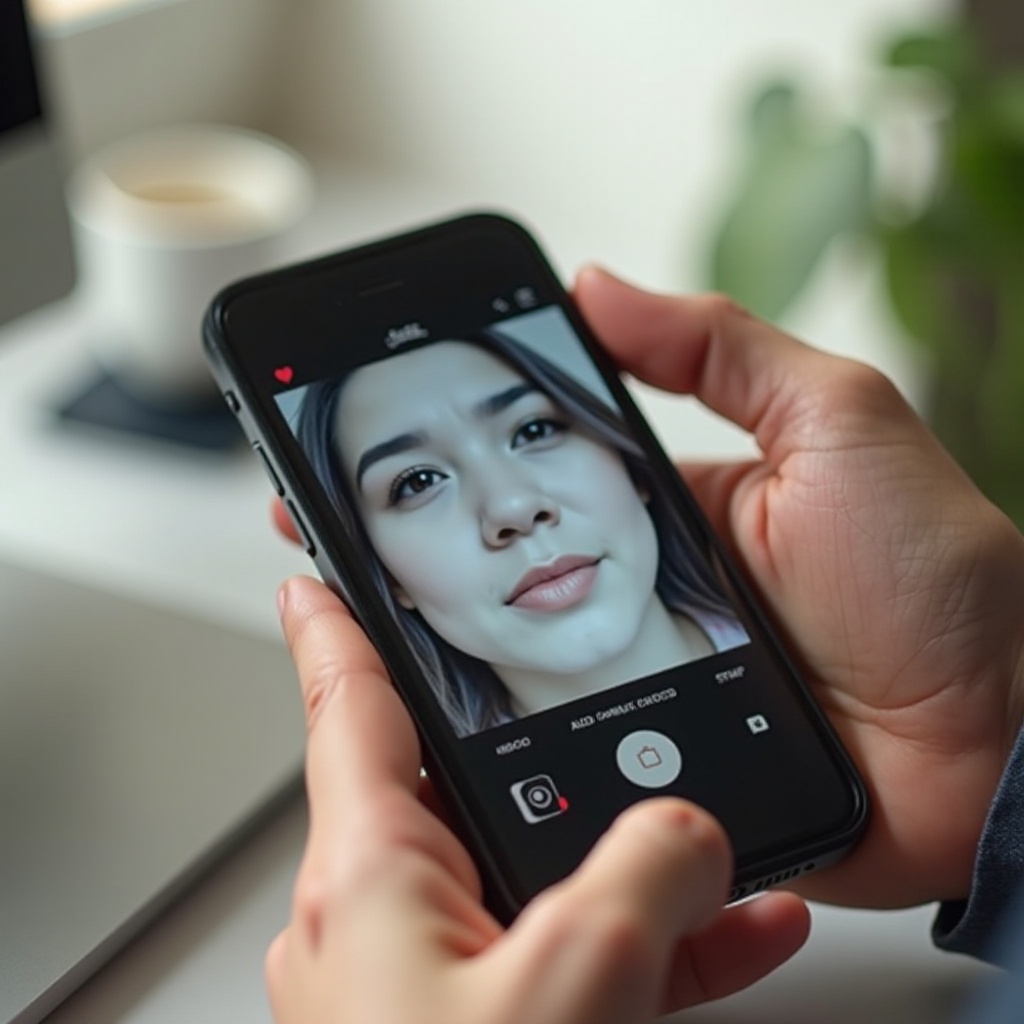
Why do my iPhone selfies look different from how I see myself?
You usually see yourself in a mirror, which shows a mirrored version of your face. For years, iPhones saved selfies in a non-mirrored way, so the photo looked different from what you saw in the mirror. On top of that, camera lenses and angles slightly change how your features appear. When you turn off Mirror Front Camera, you see yourself as others see you, not as a mirror does, which can feel strange at first but is more accurate.
Can I permanently stop my iPhone camera from mirroring selfies?
Yes. Go to Settings > Camera and turn Mirror Front Camera off. This setting stays in place even after restarting your iPhone. It applies to new photos taken with the default Camera app’s front camera. However, some social media apps may still use their own mirroring rules, so for full control, capture photos in the Camera app and then upload them rather than using in-app cameras.
How do I fix inverted camera issues during FaceTime or video calls?
FaceTime and many video call apps show you a mirrored preview so you can adjust your movements naturally, but they usually send a non-mirrored image to the other person. That means your caller sees you with correct left and right, even if your preview looks like a mirror. You generally cannot change this preview behavior. If you need to confirm how you appear, record a short front-camera video in the Camera app, play it back, and check whether it looks inverted. This will give you a good idea of how others see you on calls.