Introduction
Your phone’s flashlight should light up with a single tap. When it does not, the cause usually sits in software conflicts, power or temperature limits, hidden settings, or a broken LED. This guide explains each cause clearly and shows how to fix it fast. If you came here asking why cant i use my flashlight on my phone, you will leave with simple steps and a plan.
Modern phones share one LED between the camera flash and the torch toggle. If an app holds the camera, the system will refuse to power the LED for the torch. Battery saver modes and thermal rules can also disable the light to protect the device. Follow this guide in order. Start with quick checks, move to Android or iPhone sections, then advanced diagnostics and prevention. That flow saves time and avoids guesswork.
What this guide covers and who it helps
This guide helps anyone whose torch fails to turn on, is missing, or turns off by itself. It includes Android and iPhone steps, plus signs that point to repair.
How your phone’s torch actually works
The LED belongs to the camera hardware. The system lets apps reserve that hardware. If the camera is busy, the torch cannot start. Power and heat rules also gate the LED.
Quick disclaimer about hardware versus software issues
Most issues are software. If you see flicker, uneven flash in photos, or the LED never lights after a drop or liquid, skip to repair advice.
Quick Checks: The Fastest Reasons Your Flashlight Won’t Turn On
Start with fast wins. These solve most torch problems in under a minute. After each check, test the flashlight. If none work, move to platform sections next.
- Close camera or scanner apps: Close Camera, QR or barcode apps, social apps with camera, and video recorders. Many keep the flash reserved in the background.
- Turn off power saving: Disable Low Power Mode on iPhone. Turn off Battery Saver or Power Saving on Android. These modes block high draw features like the LED.
- Manage temperature: If the phone feels hot or shows a temperature warning, remove the case and let it cool. In extreme cold, warm the phone slowly in a pocket.
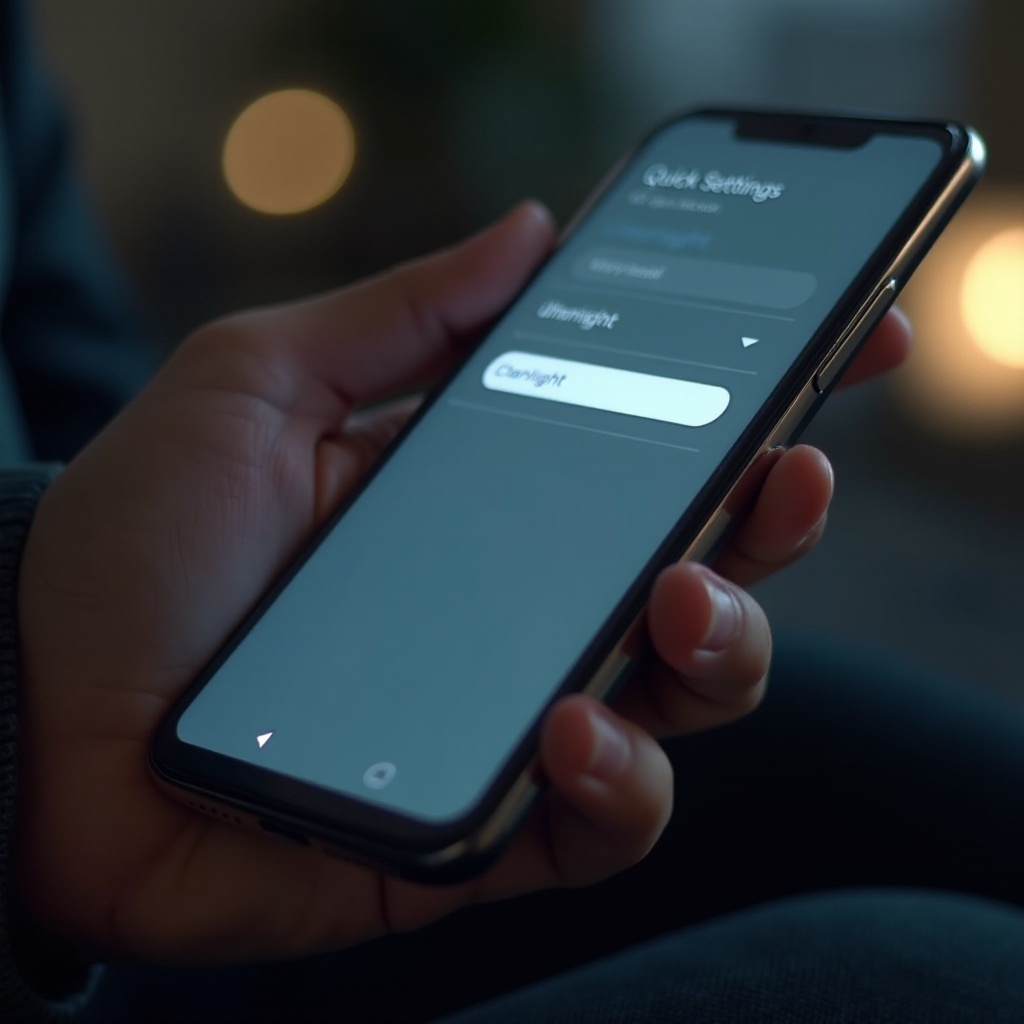
- Check the flashlight control: Add the Flashlight tile to Android Quick Settings. Add the Flashlight control to iPhone Control Center. If the icon is grayed out, another app may hold the camera.
- Remove third party torch apps: Uninstall or force stop flashlight apps from the store. Many conflict with the built in torch and System UI.
These checks narrow causes to either app conflicts or system rules. If the torch still fails, investigate platform specific conflicts next.
Camera app or QR scanner is open and holding the flash
If an app uses the camera, the torch cannot start. Close the app from Recents and try again.
Low Power or Battery Saver mode is on
Power saver modes can restrict the LED. Disable them and charge above 20 percent.
Phone is overheated or too cold
Thermal limits block the torch when hot. Cold can also weaken output. Return to a normal temperature before testing.
The flashlight tile or button is hidden or disabled
If the control is missing, re add it. A missing or gray icon often signals a conflict or a removed tile.
A third party flashlight app is conflicting
System torch is safer. Remove extra torch apps to prevent lockups and clashes.
Common Software Conflicts on Android
If quick checks failed, Android apps or services may hold the flash. Android gives many apps deep camera access and overlay powers. That flexibility can block the LED.
Camera, video, or social apps locking the LED
Close Camera, Instagram, Snapchat, TikTok, QR readers, and any video recorder. Some keep the camera open after you switch apps. Force stop if needed.
Screen recorder, overlays, or accessibility services
Floating widgets, screen recorders, blue light filters, and some accessibility tools can interfere with System UI. Disable them, then test the torch.
Power Saving, Bedtime, or automation routines that disable torch
Battery Saver, Ultra Power Saving, Focus, Bedtime, and automation rules can block LED access. Pause modes and routines, then retry the toggle.
Device policy, work profile, or MDM restrictions
Work profiles and device policies can restrict camera hardware. Temporarily turn off the work profile. If the torch returns, ask your admin about camera policy.
System UI or Camera app cache corruption
Glitches in System UI or Camera can break the toggle. Clear cache for Camera and System UI, then reboot. If needed, clear Camera storage to reset settings.
These Android checks point you toward either simple setting fixes or a third party app conflict. If conflicts persist, the step by step Android flow gives a clean, safe path to resolve them.
Common Software Conflicts on iPhone
On iPhone, Control Center manages the torch. The Camera app has priority over the LED. Modes and restrictions can change lock screen behavior and block the toggle.
Camera in use blocks Control Center torch
Quit the Camera app. Also close any social or scanner app that uses the camera in the background. Try the lock screen torch button and Control Center toggle.
Low Power Mode, Focus, or Screen Time limits
Turn off Low Power Mode. Review Focus modes like Driving, Sleep, or Work. Check Screen Time for Camera restrictions. These can change the torch path.
Control Center customization hiding the flashlight
Go to Settings, Control Center, and add Flashlight if missing. Long press the control to test brightness levels.
Shortcuts automations toggling the torch unexpectedly
Open Shortcuts and review automations. Disable any that set the torch on triggers. Rogue automations can flip the LED behind the scenes.
Case or lens attachment obstructing the flash
Remove thick cases, magnetic mounts, or clip on lenses. They can trap heat or block the LED window.
With iPhone conflicts addressed, you have ruled out many easy problems. Next, check system wide settings that can hide or disable the torch across platforms.
System Settings That Disable or Hide the Flashlight (Cross Platform)
Some settings hide the torch or reserve the camera. If the icon is missing, gray, or the switch moves but no light appears, verify these options.
Quick Settings or Control Center tile removed or grayed out
Edit Android Quick Settings to re add Flashlight. On iPhone, add Flashlight in Control Center. A gray tile often means another app is holding the camera.
App battery restrictions and adaptive limits
Adaptive Battery and per app limits can starve Camera or System UI. Remove limits for those apps and test again.
Safety or emergency features reserving the camera
Emergency or safety features may reserve sensors. Temporarily disable them and retry the torch to test impact.
Accessibility features repurposing the LED
LED alerts for notifications can take control of the light. Disable LED alerts and test the torch again.
Lock screen shortcuts and gesture conflicts
Lock screen torch shortcuts and gestures can collide with custom launchers or tools. Reset to defaults and test.
Once settings look clean, consider the conditions that affect the LED at the hardware level. Power and temperature issues can mimic software bugs.

Battery, Temperature, and Hardware Factors to Consider
Even with perfect software, the LED needs power and safe temperatures. The system will cut the torch when the battery is low or the device runs hot.
Critical battery thresholds that disable the torch
At low charge, phones shut down non essential features. Charge above 20 percent and disable power saving before testing.
Thermal throttling and cooldown requirements
High heat risks damage. The system blocks the LED when hot. Remove the case and let the phone cool naturally. Avoid direct sun.
Moisture detection and port contamination
Moisture in the USB or camera area triggers safety rules. Dry the phone and wait for moisture alerts to clear. Do not charge until warnings disappear.
Aging batteries and power delivery issues
A worn battery can fail to supply peak current. This can cause a weak or unstable torch. If battery health is poor, service may be needed.
LED or camera module damage indicators
If the torch never lights, flickers, or flash photos look dark or uneven after a drop or spill, suspect hardware damage.
If power and heat look normal and the torch still fails, use structured troubleshooting. Start with Android, then iPhone, so you do not miss key steps.
Step by Step Troubleshooting Flow for Android
Work in order, testing after each step. Stop when the torch starts working.
1) Close camera users: Close Camera, social apps, QR, video, and flashlight apps from Recents. Force stop if needed.
2) Toggle and restart: Toggle the Flashlight tile off and on. If it fails, force restart the phone.
3) Disable power limits: Turn off Power Saving or Ultra modes. Remove battery restrictions for Camera and System UI.
4) Clear caches: In Apps, clear cache for Camera and System UI. If needed, clear Camera storage to reset its settings.
5) Remove overlays: Turn off screen recorders, floating widgets, blue light filters, and accessibility overlays. Test again.
6) Safe Mode: Boot into Safe Mode. If the torch works now, uninstall recent apps that use the camera or draw over other apps.
7) Update stack: Install Android updates, Google Play system updates, and update the Camera app.
8) Reset app preferences: Reset disabled apps, defaults, and permissions. This does not erase personal data.
9) Diagnostics: Use Samsung Members, Pixel diagnostics, or a trusted LED test app to verify the flash hardware.
Close camera or torch apps and clear recent apps
Shut down anything that could hold the camera. This is the fastest fix.
Toggle Flashlight tile, then reboot or force restart
A fresh boot clears stuck services and stale locks on the LED.
Disable Power Saving and remove app battery limits
Give Camera and System UI full power and background rights while testing.
Clear Camera and System UI cache or storage
Corrupt cache breaks toggles. Clearing it often restores the torch.
Boot into Safe Mode to isolate third party conflicts
If the torch works in Safe Mode, remove the last apps you installed that use the camera.
Update system and apps; reset app preferences
Updates patch bugs. Resetting app prefs restores defaults that the torch expects.
Run OEM diagnostics and test the LED
Built in tools help confirm if the LED lights independently of the camera app.
Step by Step Troubleshooting Flow for iPhone
Follow these steps in order. Test the torch after each one.
1) Control Center check: Open Control Center and tap Flashlight. If it fails, close Camera and try again.
2) Power and Focus modes: Turn off Low Power Mode. Disable active Focus modes such as Driving, Sleep, or Work.
3) Control Center setup: Settings, Control Center, add Flashlight if missing. Press and hold to change brightness and test.
4) Force restart: Perform the force restart for your model. Then test the torch.
5) Update iOS and apps: Install the latest iOS. Update camera and social apps that use the camera.
6) Reset All Settings: Reset system settings without touching your data. Then test again.
7) LED test: Turn on LED Flash for Alerts, trigger a test alert, and watch for the light. If alerts flash but the torch fails, software is likely at fault.
8) Apple diagnostics: Use Apple Support for remote tests or visit a service provider.
Toggle torch in Control Center and close Camera
Camera owns the LED when open. Close it first.
Turn off Low Power Mode and relevant Focus modes
These modes can change how the lock screen and torch behave.
Re add Flashlight to Control Center if missing
A missing control means you must add it before testing again.
Force restart and update iOS and key apps
A restart and patch cycle clears glitches and fixes known bugs.
Reset All Settings; test LED Flash for Alerts
This restores defaults that control the LED without erasing your data.
Run Apple diagnostics or contact support
If the LED still fails, diagnostics will confirm hardware versus software.
Advanced Diagnostics and When to Seek Repair
If both platforms steps fail, look for clear hardware clues. The switch moves but no light appears. Flash photos are dark or uneven. The LED flickers or died after a drop or spill. These signs point to hardware.
Back up your data before you reset or seek service. If you have not tried a factory reset, back up and perform one as a last software test. Use built in diagnostics to check the camera and sensors. On many devices, vendor tools can run a flash test.
If diagnostics flag hardware, schedule repair. Options include manufacturer service, authorized centers, or trusted local repair. Warranty or protection plans can lower costs. Ask for a quote that covers the camera module, LED or flash assembly, and related flex cables, plus expected turnaround time.
Signs of hardware failure versus software bugs
Hardware issues persist across reboots and resets. Software issues often change with modes and updates.
Using reputable diagnostics apps and built in tests
Stick to vendor tools or trusted diagnostics. Avoid apps that demand unrelated permissions.
Back up data before resets or service
Protect your photos, messages, and accounts first. Then test or repair with confidence.
Warranty, insurance, and repair options
Check coverage before you pay. Many plans include camera module repair.
Expected costs and turnaround considerations
Costs vary by model and region. Ask for parts quality, warranty on repair, and time to complete.
Prevention and Best Practices to Avoid Future Torch Failures
A few habits keep the torch reliable. Use the built in flashlight, not third party apps. Keep the system, camera, and vendor components updated. Limit overlays, screen recorders, and floating widgets. Watch temperature and moisture. Clean the lens and LED window with a soft cloth. Review automation rules and remove ones that touch the torch without a clear purpose. Maintain battery health by avoiding deep discharges and extreme heat or cold.
Keep OS and camera apps current
Install updates promptly. Many fix camera and System UI bugs that affect the torch.
Avoid sketchy flashlight apps and overlays
The built in torch is safer and more stable. Overlays can interfere with toggles.
Mind heat, moisture, and battery health
Give the phone time to cool. Keep it dry. Charge before the battery sinks too low.
Audit automations, routines, and permissions
Disable rules that toggle the torch or camera without a clear need.
Clean ports and protect the camera module
Dust and grime can trap heat and block light. Keep the area clean and covered.
Conclusion
Most flashlight issues come from four places: another app holds the camera, power or temperature limits kick in, a setting hides the control, or the hardware is damaged. You can solve the first three with the quick checks, the Android and iPhone flows, and the system setting reviews. That path is fast and safe.
If the torch still fails after those steps, do not force it during heat or after liquid exposure. Back up, run diagnostics, then seek repair. Use the built in torch, keep software current, limit overlays, and watch battery and temperature. With these habits in place, you will stop asking why cant i use my flashlight on my phone and get light on demand.
Frequently Asked Questions
Why is my flashlight icon grayed out or missing on my phone?
Another app likely uses the camera, or the system hid the control. Close camera, QR, video, and social apps. Re add Flashlight to Quick Settings or Control Center. Turn off Battery Saver or Low Power Mode. If it remains gray, clear Camera or System UI cache on Android or force restart on iPhone.
Why does my flashlight turn off by itself after a few minutes?
The system may shut it off to manage heat or low battery. Let the phone cool and remove the case. Charge above 20 percent. Reduce screen brightness and close heavy apps. If the torch still shuts off when cool and charged, test the LED with diagnostics and consider service.
Can a software update make my flashlight stop working, and how do I fix it?
Yes. Updates can introduce camera or System UI bugs. Restart first. Update the Camera app and vendor components. On Android, clear Camera and System UI cache and reset app preferences. On iPhone, force restart and apply the latest iOS patch. If problems persist, back up, factory reset, or seek repair.