
Introduction
You download a PDF, a photo, or a ZIP on your iPhone and it seems to vanish. The file sits somewhere, yet you cannot see it in Photos or the app you used. The confusion often comes from how iOS separates files and photos, and how each app chooses a default save spot. The good news is simple: once you know where to look, you can find, change, and organize your downloads fast.
This guide shows you where your iPhone stores downloads by default, how Safari and other browsers handle files, and how email, cloud, and messaging apps save attachments. You will learn to work with ZIPs and special file types and keep your Downloads tidy with smart folders and tags. You will also get quick fixes for missing files and tips to automate your routine.
We will start with the fastest way to see your latest download. Then we will master the Files app, which acts as your central hub for everything you save, before moving into browsers, email, and chat apps.
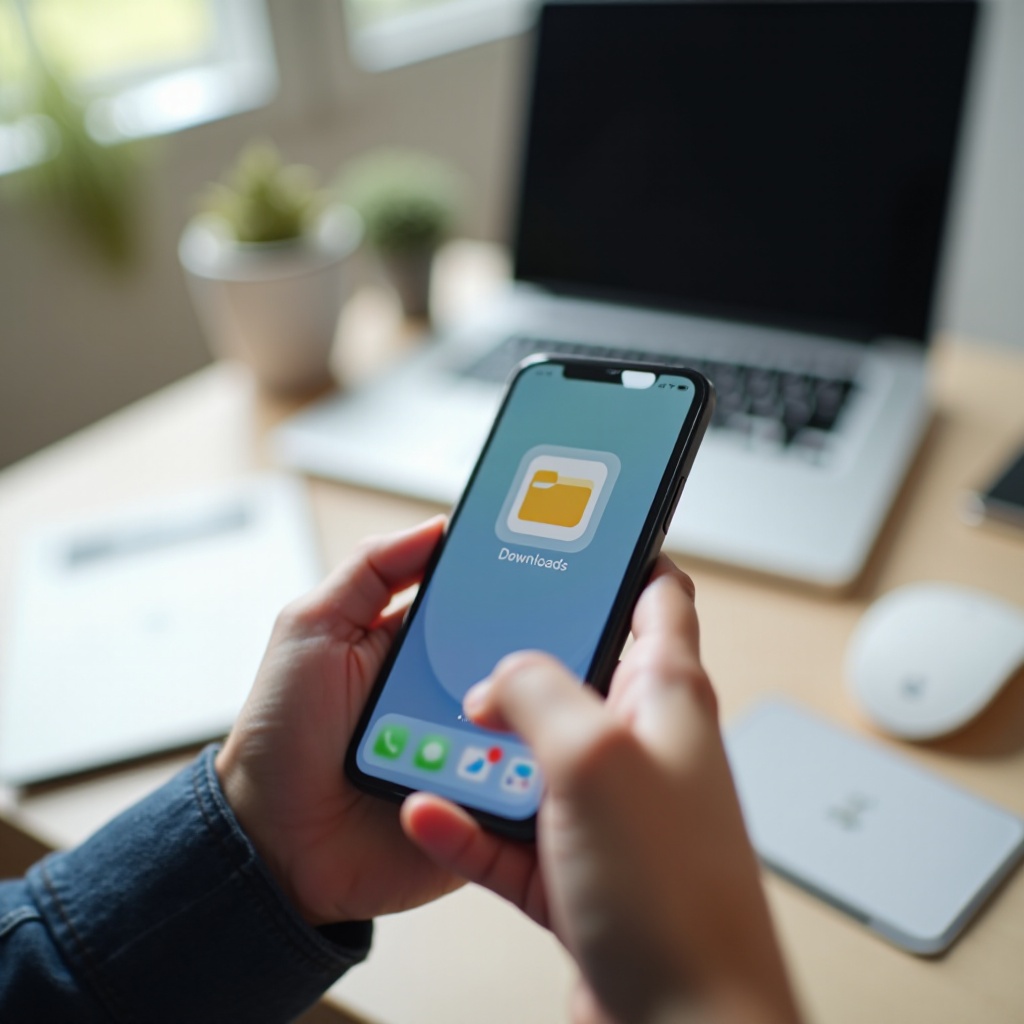
Quick Answer: The Fastest Way to Find iPhone Downloads
If you need to locate a recent download right now, use this rapid path:
1) Open the Files app.
2) Tap Browse at the bottom, then tap Recents.
3) Look for the file you just saved. Sort or filter by date if needed.
4) If you do not see it, tap Browse again, then tap iCloud Drive or On My iPhone and open the Downloads folder.
Two common cases hide downloads:
– The file saved to iCloud Drive in a Downloads folder instead of On My iPhone.
– The app saved to its own folder, such as Chrome, Dropbox, or a PDF reader.
Search also helps when Recents looks crowded:
– In Files, pull down to show the search bar, then type part of the filename or the file type, such as pdf or zip.
You now know the quick route. Next, let us make the Files app work for you so you always know where things live and how to move them.
Meet the Files App: Your Central Hub for Downloads
Files brings device storage and cloud drives into one place. It shows Locations at the top, such as iCloud Drive, On My iPhone, and any third party storage you linked like Dropbox, Google Drive, or OneDrive. From here, you can move, rename, tag, and preview files across locations without bouncing between apps.
Key areas to use:
– Recents: A dynamic list of items you opened or saved. It is not a real folder. It often solves quick finds, but do not rely on it for long term organization.
– Browse: The best view for real folders. Tap Browse to see Locations. From there, open iCloud Drive or On My iPhone.
– Favorites: Pin the folders you use daily. Long press a folder and choose Favorite for fast access in the sidebar.
– Tags: Color code and label files for projects, clients, or file types. Tap and hold a file, pick Tags, and assign one or more.
Core actions you will use often:
– Move: Tap and hold a file, choose Move, and pick a folder. Use this to funnel new items into your Downloads inbox or a project folder.
– Rename: Tap and hold, choose Rename, and give the file a clear, descriptive name so you can find it later with search.
– Duplicate and Compress: Long press any file to create a copy or make a quick ZIP for sharing.
Once you master Files, the next step is to understand the two main places iOS stores downloads. That choice affects how you find and sync files.
Understand iPhone Download Locations: On My iPhone vs iCloud Drive
Your iPhone can save downloads to a local folder or to iCloud Drive. Each option has trade offs that shape how you work and share.
On My iPhone:
– Stores files locally on the device.
– Works offline by default.
– Does not auto sync to your other devices.
– Ideal for large files you do not want in the cloud or for travel without reliable internet.
iCloud Drive:
– Syncs across Apple devices signed into the same Apple ID.
– Lets you access the same Downloads folder on iPhone, iPad, and Mac.
– Can keep some folders offline while others remain online to save space.
– Requires iCloud storage and a connection to sync changes.
To confirm where a file lives:
– Open Files, tap Browse, then open iCloud Drive or On My iPhone.
– Check the Downloads folder in each location. Many people have both, which causes confusion.
– If you keep two, consider merging into one preferred Downloads folder to reduce guesswork.
You can pick one location as your default for Safari and many apps. Let us set that up and learn how to manage Safari’s download list.
Safari Downloads: Manager, Default Folder, and Changing Destination
Safari includes a download manager that makes files easy to track and open in place.
View and control downloads:
1) In Safari, tap the download arrow icon in the toolbar.
2) See active and recent downloads. Tap a file to open it directly.
3) Swipe left on an item to remove it from the list. This clears the entry, not the file itself.
Change the download location in Safari:
1) Open Settings > Safari > Downloads.
2) Choose iCloud Drive to sync or On My iPhone for local storage.
3) Tap Other if you want a custom folder, then select or create one, such as iCloud Drive > Documents > Downloads.
Fix common hiccups:
– If a download stalls, tap the arrow, then tap the circular icon to resume or the x to cancel and restart.
– Clearing the list does not delete the file. Use the Files app to manage or delete the actual item.
With Safari set, you may also use Chrome, Firefox, or Edge. Each handles saving in a similar way but may keep its own folders until you export to Files.
Chrome, Firefox, Edge, and Other Browsers: Where Their Downloads Go
Third party browsers can save to Files or keep items within the app until you move them.
Chrome:
– Tap the three dots, then Downloads to view items saved within Chrome.
– To export a file to Files, open the item, tap Share, then Save to Files and choose your folder.
– If prompted for a location when downloading, select iCloud Drive > Downloads or your preferred folder for consistency.
Firefox and Edge:
– Both include in app download lists accessible from their menus.
– To make the file visible in Files, open the file, tap Share, then Save to Files, and pick your folder.
– If a browser offers a Choose Location dialog, always point it to your single Downloads folder to reduce clutter.
Once you know how browsers behave, email and cloud apps become the next common sources of downloads that you will want to route into your chosen folder.
Email and Cloud Attachments: Mail, Gmail, Outlook, Drive, and Dropbox
Attachments land in different places depending on how you save them. A consistent Save to Files habit keeps everything in one place.
Apple Mail:
– Open the email, tap the attachment, then tap Share.
– Choose Save to Files. Pick iCloud Drive > Downloads or On My iPhone > Downloads.
– If you instead tap Save Image or Save Video, the item goes to Photos, not Files.
Gmail and Outlook:
– Open the attachment and tap the Share or Open In icon.
– Choose Save to Files and set your Download folder once. Most apps remember your last choice.
Cloud storage links and apps:
– Google Drive, Dropbox, and OneDrive links may preview within their own apps without making a local copy.
– To download a local copy, open the file in the cloud app, tap the Share or More menu, and choose Save to Files. Then pick your Downloads folder.
The same logic applies to messaging and social apps. You decide whether a file becomes part of Photos or lands in Files.
Messaging and Social Apps: Save to Files vs Save to Photos
When you receive files in Messages, WhatsApp, Telegram, Slack, or similar apps, the action you choose determines where they go.
- Messages: Tap the attachment, then the Share icon. Choose Save to Files for documents or Save Image or Save Video for media you want in Photos.
- WhatsApp: Open the file, tap Share, then Save to Files to store it in your Downloads folder. Photos saved with Save Image go straight to Photos.
- Telegram: By default, Telegram may cache files inside the app. To move a file to Files, open it, tap Share, then Save to Files.
- Slack: Open the file, tap Share, then Save to Files. If you do not see the option, tap Open In and route it through Files.
If you often mix media and documents, it helps to know the difference between Photos and Files. The next section explains why some downloads appear in the Photos app and how to move them.
Photos vs Files: Why Some Downloads Appear in the Photos App
Photos stores images and videos in your library. Files stores documents and media as normal files inside folders. Choosing the right destination avoids frustration later.
Common cases and how to handle them:
– Save Image or Save Video sends media to Photos. You then see it in Albums under Recents or in the Library tab.
– Save to Files keeps the item in your chosen folder, such as iCloud Drive > Downloads, where you can tag, rename, or share a link.
– Screenshots and camera pictures always go to Photos unless you export them to Files through the Share sheet.
Move items when needed:
– From Photos to Files: Open the image in Photos, tap Share, select Save to Files, and choose a folder.
– From Files to Photos: Open the image or video in Files, tap Share, then pick Save Image or Save Video.
If a download arrives as a ZIP or another archive, you can handle it directly in Files without extra tools. Here is how to keep even complex file types under control.
Working with ZIPs and Special File Types on iPhone
Files can unzip and zip files natively and supports common document and media formats out of the box.
Unzip a ZIP in place:
1) Open Files and navigate to the ZIP file.
2) Tap the ZIP once. Files extracts its contents into the same folder.
Create a ZIP for sharing:
1) Select one or more files in Files.
2) Tap the More button and choose Compress to create a ZIP in the current folder.
Other formats to note:
– RAR or 7z: You may need a third party app such as iZip or Documents by Readdle. After extraction, move the resulting files back into your Downloads or a project folder in Files.
– PDFs: Open in Files, use Markup to sign or annotate, then save. You can share a link instead of an attachment to keep email light.
– Audio or subtitle files: Keep them together in one folder so media players can detect them without extra steps.
Now that you can handle different file types, let us keep your Downloads folder clean and predictable with a simple system.
Organize and Manage Your Downloads Like a Pro
A tidy folder saves time and cuts stress. Build a simple structure and keep it consistent across all apps.
Create a predictable setup:
– Keep a single Downloads folder as your inbox.
– Make subfolders by project or type: Docs, Media, PDFs, Archives, Receipts.
– Pin your Downloads folder to Favorites for one tap access.
Use tags and saved searches:
– Assign tags like Work, Personal, Receipts, or Urgent.
– Use search filters in Files to create saved searches that act like smart folders, surfacing items by file type or date.
Batch actions for speed:
– Select multiple items, then Move, Rename, or Delete in one go.
– Use Share and Copy iCloud Link to share files without attaching large copies.
Weekly tidy up routine:
1) Open Downloads.
2) Sort by Date.
3) File or delete items you no longer need and archive the rest.
A tidy folder also helps with syncing and storage. Next, set your files to be available when you need them and clean up space when you do not.
Sync, Offline Access, and Storage Space Tips
If you save to iCloud Drive, you can control offline access and storage use so that key files are always ready.
Make a folder available offline:
– In Files under iCloud Drive, tap and hold a folder, then choose Download Now to keep local copies.
– To free space later, tap and hold a file and choose Remove Download. The file stays in iCloud but removes the local copy.
Free space safely without losing content:
– Review large files by sorting by size in Files where available, or sort by name and check common big items like videos and archives.
– Move old archives to cloud folders you do not keep offline.
– Delete duplicates and keep only the final version. Use clear naming to avoid confusion.
On My iPhone tips:
– Perfect for unstable connections or large media projects where immediate offline access matters.
– Remember that On My iPhone does not sync by itself. Back up important folders to iCloud or another cloud app on a regular basis.
If something still goes missing or refuses to download, a focused checklist usually brings it back quickly.
Troubleshooting: If You Cannot Find a Download
Run this quick checklist to locate a missing file fast:
1) Search in Files: Open Files, pull down to reveal search, type part of the name or extension such as pdf or zip.
2) Check both Downloads folders: iCloud Drive > Downloads and On My iPhone > Downloads.
3) Check app folders: On My iPhone > Safari, Chrome, or the specific app such as Adobe, VLC, or a document scanner.
4) Reopen the source app: In Safari, tap the download arrow and reopen the item. In Chrome or Firefox, check their Downloads lists.
5) Confirm the save action: Did you tap Save Image instead of Save to Files Is it in Photos instead of Files
6) Storage and permissions: Make sure you have space. If Screen Time restricts file changes, adjust settings under Screen Time and Content and Privacy.
7) Re download: If the item was a cloud link, open the cloud app and choose Save to Files again into your Downloads folder.
If you repeat the same steps over and over, automation can save taps and prevent mistakes. Shortcuts and the Share sheet help files land in the right place every time.
Power Tips: Shortcuts, Share Sheet, and External Drives
You can automate filing and speed up common actions so that downloads stay sorted from the start.
Customize the Share sheet:
– Reorder actions so Save to Files appears near the top.
– Add your favorite folders to the quick list for faster routing.
Shortcut ideas that save time:
– Auto file by type: When sharing a PDF, a Shortcut can move it to iCloud Drive > Documents > PDFs, while images go to a Media folder.
– One tap clean up: Create a Shortcut that moves files older than 30 days from Downloads into an Archive folder and tags them for later review.
– Auto rename: Build a Shortcut that renames files using a pattern such as date plus project name for easy search.
External drives for handoffs and backups:
– Plug a USB C or Lightning drive with an adapter if needed.
– Open Files > Browse and select your drive.
– Drag files from Downloads to the drive to free space or hand off large media to a computer.
With a few tweaks, your iPhone stops hiding files and starts working like a dependable file system. A short wrap up will lock in your new routine.
Conclusion
Finding the download file on iPhone comes down to three habits. First, use the Files app and check Recents for quick finds, but always verify the real folder path in iCloud Drive or On My iPhone. Second, set your default download location in Safari and stick to a single Downloads folder for all apps through Save to Files. Third, organize weekly with tags, saved searches, and batch actions to keep clutter down.
When a file seems missing, search in Files, check both Downloads folders, and inspect the app’s own folder. Adjust storage and permissions if a download fails or stalls. If you repeat the same moves often, customize the Share sheet or build Shortcuts that file items for you with one tap.
With these steps in place, your iPhone will stop hiding downloads. You will always know where new files land, how to open and move them, and how to keep your storage under control while staying productive across every app you use.
Frequently Asked Questions
Where do Safari downloads go on iPhone by default?
Safari saves to a Downloads folder that you choose in Settings > Safari > Downloads. Pick iCloud Drive to sync across devices or On My iPhone to keep files local. Clearing the download list in Safari does not delete the actual files; manage them in the Files app.
How do I change my iPhone’s download folder?
Open Settings > Safari > Downloads. Choose iCloud Drive, On My iPhone, or tap Other to pick or create a folder. For other apps, use the Share sheet and tap Save to Files, then select your preferred folder. Most apps remember your last choice.
Why do some downloads not show up in the Files app?
Some apps keep files in their own storage. Check Files > On My iPhone for folders named after apps like Chrome or Telegram. Also make sure you used Save to Files and not Save Image, which sends items to Photos. For cloud links, save a local copy by choosing Save to Files in the cloud app.