Introduction
Screen recording on iPhone turns your screen into a powerful tool for showing, teaching, and proving what happens on your device. You can create quick tutorials for friends, capture app bugs for support, or save a short clip from an app that does not offer an easy download option.
Many people look for the feature but do not see it right away. That is because you must first add screen recording to iPhone Control Center. Once you do that, the feature is always just a swipe and a tap away.
This guide walks you through every step. You will learn how to add screen recording to iPhone, how to start and stop recordings, how to edit and share them, and how to fix common problems. You will also see best practices and advanced tips so your recordings are clear, useful, and safe to share.
Before you start changing settings, it helps to understand exactly what screen recording does and when it is the right tool for the job.
What Is Screen Recording on iPhone and Why Use It?
Screen recording captures a video of everything that appears on your iPhone display during a session. It can also capture your voice through the microphone if you enable it. This mix of visuals and audio makes screen recording ideal for showing steps, not just telling people about them.
Screen recording vs. screenshots
Screenshots save a single still image of what is on your screen at one moment. Screen recordings save a continuous video of your actions over time.
Key differences include:
- A screenshot is a snapshot; a screen recording is a short movie.
- A screenshot works well for simple things like confirming a setting or saving a message.
- A screen recording works best when you need to show a process with multiple taps and swipes.
- A screenshot is easy to share but can be confusing for complex tasks, while a recording guides viewers step by step.
If you need to explain something that takes more than one or two taps, a screen recording is usually the faster and clearer option.
Common real-life uses for screen recording
People use screen recording on iPhone in many everyday situations:
- Teaching and support: Show a family member how to change a setting, reset a password, or use a new app. Record an error or bug so you can send it to technical support.
- Work and training: Create quick how-to clips for coworkers or clients. Demonstrate how to use a business app or web portal without writing long instructions.
- Content and social media: Capture gameplay highlights, app tricks, and interesting interactions to edit and post on platforms like TikTok, YouTube, or Instagram.
- Personal reference: Save a recording of a complex workflow, a multi-step shortcut, or a configuration that you want to remember later.
These examples all benefit from the ability to follow your exact taps and swipes, which is hard to do with still images alone.
When you should avoid recording
Screen recording is powerful, but you should not use it everywhere.
Avoid screen recording when:
- The app shows sensitive information such as bank account details, health data, passwords, or private conversations.
- The app or service clearly blocks recording or warns you about capturing content, especially streaming services or secure corporate apps.
- You do not have permission to record content that involves other people, such as some video calls or work tools.
Being careful about what you record protects both your privacy and other people's rights.
Now that you know what screen recording is and why it can help, the next step is to make sure your device can use it.
Check Your iPhone and iOS Compatibility
Before you try to add screen recording to iPhone Control Center, confirm that your device and software support the feature. Most iPhones that still receive updates in 2024 include screen recording by default, but it is smart to verify.
Supported iPhone models
Apple includes screen recording on all recent iPhone models. If you use an iPhone that can run a modern iOS version available in 2024, such as iPhone SE, XR, 11, 12, 13, 14, or 15 series, you will have access to screen recording.
If your iPhone is very old and cannot update to a current iOS version, the feature may not be available or may be limited.
Minimum iOS version requirements
Screen recording depends on Control Center customization and modern iOS features. Any iOS version that can still receive updates in 2024 supports screen recording.
If you have not updated your software recently, it is a good time to do it so you get the latest features and bug fixes. The update may also solve some recording problems automatically.
How to quickly check your iOS version
To see which iOS version you are running:
- Open Settings.
- Tap General.
- Tap About.
- Look for the entry labeled iOS Version.
If your version is out of date, go back to Settings → General → Software Update, and install the latest version that appears. Once your iPhone is up to date and compatible, you can add screen recording to Control Center.
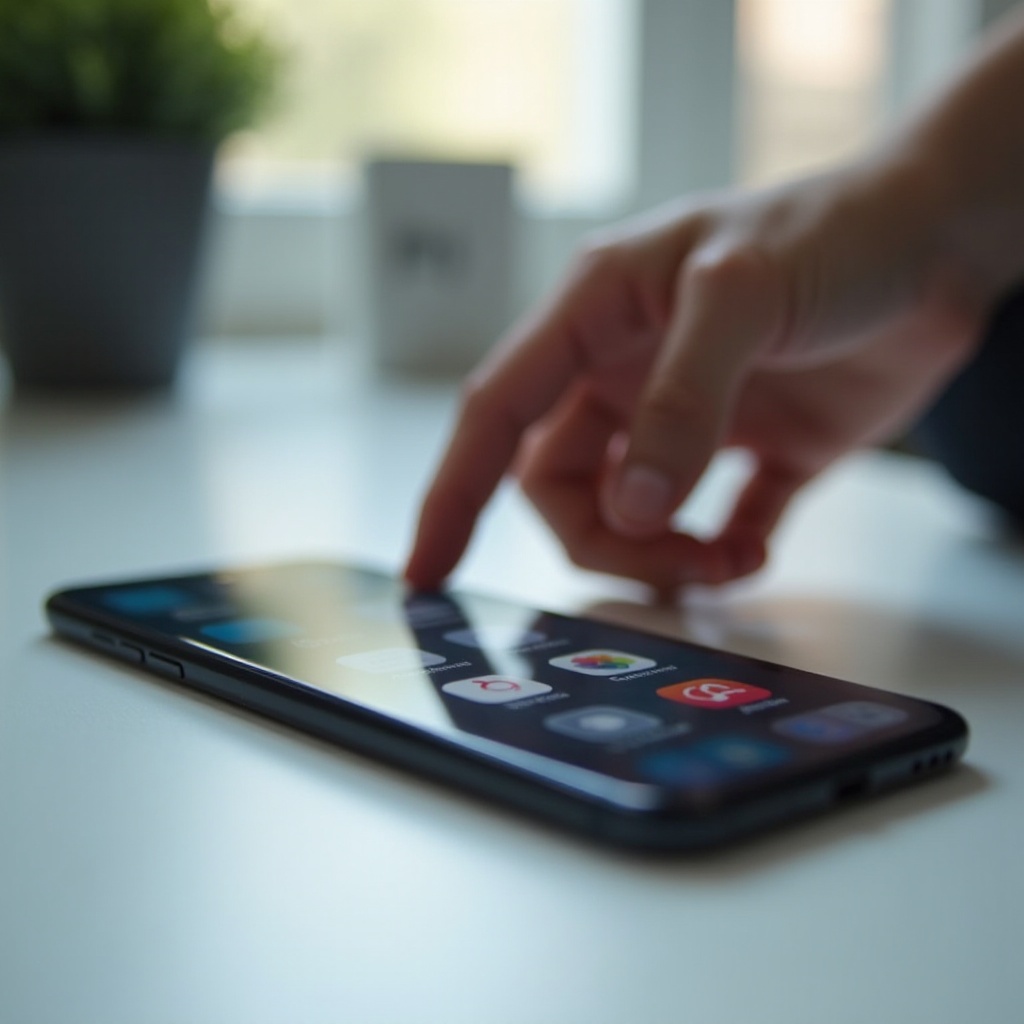
How to Add Screen Recording to iPhone Control Center (Step-by-Step)
To make screen recording easy to access, you must add its shortcut to Control Center. This is a one-time setup that takes only a few taps.
Open Settings and navigate to Control Center
First, open the place where you manage your shortcuts:
- Unlock your iPhone.
- Open the Settings app.
- Scroll down and tap Control Center.
The Control Center screen lists which controls are already active and which ones you can add.
Find Screen Recording under 'More Controls'
On the Control Center page, you will see two groups:
- Included Controls: these already appear in Control Center.
- More Controls: these are available but not yet added.
Scroll down to the More Controls section and look for Screen Recording in the list.
Tap the '+' icon to add Screen Recording
Next to Screen Recording, you will see a green + button.
- Tap the + button.
- Screen Recording will move from More Controls into Included Controls.
You have now successfully added screen recording to iPhone Control Center.
Reorder controls for easy one-handed access
You can change the order of controls to make screen recording easier to reach:
- In the Included Controls list, find Screen Recording.
- Tap and hold the three-line handle to the right of it.
- Drag it up or down to your preferred position.
Placing it near the top makes it quicker to tap, which is helpful on larger screens or when you often record.
Confirm the Screen Recording icon appears in Control Center
To check that everything worked:
- On iPhones with Face ID: swipe down from the top-right corner of the screen.
- On iPhones with a Home button: swipe up from the bottom edge of the screen.
You should see a circle icon with a solid dot inside it. That is the Screen Recording button. Now that the shortcut is in place, it is time to learn how to start and stop a recording smoothly.
How to Start and Stop a Screen Recording on iPhone
Once you add screen recording to iPhone Control Center, using it becomes quick and simple. The gesture to open Control Center depends on your device model, but the recording steps are the same.
Open Control Center on Face ID iPhones
If your iPhone uses Face ID, such as most recent models:
- From any screen, swipe down from the top-right corner.
- Control Center will slide down into view.
This gesture works from the home screen, within apps, and even from the lock screen if allowed.
Open Control Center on Home button iPhones
If your iPhone has a physical Home button:
- From any screen, swipe up from the bottom edge of the display.
- Control Center will appear over your current screen.
After opening Control Center, you are ready to begin recording.
Start a screen recording with the 3-second countdown
To start recording your screen:
- Open Control Center.
- Tap the Screen Recording button (circle with a solid dot).
- A red 3-second countdown will appear.
- When the countdown ends, the iPhone begins recording your screen.
During the countdown, switch to the app or screen you want to record so the final video does not show you opening Control Center.
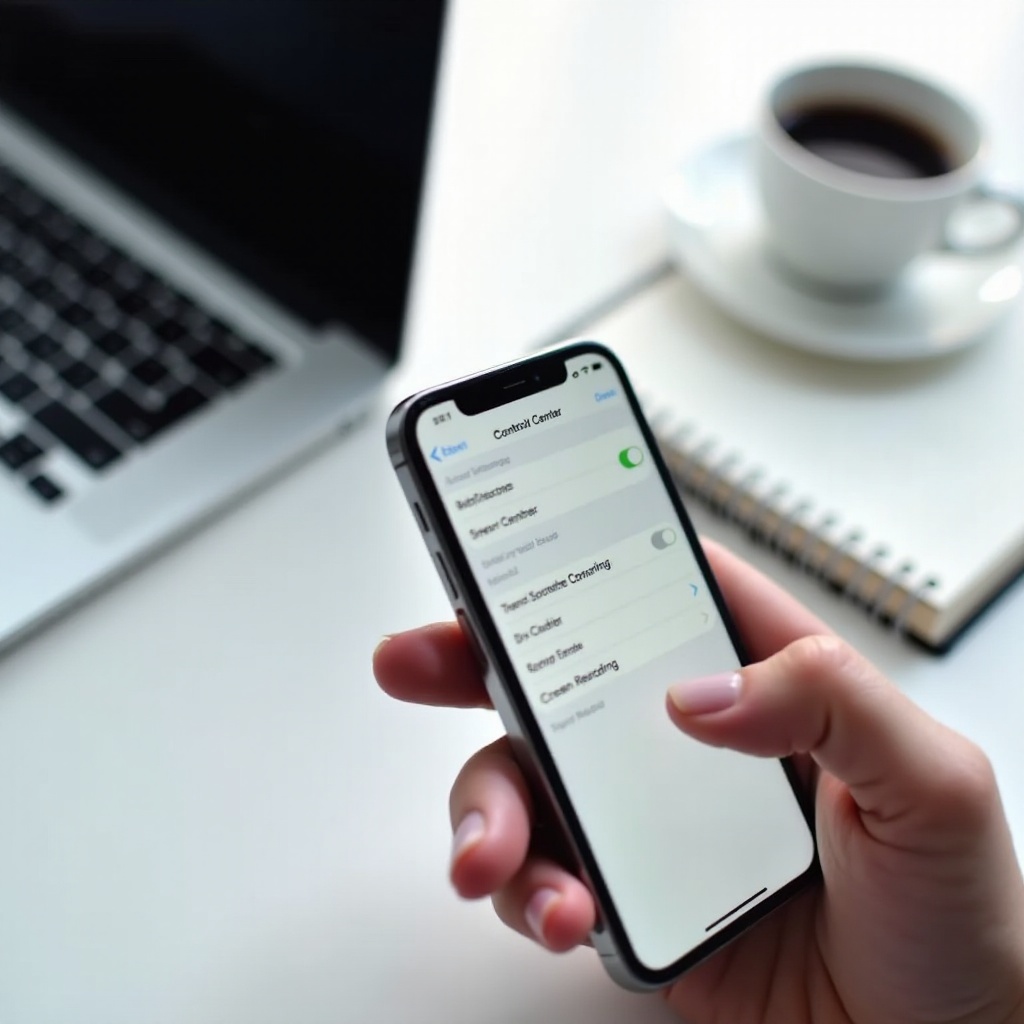
Turn microphone audio on or off before recording
By default, screen recording captures internal sounds from the device, when allowed, but not your voice. To include narration:
- Open Control Center.
- Press and hold (long-press) the Screen Recording icon.
- A menu will slide up with recording options.
- Tap the Microphone icon at the bottom to turn it On (it will turn red).
- Tap Start Recording.
With the microphone on, your recording will include both your voice and any sound the device outputs, as long as the app permits it.
Stop a screen recording from the status bar or Dynamic Island
While you are recording, your iPhone shows a red indicator so you know it is active:
- On many models, the status bar or clock area turns red.
- On newer models with the Dynamic Island, the island shows a red recording indicator.
To stop the recording, you can:
- Tap the red status bar or Dynamic Island, then tap Stop.
- Or open Control Center again and tap the Screen Recording icon.
The recording will end immediately, and your iPhone will save the video.
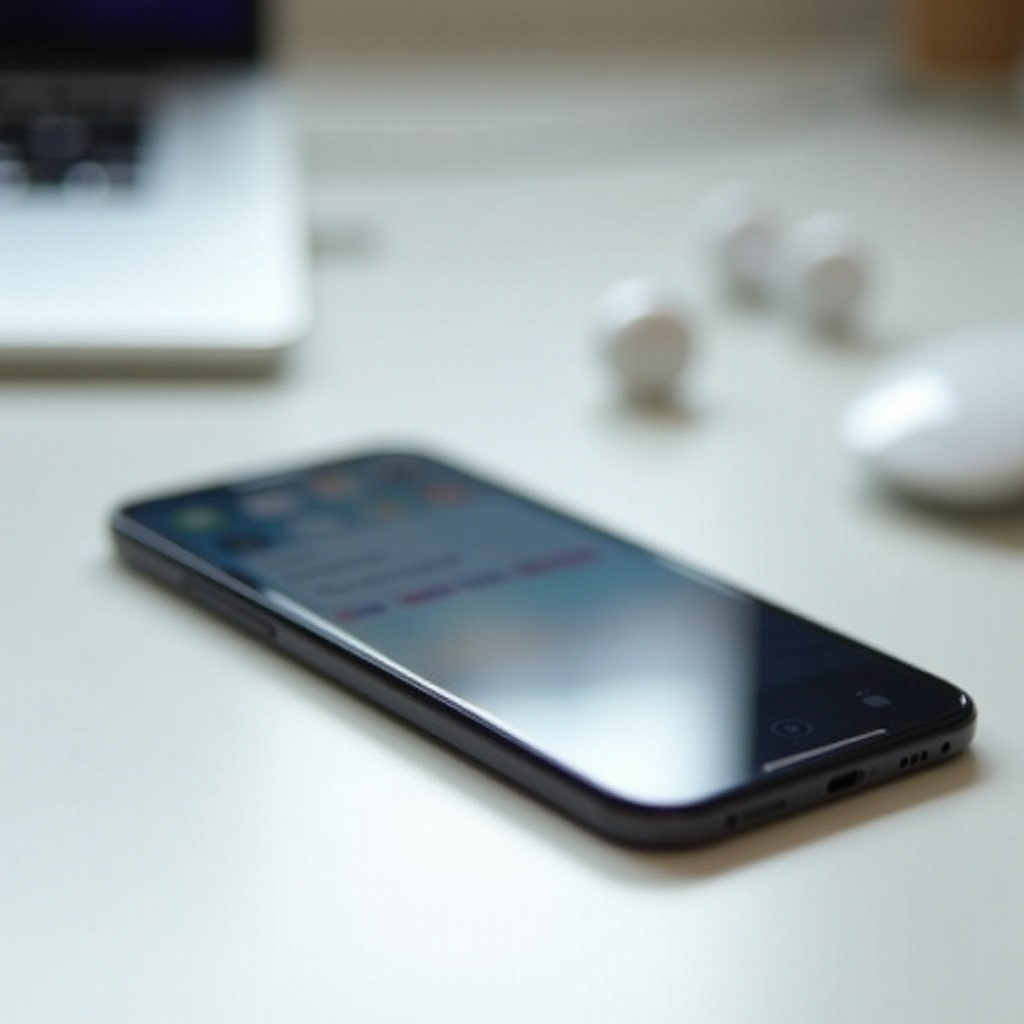
Where your recordings are saved in Photos
When you stop recording, a banner briefly appears that says Screen Recording video saved to Photos.
To find your recording later:
- Open the Photos app.
- Check the Recents album or the Videos album.
- Tap the recording to play, edit, or share it.
Now that you know how to start and stop recordings, the next step is to improve their quality so they are safe and pleasant for others to watch.
Best Practices Before You Add and Use Screen Recording
Good preparation makes your recordings cleaner, more professional, and safer to share. With just a few quick actions before you press the record button, you can avoid most common mistakes.
Turn on Focus / Do Not Disturb to block notifications
Notifications can distract viewers and expose private information. To prevent them from appearing during a recording:
- Open Control Center.
- Tap Focus or Do Not Disturb.
- Select a focus mode such as Do Not Disturb, Work, or a custom mode.
This reduces or blocks incoming alerts so they do not pop up on screen while you record.
Clean up your screen to protect privacy
Before you record, take a minute to tidy your screen:
- Move sensitive apps into folders or another home screen page.
- Close apps that show private chats or personal details.
- Hide widgets that display calendar events, email snippets, or other private data.
A clean layout keeps your video focused on the task and reduces the chance of sharing something you did not intend.
Choose the right orientation: portrait vs. landscape
Think about where and how you plan to share your recording:
- Portrait (vertical) recordings fit best on TikTok, Instagram Reels, Stories, and other mobile-first platforms.
- Landscape (horizontal) recordings work better for YouTube, slide decks, and computer screens.
Rotate your iPhone to the desired orientation before you start recording so the final video looks consistent.
Check storage and battery to avoid failed recordings
A long recording can fail if your iPhone runs out of space or power.
Before you start:
- Go to Settings → General → iPhone Storage and make sure you have enough free space.
- Charge your iPhone or plug it into power if the battery is low.
Taking care of these details helps ensure that your recording completes and saves correctly. Once you have a usable recording, you can polish it with simple edits.
How to Edit Screen Recordings Directly on iPhone
You do not need a computer to clean up your screen recordings. The built-in Photos app offers basic editing tools, and free video editors on the App Store let you add extra polish.
Trim the beginning and end in the Photos app
Most recordings include extra seconds at the start and end that you do not want to show. To trim those parts:
- Open the Photos app and tap your screen recording.
- Tap Edit in the top-right corner.
- At the bottom, drag the left and right handles on the timeline to set a new start and end point.
- Tap Done, then choose Save Video or Save Video as New Clip.
Trimming removes awkward waiting time and makes your instructions more direct.
Crop, rotate, and adjust your video
In the same editing screen, you can tweak the appearance of your video:
- Tap the crop icon to rotate the video if it is sideways.
- Use the crop tool to cut out parts of the screen that are not relevant or that show private content.
- Use adjustment sliders to change brightness, contrast, or color if the recording looks too dark or washed out.
These small changes can make a big difference when someone watches your recording on a larger display.
Add text, music, or transitions using iMovie or similar apps
If you want to go beyond basic edits, try apps such as iMovie, CapCut, or other popular video editors:
- Add a title card at the beginning to explain what the recording covers.
- Overlay text labels that highlight which button or menu to tap.
- Add background music (make sure you use audio you are allowed to use).
- Combine multiple recordings into a single tutorial with smooth transitions.
Once you start editing, you may notice issues like missing audio or incomplete clips. That is when troubleshooting becomes important.
Troubleshooting: Screen Recording Not Working After You Add It
Even after you add screen recording to iPhone Control Center, you might find that the icon is missing, greyed out, silent, or that recordings do not save. Most of these problems have simple fixes.
Screen Recording icon missing from Control Center
If you cannot see the screen recording icon at all:
- Open Settings → Control Center.
- Check if Screen Recording appears under Included Controls.
- If it does not, find it under More Controls and tap the + to add it again.
- Open Control Center and see if the icon shows up.
If the icon still does not appear, restart your iPhone and repeat the steps. A quick restart often fixes small glitches.
Screen Recording icon greyed out or disabled
A greyed-out icon usually means that restrictions are blocking screen recording.
To check for this:
- Go to Settings → Screen Time.
- Tap Content & Privacy Restrictions.
- Look for any settings that limit screen recording or game recording.
- Adjust the settings if you have permission, or contact your device administrator if it is a work or school phone.
Managed devices may have screen recording disabled to protect sensitive information.
Screen recording has no sound
If your videos play with no audio, consider these points:
- Make sure the microphone is turned on if you want to record your voice. Long-press the screen recording icon in Control Center and tap the microphone to enable it.
- Check the physical mute switch and volume buttons to ensure your device is not muted.
- If you are using Bluetooth headphones or speakers, disconnect them and test again.
Some apps limit what audio you can capture, so you may not always get internal sound from every app.
Recording won't save or stops unexpectedly
If your screen recording stops on its own or fails to save to Photos:
- Check storage in Settings → General → iPhone Storage. If space is low, delete older videos, photos, or unused apps.
- Close other heavy apps that may use a lot of memory.
- Turn off Low Power Mode if your device is slowing down.
- Try recording a short test clip to confirm whether the issue still happens.
If problems continue, restart your iPhone and check for software updates.
You can't record certain apps or streaming content
Some apps are designed to block or limit screen recording:
- Many streaming platforms protect movies and shows with digital rights management (DRM), which can result in a black screen in your recording.
- Secure apps, such as banking or enterprise apps, may disable recording for security reasons.
You should not try to bypass these protections. Doing so can violate app terms, service agreements, or the law.
When to reset settings or contact Apple Support
If none of the fixes work:
- Go to Settings → General → Transfer or Reset iPhone → Reset → Reset All Settings. This resets system settings but keeps your data and apps.
- Test screen recording again.
- If it still fails, contact Apple Support or visit an Apple Store for help.
Once your setup is stable and reliable, you can get more creative with screen recording and use it as a serious productivity and content tool.
Advanced Tips: Power-User Ways to Use Screen Recording on iPhone
After you learn the basics and fix any issues, you can combine screen recording with other tools to get even more value. These advanced tips are especially useful for work, training, and content creation.
Use a Mac and QuickTime for high-quality captures
If you need higher quality or want to record long sessions without using iPhone storage, connect your iPhone to a Mac:
- Use a cable to connect your iPhone to your Mac.
- Open QuickTime Player on the Mac.
- Click File → New Movie Recording.
- Next to the record button, choose your iPhone as the camera source.
- Click the record button to start capturing your iPhone screen on the Mac.
This method is useful for professional tutorials, long demos, or when you need to overlay your iPhone screen inside a larger video project.
Create tutorials, app demos, and bug reports
With a bit of planning, you can turn simple screen recordings into helpful assets:
- Produce short tutorials for customers or coworkers that walk through key tasks.
- Record app demos that you can send to potential clients or partners.
- Capture clear bug reports with exact steps so developers can see and fix issues faster.
Adding narration while you record makes these videos even easier to follow.
Record gameplay and share highlights on social media
Gamers often use screen recording to capture their best moments:
- Record clutch plays, speed runs, or funny in-game events.
- Edit recordings with text and effects to make them more engaging.
- Share clips on platforms like TikTok, YouTube Shorts, or Instagram.
Always make sure that recording and sharing gameplay follows the rules of both the game and the platform.
Respect privacy, permissions, and copyright rules
No matter how you use screen recording, keep ethics and legality in mind:
- Check your recordings for private details before sharing them.
- Get permission if your video includes other people's content or communication.
- Avoid uploading copyrighted material you do not own or have rights to use.
Used responsibly, screen recording becomes one of the most useful features on your iPhone.
Conclusion
Learning how to add screen recording to iPhone only takes a few moments, but it unlocks a feature you can rely on for teaching, troubleshooting, and sharing. Once you add the control to Control Center, you can begin capturing clear, step-by-step videos at any time.
You have seen how to start and stop recordings, turn the microphone on or off, find your videos in Photos, and tidy up your clips with quick edits. You now know how to prepare your screen, protect your privacy, and avoid common issues such as missing audio or failed saves.
With troubleshooting tips and advanced ideas like Mac integration and tutorial creation, you are ready to use screen recording as a practical tool in both your personal and professional life. Set it up once, follow best practices, and your iPhone will be ready to record the exact steps you want to share whenever you need them.
Frequently Asked Questions
Does iPhone notify other people when I screen record?
In most cases, iPhone does not notify other people when you screen record. The recording happens on your device, and iOS does not send alerts to other users or apps by default. However, some apps may show their own indicators or have rules about recording, especially for secure chats or calls. Always respect privacy, ask for consent when needed, and follow each app’s terms of use.
Why can’t I add Screen Recording to Control Center on my iPhone?
If you cannot add screen recording to Control Center, first open Settings → Control Center and check under ‘More Controls’ for ‘Screen Recording’. If it is missing or greyed out, Screen Time or a device management profile may be restricting it. Go to Settings → Screen Time → Content & Privacy Restrictions and review the settings. If your iPhone is managed by your company or school, you may need to ask the administrator to allow screen recording.
How do I screen record on iPhone with sound only from the app and not my voice?
To record only app or system sounds without your voice, open Control Center, then long-press the Screen Recording icon. Make sure the Microphone icon is turned off, then tap ‘Start Recording’. With the microphone off, the iPhone records only the audio produced by the app or system, when allowed. This works well for gameplay or music apps where you do not need narration.