Introduction
The Instax Mini 12 becomes an indispensable companion for many, turning everyday moments into tangible memories with a click. But, when it stops capturing those moments, frustration can quickly set in. Uncovering the reasons your Instax Mini 12 isn’t snapping pictures is the first step towards fixing the issue. This guide will help you explore common complications and provide solutions to keep your camera functioning at its best.

Understanding Your Instax Mini 12
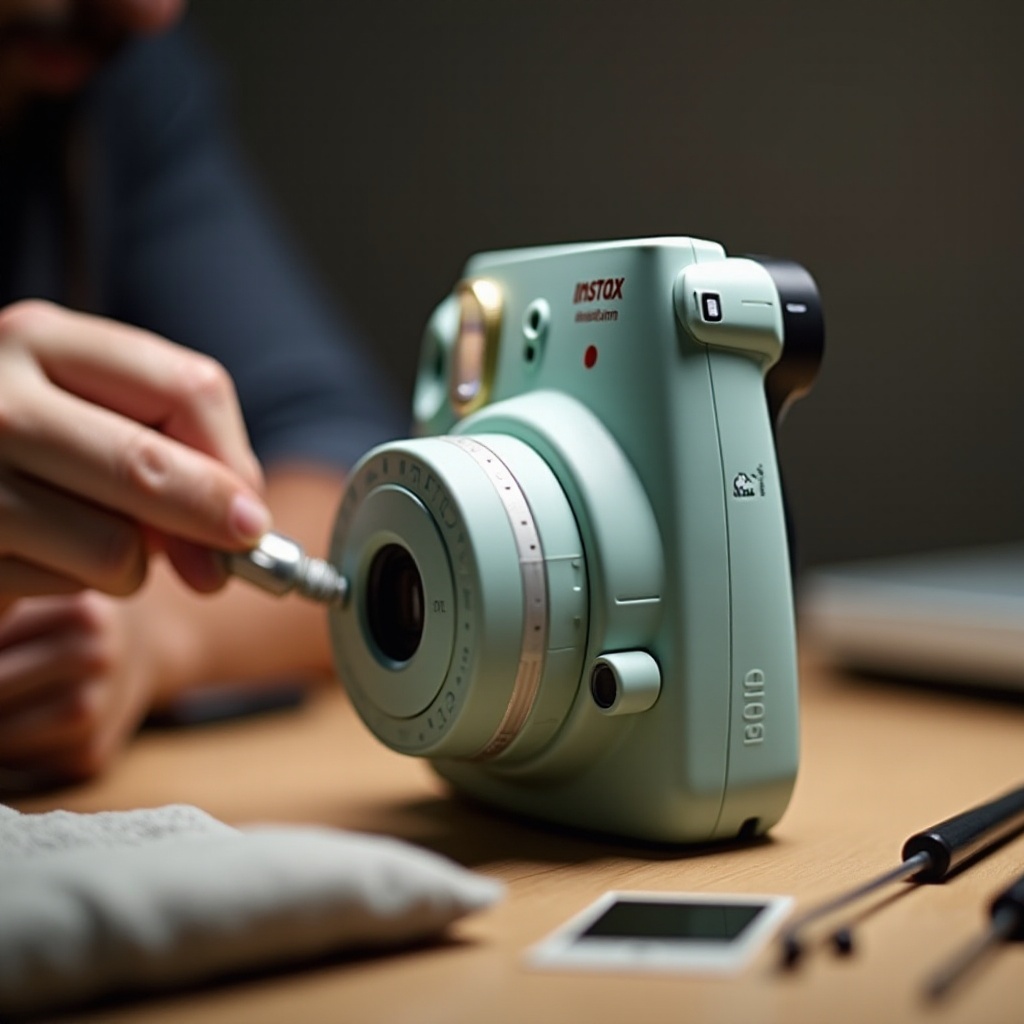
To effectively troubleshoot, you must first become familiar with the key components and features that make your Instax Mini 12 work. This includes understanding elements like the lens, film compartment, and battery housing. Familiarity with these components sets the groundwork for identifying issues when they arise.
Key Features and Components
- Lens and Shutter: These must remain clean and functional to ensure high-quality photos. Verify the lens is unobstructed.
- Film Compartment: Proper operation is necessary for pictures to develop accurately. Make sure film is correctly positioned.
- Battery Housing: Provides needed power, making it essential to use fresh, compatible batteries consistently.
Knowledge of these parts aids in accurate diagnostics, making it easier to maintain optimal performance from your camera.
Common Reasons Why Your Instax Mini 12 Isn’t Taking Pictures
Understanding prevalent issues can pave the way for effective troubleshooting. Assessing whether the problem is due to battery failure, film misplacement, or blockage helps guide the resolution process.
Battery Issues and Solutions
Dead or improperly installed batteries are frequent culprits. Ensure batteries are fresh and correctly aligned. Double-check the polarity when inserting them to avoid alignment errors. Switching to high-quality alkaline batteries can enhance reliability, keeping your camera ready for action.
Film Loading Errors
Improper film management leads to functionality issues. First, confirm the film is loaded correctly by matching the alignment marks. Avoid exposing the film to light unnecessarily, as this can ruin its sensitivity and quality. Additionally, always verify your film’s expiration date.
Lens and Viewfinder Obstructions
Ensure nothing obstructs the lens. Always remove the lens cap before taking a shot, and keep the lens clean by regularly wiping it with a soft, lint-free cloth.
Armed with this understanding, you’re now prepared to take a targeted approach to persistent issues through more structured troubleshooting.
Step-by-Step Troubleshooting Guide
If basic checks don’t resolve the problem, a detailed troubleshooting process can help. Follow these steps to systematically identify and address specific concerns.
Checking and Replacing Batteries
- Ensure the camera is off, then open the battery compartment.
- Remove any old batteries and replace them with new ones, ensuring proper alignment and polarity.
- Power the camera back on to test functionality by taking a sample shot.
Proper Film Loading Techniques
- Open the film compartment, remove spent film packs, and insert a new pack aligning the yellow marks.
- Close the compartment securely and turn on the camera.
- Attempt a trial photo to ensure the film is developing correctly.
Basic Camera Reset Procedures
- Power off the camera, then remove the battery to reset any potential errors.
- Reinsert the battery after a minute, ensuring it is securely in place.
- Turn the camera on and test with a picture to confirm it is functioning properly.
Testing in Different Environments
- Capture images in various light settings to determine if environmental conditions affect picture quality.
- If photo issues persist in low light, try adjusting positioning to improve results and avoid shadows.
These steps should rectify most non-mechanical issues, helping you regain reliable performance from your camera.

Maintaining Your Instax Mini 12 for Optimal Performance
Proper care of your Instax Mini 12 ensures it remains a reliable tool for capturing memories. Regular maintenance and mindful storage prevent many problems before they start.
Regular Cleaning Routine
- Use a soft, brush to extricate dust from difficult-to-reach areas like the lens and viewfinder.
- Periodically wipe down the camera body and case to maintain a clean appearance and prevent dirt intrusion.
Safe Storage Tips
- Store your camera in a stable, cool environment free from extreme temperatures to protect its internal components.
- Consider housing it in a protective case to shield from physical damage, extending the camera’s lifespan and keeping it ready for any spontaneous moments.
With consistent maintenance, your Instax Mini 12 will deliver reliable performance, saving you from missed opportunities and ensuring every moment is perfectly captured.
Conclusion
Giving your Instax Mini 12 the attention it needs allows it to consistently deliver top-quality photos. By understanding common issues and applying straightforward solutions, you safeguard against missing those special moments. Proper care and maintenance of your device not only prolong its service life but also enhance your ability to preserve memories as they happen.
Frequently Asked Questions
Why is my Instax Mini 12 blinking red?
A blinking red light typically indicates low battery power. Replace the batteries with fresh ones to resolve this issue.
Can old film cause picture issues?
Yes, expired film often results in poor image quality or failed exposures. Always check the expiration date before using film.
How do I know if the Instax Mini 12 needs repair?
If issues persist despite troubleshooting, or you notice mechanical issues, seek professional repair services to evaluate and fix your camera.