Introduction
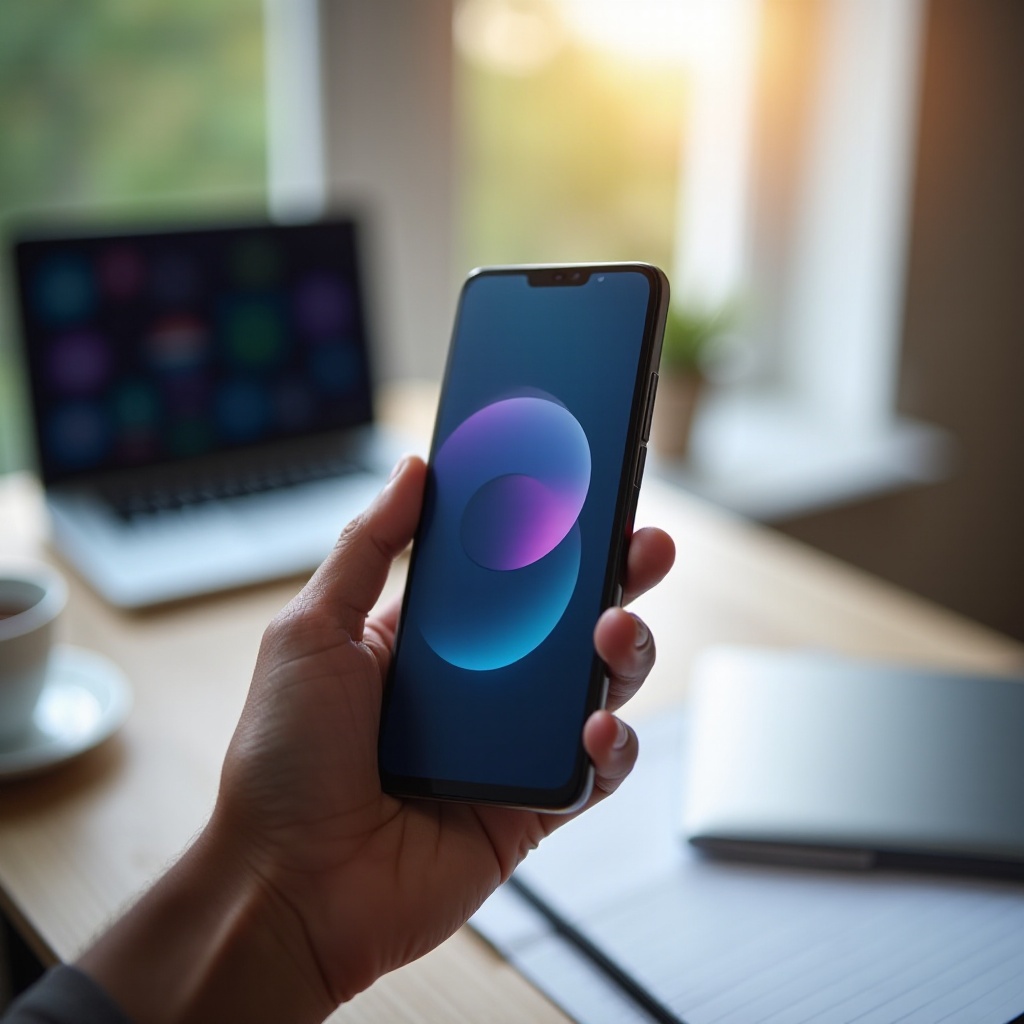
The depth effect turns a flat lock screen into a layered scene where the clock tucks behind a subject. When it fails, the lock screen looks plain, and the toggle seems to do nothing. Many users hit this wall after changing a photo, adding widgets, or updating software. The good news is that most fixes take minutes.
You will learn to diagnose the four areas that decide success: compatibility, photo selection and framing, lock screen layout, and software bugs. We start with quick checks you can run right now. Then we explain how the effect works so your photo choices make sense. After that, you get step by step guides for iPhone and Android. We will also cover hidden settings that quietly cancel the effect, and pro tips to create reliable wallpapers. By the end, you will know exactly where to look, what to change, and how to keep the layered look stable.
Next, let us anchor the basics. Understanding how the effect renders makes every fix easier.
What Is the Depth Effect on Phones and How It Works
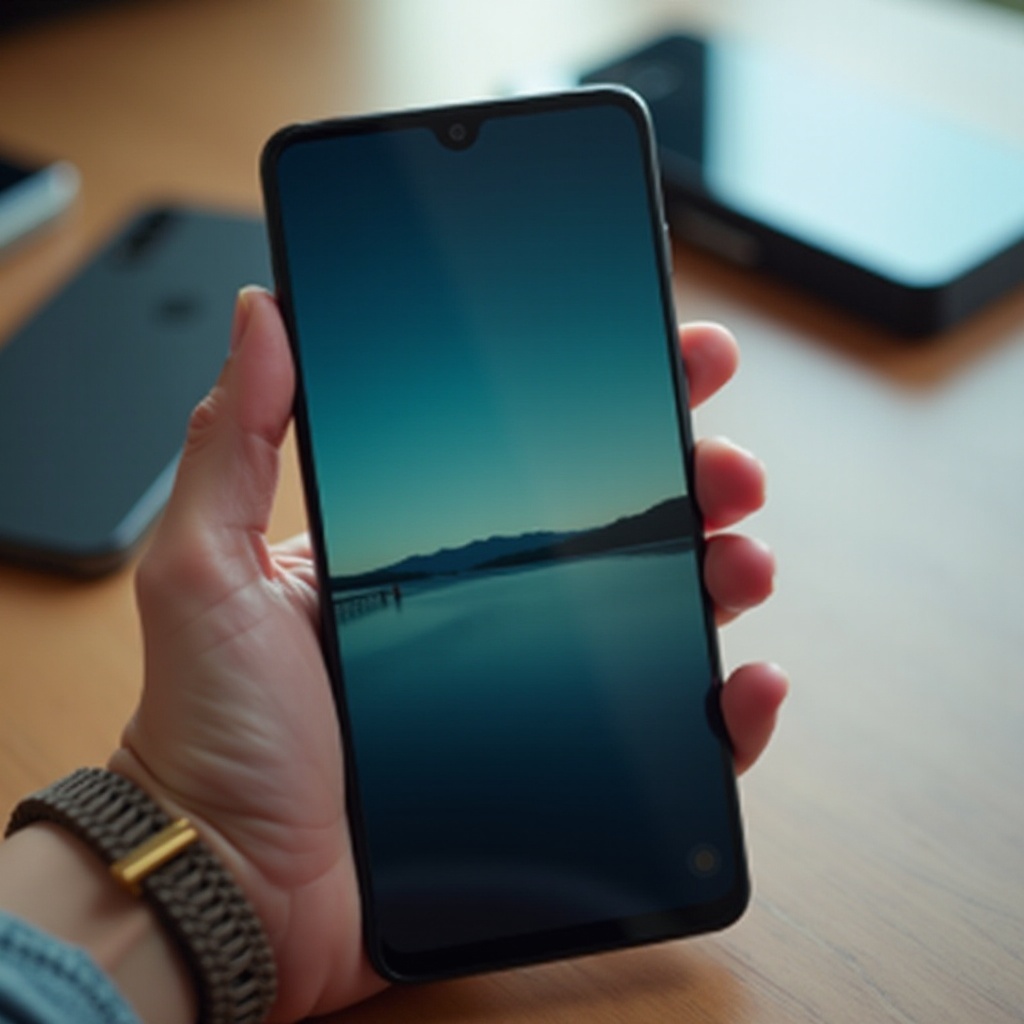
Depth effect creates the illusion that UI elements sit behind your photo subject. Phones do this by separating the foreground subject from the background using segmentation models and, when available, depth data. If the system sees clear edges and open space for the clock, it draws part of the subject over the clock and creates an overlap. If it cannot find that separation or room, it disables the effect.
Several factors guide the decision. A clean subject with contrast against the background raises detection confidence. The crop must leave headroom so the clock can slide partly behind the subject. Heavy edits, busy textures, and low light noise reduce the chance of a clean cutout. Widgets and certain layouts can also force the system to show a standard flat clock.
Keep this mental model in mind. When the effect fails, you either adjust the photo to help segmentation, or you change the layout so the clock can tuck behind the subject. Start with quick checks to cover the most common mistakes in seconds.
Quick Checks: Fast Fixes for iPhone and Android
Run these fast steps before anything else:
– Toggle the effect: Open your lock screen editor, switch Depth Effect off and on, and reapply the wallpaper.
– Remove widgets: Widgets and live activities can cancel layering. Test with no widgets, then add back one at a time.
– Reframe the photo: Pinch to crop so the subject overlaps where the clock sits. Leave clear space at the top.
– Try a different photo: Use a person, pet, or object on a simple background. Avoid busy or low contrast scenes.
– Update your phone: Install the latest system updates and wallpaper app updates.
– Restart the device: A quick reboot can refresh wallpaper services and caches.
– Rebuild the lock screen: Create a new lock screen setup from scratch and select the same photo again.
If these steps restore the effect, you found the cause. If the effect still fails, verify that your device, OS, and theme support the feature and do not block it.
Compatibility and Support: Devices, OS Versions, and Limitations
Depth effects depend on supported hardware and recent software. iPhone models running recent iOS versions offer layered lock screens, but some older models show the toggle without rendering the overlap. On Android, Samsung One UI, Google Pixel, and several other brands provide layered, cinematic, or 3D wallpapers on newer devices. Features and names vary by brand.
Your theme and launcher matter. Third party themes, custom launchers, and certain region or work profiles can limit lock screen options and break the effect. Some clock styles and Always On Display combinations disable layering by design. If the setting is missing entirely, you may need to switch to a stock theme or update the wallpaper service app.
Once you confirm support, you can focus on the photo itself. The right subject and crop fix most stubborn issues.
Photo Requirements: Why Your Picture Fails the Depth Test
Most failures come from the image. Follow these rules and your photos will pass more often:
– Clear subject: Pick a person, pet, or object with sharp edges and a distinct color from the background.
– Simple background: Avoid complex patterns, heavy grain, and similar tones that hide the edge.
– Good light: Use soft, even light. Strong noise or harsh halos confuse segmentation.
– Smart framing: Leave headroom for the clock. Let the subject overlap the clock area, not just fill the center.
– Medium distance: Keep the subject large enough to see edges, but do not crop off the top of heads or ears.
– Minimal edits: Heavy filters, fake blur, or extreme HDR can create artifacts. Stick to light touch ups.
– Use the original: Choose the original file or a high quality export. Re saving through chat apps or screenshots can add compression.
When your photo meets these criteria, the system has an easier job. Now apply the effect on your device and fine tune the layout to keep it active.
iPhone: Enable, Configure, and Troubleshoot Depth Effect
Follow these steps to get reliable results on iPhone:
1) Open Settings, go to Wallpaper, then Customize Lock Screen. You can also press and hold the lock screen and tap Customize.
2) Select Photos and pick a shot with a clear subject and clean background. Choose an image with headroom at the top.
3) Pinch to crop. Position the subject so part of it overlaps the clock area. Avoid cutting off key features.
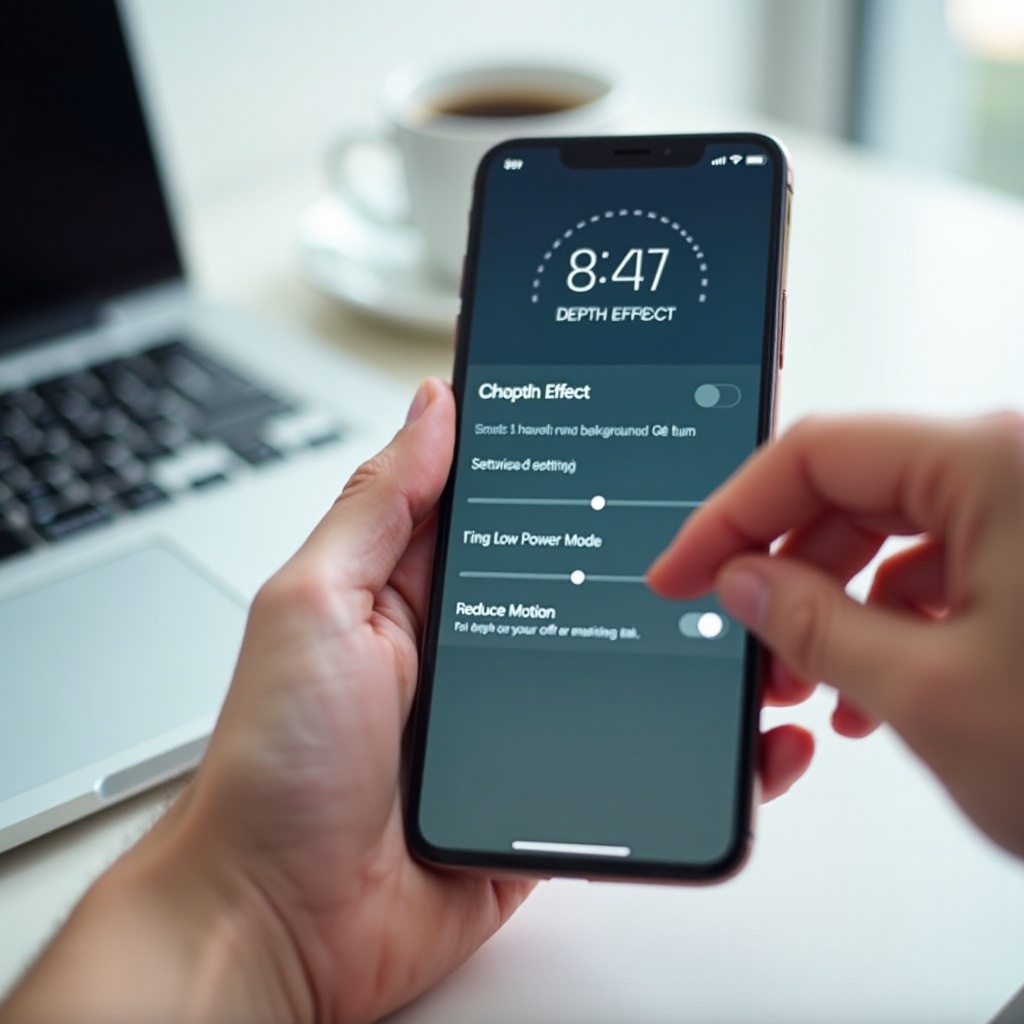
4) Tap the options menu and confirm Depth Effect is on. If it is off, turn it on and apply.
5) Remove widgets for testing. Apply the wallpaper with no widgets. If it works, add widgets back one by one.
6) Adjust the clock style and color. Some combinations reduce contrast and can cause the system to drop the overlap.
7) Rebuild the lock screen if needed. Create a new lock screen, add the photo, and enable the effect again.
8) Restart the iPhone. If problems persist, Reset All Settings to clear UI glitches. This does not erase personal data, but it resets network and display preferences.
If the effect appears but disappears after a while, a layout or system option may be canceling it. The next section covers those hidden settings and how to avoid them.
Android: Samsung, Pixel, and OnePlus Setup and Fixes
Steps vary by brand, but the core actions are the same.
Samsung One UI
- Open Settings, then Wallpaper and style, then Lock screen, and tap Edit.
- Pick a photo and look for layered or depth options. If you do not see them, switch to a default theme.
- Remove widgets and try a simple clock. Adjust clock size and position to leave room for overlap.
- Update Wallpaper and style from Galaxy Store. Updates often fix rendering issues.
Google Pixel
- Long press the home screen, open Wallpaper and style, and select a photo.
- Try Cinematic or 3D wallpapers if available. Keep Google Wallpapers up to date from Play Store.
- Reposition the crop so the subject overlaps the clock area. Test different clock styles.
OnePlus and other brands
- Open Wallpapers or Personalizations and look for Canvas, 3D, or Layered effects.
- Update the Themes or Wallpapers app. Switch to the stock launcher if a third party launcher overrides the lock screen.
- If the effect flickers or resets after reboot, clear cache and data for the wallpaper service, then re apply.
If you still struggle, system or app settings may be blocking the effect. Let us surface and fix those next.
Settings That Disable Depth Effect and How to Avoid Them
Several options can turn off layering even while the toggle remains visible. Test and adjust these settings:
– Widgets and live activities: Large or multiple widgets often cancel the effect. Start with none, then add back one at a time.
– Always On Display: Some AOD layouts force a simple clock. Try a minimal AOD or turn it off to confirm the cause.
– Notification layout: Dense stacks or detailed previews may push the clock and disable overlap. Use a lighter view.
– Accessibility features: Reduce Motion, high contrast, and color filters change rendering paths. Temporarily disable and retest.
– Themes and launchers: Third party themes or custom launchers modify the lock screen. Use stock options while testing.
– Power saving: Battery saver modes can limit animations and special effects. Turn them off and try again.
– Work or school profiles: MDM policies can lock customization. If you use a managed profile, check with your admin.
Once you isolate the culprit, you can design a layout that keeps the effect active while preserving the features you care about most. If you want more consistent results, build stronger images that the system can segment without effort.
Advanced Tips: Shoot, Edit, and Prepare Perfect Wallpapers
You can raise your success rate by shooting and editing with depth in mind.
Shoot for clean separation
- Step away from the background to create separation and reduce distractions.
- Use soft light or shade to avoid blown highlights and muddy shadows around edges.
- Avoid ultra wide lenses that distort edges. A standard focal length preserves subject shape.
Compose for the clock
- Leave clear space above the subject where the clock sits.
- Position the subject slightly off center if it helps the clock tuck in neatly.
- Test the crop while composing. Imagine where the clock will overlap.
Edit for strong edges
- Increase edge contrast gently to help the system see boundaries.
- Reduce noise and texture in the background to keep the focus on the subject.
- Avoid heavy filters and fake blur, which can add halos or banding.
Save and manage files well
- Keep high quality originals. Avoid screenshots or re saved images from chat apps.
- Export at high quality if you edit in another app. Do not over compress.
- Build a set of known good photos that always work so you can switch quickly when needed.
These practices make the effect easier for your phone to render, even after system updates. If issues persist across good photos and clean layouts, you may be dealing with a software bug.
When It’s a Bug: Updates, Workarounds, and Reporting
Sometimes the effect fails due to a bug in the wallpaper service or lock screen component. Here is a reliable workflow:
1) Update the phone OS and the wallpaper app from the official app store.
2) Switch to a default theme and a simple clock style. Retest with a known good photo.
3) On Android, clear cache and data for the wallpaper service, then restart. On iPhone, rebuild the lock screen and restart.
4) If a recent update broke the effect, try a different photo format, a live or static variant, or a different clock style as a temporary workaround.
5) Report the issue with details. Include device model, OS version, steps to reproduce, screenshots of settings, and the problematic image or a redacted sample.
If a fix is pending, keep a backup wallpaper that always works. That way you can keep the layered look while you wait for a patch.
Conclusion
Depth effect depends on three pillars: a supported device and OS, a photo that the system can segment, and a lock screen layout that leaves space for overlap. Once you understand these pillars, troubleshooting becomes simple. Start with quick checks, confirm compatibility, and pick a strong image. Then strip back conflicting settings, set a clean clock style, and add features back slowly. Use the shooting and editing tips to produce reliable wallpapers that survive updates and theme changes. With this approach, you can restore the layered look and keep it stable, turning your lock screen into a small piece of visual delight every time you wake your phone.
Frequently Asked Questions
Why does the Depth Effect toggle appear but nothing changes on my lock screen?
The system likely cannot segment the subject or the clock has no room to tuck behind it. Reframe the photo to overlap the clock area, remove widgets, try a different clock style, and reapply the wallpaper. If it still fails, rebuild the lock screen and update software.
Can widgets, Always On Display, or notification styles disable the depth effect?
Yes. Large widget layouts, certain Always On Display styles, and dense notification views can cancel layering. Test with no widgets and a simple clock, change AOD to a minimal layout, and switch notifications to a lighter style. Add elements back one at a time to find the culprit.
Do I need Portrait or Live photos, and which file types work best?
You do not need Portrait or Live photos, but images with clear subject separation work best. Use original, high quality files, avoid heavy filters and compression, and keep backgrounds simple. On some devices, live or portrait shots can help segmentation, but clean regular photos also work.