
Introduction
Removing iphone sim sounds simple until you meet a stuck tray, an eSIM prompt you do not recognize, or a number port that will not finish. You can avoid most delays with a short checklist, the right tool, and a plan for what happens after the swap. This guide gives clear steps for both physical SIM and eSIM. It also covers switching carriers, adding a travel line, and fixing common errors fast.
You will learn where the tray sits, how to pop it without damage, and what to do if your device has no tray at all. You will also see how to remove or transfer an eSIM using Settings, a QR code, or your carrier app. To close the loop, the post includes tests to confirm service and tips to secure your number. If hardware or activation blocks progress, you will know who to call and what to ask.
Next, identify your SIM type so you can follow the correct path for removal or transfer.
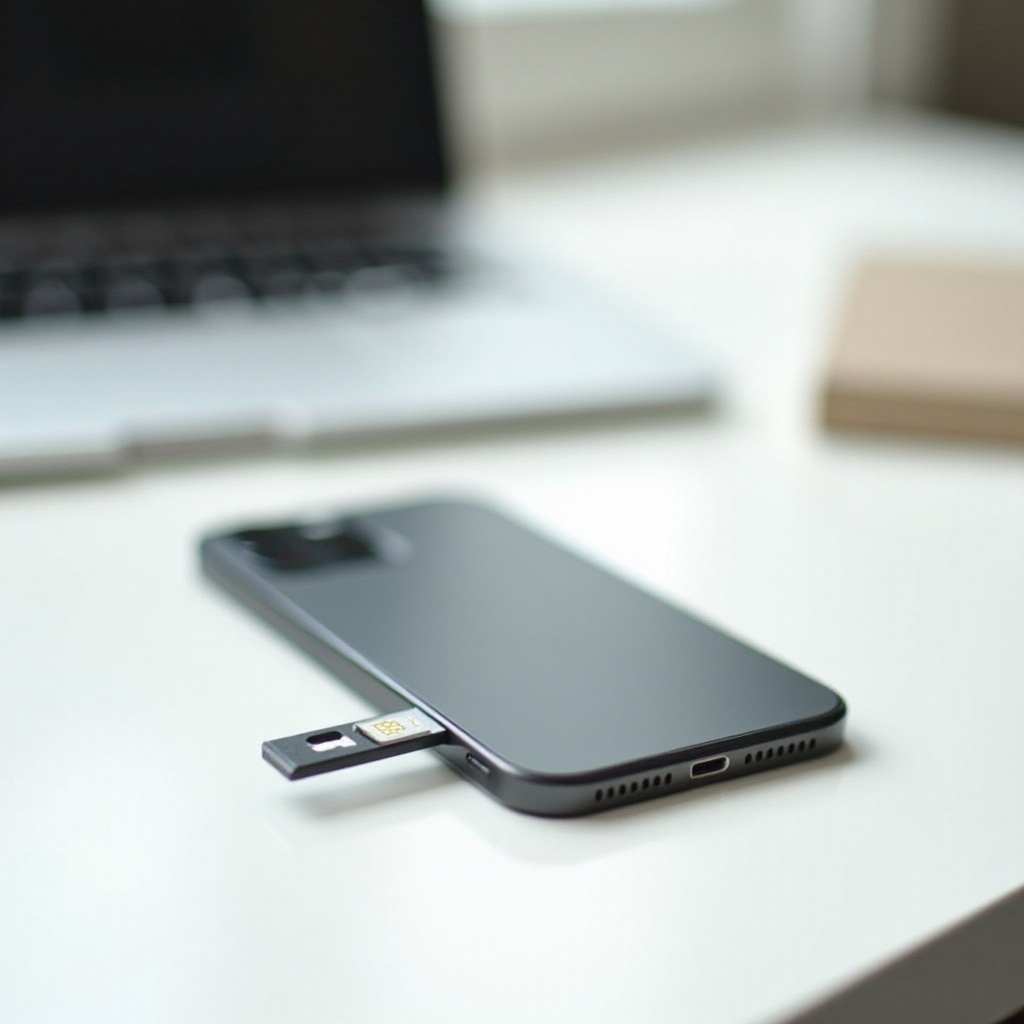
Understand Your iPhone’s SIM: Physical SIM, eSIM, and Dual SIM
Before you start, find out how your iPhone holds its cellular plan. Many recent US models support eSIM only and ship without a tray. Other regions and older units still use a nano‑SIM tray. Some devices support two lines at once through dual eSIM, or one eSIM plus one physical SIM. The type determines your next steps.
Check your SIM setup in three quick ways:
– Inspect the frame for a thin slot with a small pinhole. If you see a slot, your phone uses a physical SIM tray.
– Open Settings > Cellular (or Mobile Service). If you see Add eSIM and your plan shows as eSIM, your line is digital. If you see a line labeled SIM, a physical card is in play.
– If you use two lines, the Cellular screen lists each with a label. It also shows whether each line is eSIM or SIM.
Why this matters:
– Physical SIM: You will eject a tray and handle a tiny card. You must align the notched corner and protect the rubber gasket around the tray.
– eSIM: You will remove or move a digital plan in Settings. You may approve a Quick Transfer, scan a QR code, or use a carrier app.
– Dual SIM: You will pick which line to keep, move, or delete. To avoid confusion, label your lines in Settings > Cellular (for example, Personal and Work).
Once you know your type, prepare your device and account. A short prep list prevents service gaps and activation loops.
Pre-Removal Checklist: Tools, Backups, Power, and Account Settings
A few minutes of prep saves hours of frustration. Gather the right tool, protect your data, and sign in where needed before removing iphone sim or changing an eSIM.
Do this before you remove or transfer a SIM:
1) Gather tools
– Use Apple’s ejector pin if you have it.
– If you do not, use a small paperclip with a straight, blunt tip.
– Avoid sharp objects such as needles, thumbtacks, or blades.
2) Charge your iPhone
– Keep at least 30 percent battery. Some activations need restarts and background downloads.
3) Back up your iPhone
– Use iCloud or a computer. Encrypted backups retain more settings and may include eSIM profiles for some carriers.
4) Power off for physical SIM removal
– Press the side button and a volume button, then slide to power off. This reduces the chance of radio errors while the tray is out.
5) Check carrier and account status
– If you plan to switch carriers, confirm your phone is unlocked.
– Get your account number and port‑out PIN if you will move your number.
6) Manage SIM PIN
– If your physical SIM uses a PIN, disable it temporarily in Settings > Cellular > SIM PIN to avoid lockouts while testing. Turn it back on later.
7) Connect to Wi‑Fi
– eSIM activations require internet access. Prepare a trusted Wi‑Fi network to speed things up.
With your basics covered, you can eject a physical SIM with confidence. If your phone has no tray, skip ahead to eSIM management.
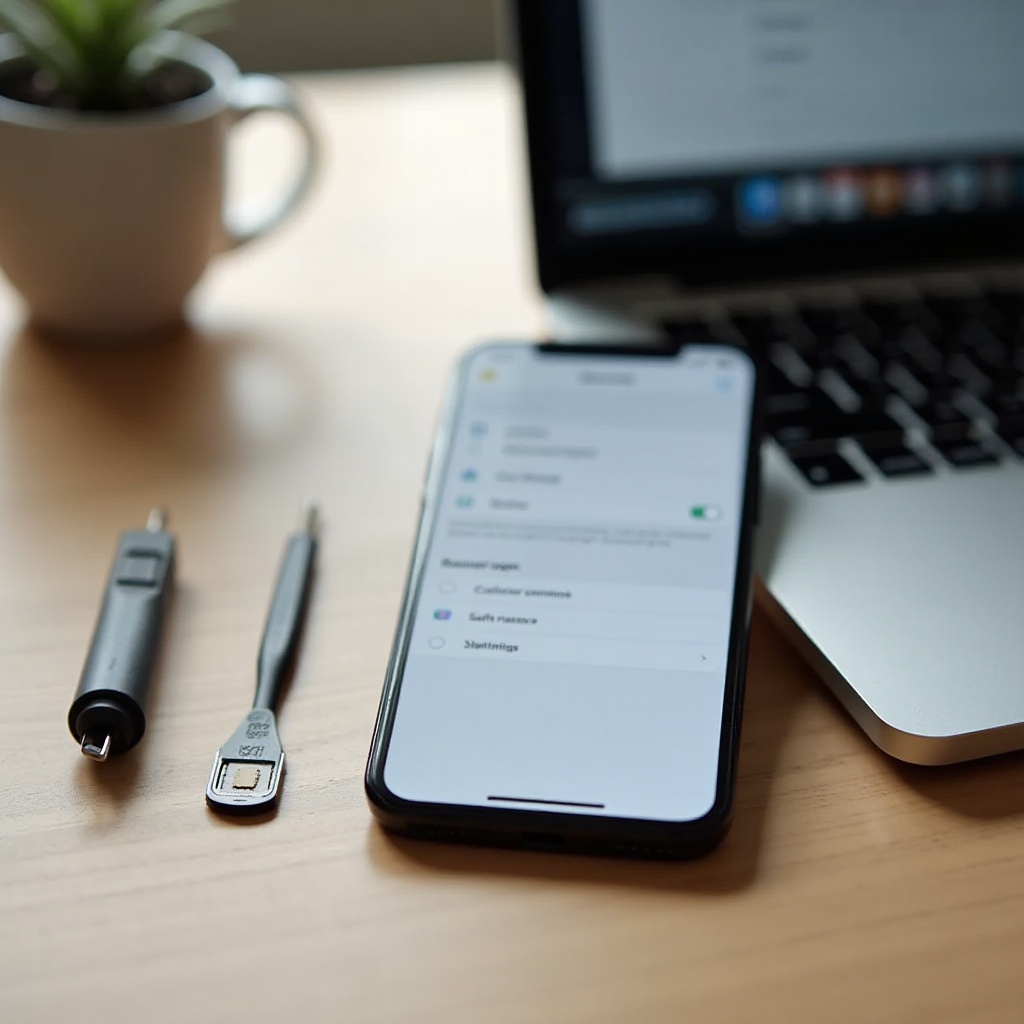
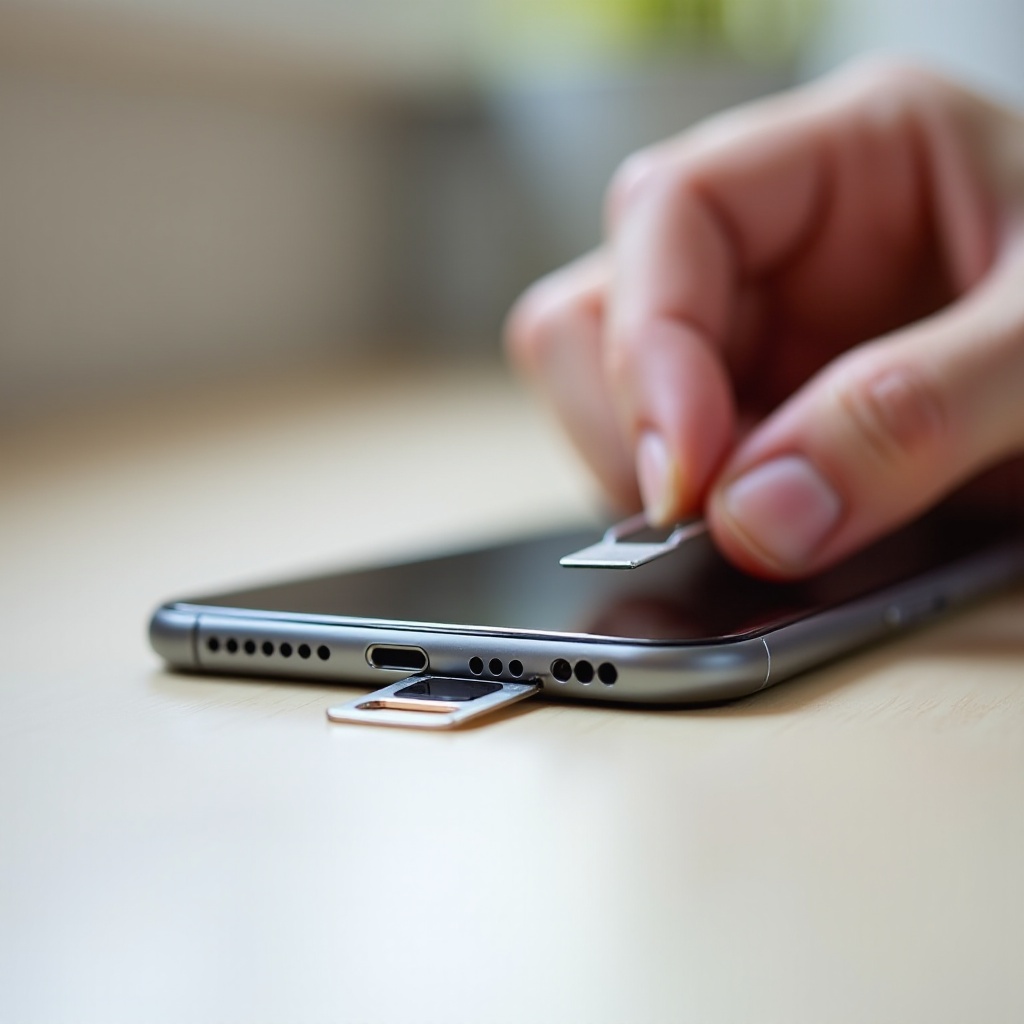
Removing a Physical SIM: Exact Steps and Tray Locations by Model
If your iPhone includes a tray, you will find it along the frame. Most models place it on the right edge; a few variants put it on the left. The tray shows a thin outline and a tiny pinhole for the ejector.
Follow these steps to remove a physical SIM safely:
1) Power off the phone.
2) Locate the tray
– Hold the phone up to the light and find the pinhole on the tray outline.
– Do not push into any other hole; some microphones sit near the same area.
3) Insert the ejector tool
– Hold the phone in one hand and align the tool straight into the pinhole.
– Apply steady, firm pressure until the tray clicks and pops out slightly. Do not twist the tool.
4) Remove the tray
– Pull the tray out gently with your fingers. Watch for a thin rubber gasket around the tray that helps with water resistance. Avoid stretching or tearing it.
5) Lift the SIM card
– Note the notched corner and the gold contacts. Lift the card straight up and set it on a clean, dry surface.
6) Inspect and clean
– Look for dust or moisture in the slot. Do not blow into the slot. Use a soft, dry cloth to wipe the SIM if needed.
7) Reinsert or replace
– If you will reuse the same line, keep the SIM safe. If you will install a new SIM, align the notch with the tray cutout and make sure the card sits flat.
8) Slide the tray back in
– Insert the tray in the same orientation you removed it. Press it flush with the frame without force.
Stuck tray tips:
– Make sure you are pressing the tray pinhole, not a microphone.
– Use a sturdy paperclip, not a flimsy one.
– Press straight; avoid angling or rocking.
– If the tray will not budge, stop. Forcing can bend the tray or damage the seal. Visit Apple or a trusted repair shop.
If your model has no tray, your line uses eSIM. The next section covers removing, moving, and adding eSIM lines in Settings.
Managing eSIM: Remove, Transfer, or Add a Line in Settings
eSIM stores your plan digitally, so you manage it in Settings. Keep Wi‑Fi on, and have your carrier login or QR code ready. Processes vary by carrier, but the flow stays similar.
Remove an eSIM line:
1) Open Settings > Cellular (or Mobile Service).
2) Tap the plan you want to remove.
3) Tap Remove eSIM and confirm. This deletes the plan from the phone but does not cancel billing. Contact the carrier if you need to cancel the account.
Transfer eSIM to a new iPhone:
– Quick Transfer between your own iPhones
1) Place both iPhones nearby with Bluetooth on and unlocked.
2) Start setup on the new phone or go to Settings > Cellular > Add eSIM.
3) Follow the prompts to move your number. Approve the transfer on the old phone when asked.
– QR code or carrier app
1) Request an eSIM QR or activation from your carrier, or install its app.
2) On the new iPhone, go to Settings > Cellular > Add eSIM > Use QR Code.
3) Scan the code or follow the app flow to finish activation.
Add a second line (Dual eSIM):
1) Go to Settings > Cellular > Add eSIM.
2) Activate via Quick Transfer, QR, or carrier app.
3) Label each line and set defaults for voice, data, and iMessage.
Notes that save time:
– Some carriers must reassign an eSIM before a new download works. Keep your carrier login handy and do not delete an eSIM until the new one is ready.
– Keep Wi‑Fi on. The phone may restart during activation. That is normal.
With removal and transfer covered, you are ready to switch carriers or add a temporary travel line without losing service.
Switching Carriers or Traveling: SIM Removal, Activation, and Dual SIM Best Practices
When you switch carriers or prepare for travel, the goal is a clean cutover with no gaps. A few checks and smart defaults make that happen.
Before you switch:
– Unlock status: Confirm the phone is unlocked if you plan to use another carrier.
– Account info: Get your account number, port‑out PIN, and billing ZIP from the current carrier.
– Network compatibility: Verify that your iPhone supports the new carrier’s LTE and 5G bands.
Activate on the new carrier:
– Physical SIM
1) Eject the old SIM and insert the new one with the notch aligned.
2) Power on and follow on‑screen steps. Accept any Carrier Settings Update prompt.
3) Test calls, texts, and data before leaving the store or ending the chat.
– eSIM
1) Use Quick Transfer when moving between your own devices.
2) For a new carrier, scan the QR code or use the carrier’s app.
3) Set your default line for voice, data, and iMessage in Settings > Cellular.
Travel with Dual SIM:
– Keep your home line active on one eSIM for calls and texts.
– Add a local eSIM or physical SIM for data.
– Set Cellular Data to the travel line, and leave voice on your home line if you must receive calls.
– Turn on Data Roaming only for the line that needs it.
Next, if you see errors like ‘No SIM’ or a failed activation, work through the targeted fixes below.
Troubleshooting After SIM Removal: No SIM, SIM PIN/PUK, Activation, and Stuck Tray
Small mistakes cause most post‑swap errors. Work through quick checks first, then move to carrier or hardware support as needed.
Fixing ‘No SIM’ or ‘Invalid SIM
- Reseat the tray: Power off, eject, align the SIM, and reinsert firmly. Make sure the tray sits flush.
- Clean the SIM: Wipe the gold contacts with a dry, lint‑free cloth.
- Cross‑test: Try your SIM in another phone. If it works there, your reader or tray may be at fault.
- Update software: Install the latest iOS. Then open Settings > General > About and wait a few seconds to trigger a carrier settings prompt if available.
Resolving SIM PIN or PUK lock
- Do not guess: Stop after two wrong PIN attempts.
- Contact your carrier: Ask for the PUK (Personal Unblocking Key) and follow the instructions.
- Replace if needed: Too many wrong PUK entries can permanently disable a SIM. The carrier can issue a new SIM or eSIM.
Clearing activation failures (eSIM or physical)
- Connect to Wi‑Fi and retry the activation.
- Toggle Airplane Mode on and off, then restart the iPhone.
- Remove and re‑add the eSIM profile if it looks corrupt.
- Confirm account status and payment. Suspended or pending port accounts often block activation.
- Number ports take time. If calls or texts route to the old carrier, ask the new carrier to refresh activation or reprovision your line.
When a tray is stuck or bent
- Use the right pin and press straight, not at an angle.
- Never pry with blades or pull with tweezers.
- If the tray will not release, or if the gasket is torn, stop and book a repair. Forcing it risks frame damage and water‑seal failure.
With service restored, you should verify iMessage, FaceTime, and any connected devices use the correct line.
Post-Removal Checks: Service, iMessage/FaceTime, Apple Watch, and Emergency Calls
Once you remove or transfer a SIM, test the full path from voice to data to apps. This confirms the change is complete and stable.
Run this checklist:
1) Place a test call and send a text. Confirm your friend sees the right caller ID.
2) Test mobile data by loading several web pages or an email sync.
3) Re‑enable iMessage and FaceTime if they switched off. Open Settings > Messages and Settings > FaceTime, then select your phone number.
4) Check Apple Watch cellular if you have one. Open the Watch app and confirm the plan is active or reassociate it if needed.
5) Set default line preferences in Settings > Cellular for voice, data, and iMessage.
6) Confirm emergency calling. Some carriers must provision the line before emergency calls work properly.
After these checks, take a moment to lock down your accounts and retire any old cards or profiles safely.
Security and Privacy: Protecting Against SIM Swap and Disposing of Old SIMs
Your phone number unlocks many accounts, so treat it like a key. When you finish removing iphone sim or migrating an eSIM, tighten security to prevent fraud.
Best practices that reduce risk:
– Prefer app‑based two‑factor codes or security keys for banks, email, and cloud logins. Avoid SMS codes when possible.
– Set a strong carrier account password and a port‑out PIN. Do not share them.
– Re‑enable SIM PIN after testing. Choose a code you will not forget.
– Destroy old physical SIMs by cutting through the chip and discarding the pieces separately.
– Remove eSIM profiles from devices you sell or give away. Sign out of iCloud and erase the device.
If you see suspicious line changes or lose service unexpectedly, contact your carrier at once and ask for a SIM swap lock.
When to Get Help: Apple, Carrier Support, and Repair Options
Know when to stop and call a pro. Contact Apple if the tray will not eject with straight, firm pressure, if the tray or gasket is damaged, or if multiple known‑good SIMs fail in your phone. Apple or an authorized provider can replace the tray and protect water resistance.
Contact your carrier for activation and provisioning issues, eSIM transfers that fail despite Wi‑Fi and restarts, SIM PIN or PUK resets, or stalled number ports. A carrier agent can reprovision your line, issue a new eSIM, or escalate a port.
Clear symptoms and a short checklist of what you tried help support resolve your issue faster.
Conclusion
Removing iphone sim does not have to be stressful. Identify your SIM type, prepare your tools and backups, and follow exact steps. Physical SIM removal stays simple if you align the notched card and protect the tray seal. eSIM makes switching fast with Quick Transfer, QR codes, or carrier apps. Dual SIM adds flexibility for work and travel once you label lines and set defaults.
If problems appear, work through targeted fixes for ‘No SIM’, PIN or PUK lock, or activation failures. Then place calls, send texts, test data, and confirm iMessage and FaceTime. Re‑enable security features such as a SIM PIN and add stronger two‑factor on key accounts. If trays stick or activations stall, contact Apple or your carrier. With a clear plan and these steps, you can remove, replace, or transfer a SIM quickly and safely.
Frequently Asked Questions
Does removing my iPhone SIM delete my data or Apple ID?
No. Your photos, apps, and Apple ID remain on the phone. Removing a physical SIM or deleting an eSIM only affects cellular service. After a number change, open Settings to confirm iMessage and FaceTime use the correct line.
How do I remove an iPhone SIM without the ejector tool?
Use a small paperclip with a straight, blunt tip. Insert it into the SIM tray pinhole and press straight until the tray pops out. Avoid sharp objects like needles or knives, which can damage the frame or gasket.
Can I use eSIM on my iPhone without a physical SIM installed?
Yes. Many recent iPhones support eSIM only. You can activate one or more eSIM lines with Quick Transfer, a carrier app, or a QR code. After activation, set your default line in Settings for calls, data, and iMessage.