Introduction
Find My iPhone alerts can be a lifesaver when your device goes missing or when someone is trying to track you. But if your iPhone keeps flashing pop-ups or sounding alarms, the same feature quickly becomes frustrating. Many people reach the point where they just want the alerts to stop.
Turning everything off sounds like the quickest solution, but it can put your privacy and device security at risk. Find My is deeply tied to Activation Lock and your Apple ID, and it plays a major role in helping you recover a lost or stolen iPhone.
You do not need to choose between constant alerts and no protection. You can tune Find My so it works quietly in the background while still protecting you. This guide explains how to stop Find My iPhone alerts the smart way: by adjusting specific settings, silencing or limiting notifications, fixing glitchy alerts, and only as a last option, turning Find My off.
Next, you will see what these alerts actually mean and why they show up so often, which makes it easier to decide what to change and what to keep.

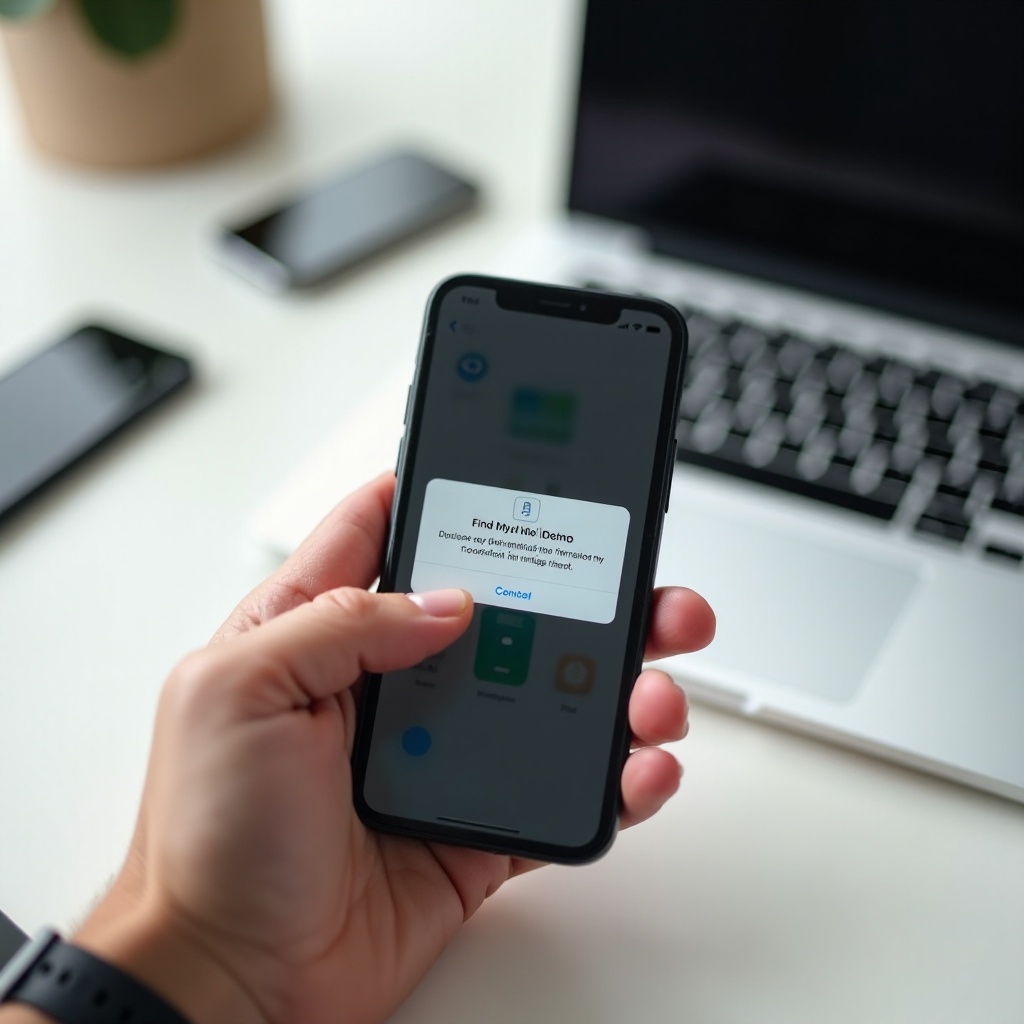
What ‘Find My iPhone’ Alerts Actually Mean
Before you change any settings, it helps to understand what Find My iPhone alerts are trying to tell you. Not all notifications from Find My are the same. Some relate to your devices, others to shared locations, and some warn you about unknown trackers.
The role of the Find My app in 2024
The Find My app on your iPhone covers three main functions:
- Finding Apple devices: iPhone, iPad, Mac, Apple Watch, AirPods, and supported accessories.
- Tracking items and trackers: AirTag and third-party accessories that use the Find My network.
- Sharing locations: letting you share your location and see locations shared with you.
Each of these features can send alerts when certain events occur. For example, your iPhone might notify you when a device goes offline, when you leave an item behind, or when someone arrives at or leaves a location.
Common Find My iPhone alert types you will see
Some of the most common Find My alerts include:
- ‘Device Left Behind’ alerts when you leave an iPhone, iPad, AirPods, or other device in an unfamiliar place.
- ‘Notify When Found’ alerts when a device you marked as lost comes back online.
- Location-sharing alerts that tell you when a family member or friend arrives at or leaves a saved place.
- ‘Unknown AirTag detected’ or ‘Item detected near you’ alerts that warn you about possible tracking.
Some alerts fire once, while others repeat based on your location or movement. If you travel often, move between many locations, or have several devices and items, you may get more alerts than you expect.
Why your iPhone keeps sending tracking or security alerts
You may see frequent Find My alerts for several reasons:
- ‘Notify When Left Behind’ is enabled for many devices or items.
- You have set arrival or departure alerts for multiple people or locations.
- Your location is shared with several contacts through Family Sharing or Find My.
- You recently changed your routine, moved home, or started commuting differently.
- Old devices or outdated settings are still tied to your Apple ID.
Now that you know where these alerts come from, the next step is to understand why you should not rush to disable Find My completely. That context will help you choose safer ways to cut down on noise without sacrificing security.
Key Things to Know Before You Stop Find My iPhone Alerts
Find My is not just a convenience feature. It is part of your iPhone’s core security. Before you try to silence every alert, it is important to understand what you give up when you turn Find My off.
How Find My protects your iPhone with Activation Lock
When Find My is turned on, your iPhone is protected by Activation Lock. This means:
- No one can turn off Find My without your Apple ID password.
- No one can erase or reactivate your iPhone without your Apple ID details.
- A stolen iPhone is much harder to reuse or resell.
Activation Lock deters theft and gives you a better chance of getting your device back. If you disable Find My, you also remove this protection from that iPhone.
When you should NOT turn off Find My iPhone
You should avoid turning off Find My iPhone in these situations:
- The iPhone is your main phone and you use it every day.
- You store banking, email, social media, or other sensitive accounts on this device.
- You do not have a backup phone you could switch to easily.
- You are worried about losing your phone or having it stolen.
In these cases, it is safer to reduce or silence specific alerts than to disable Find My altogether. You will still get the benefits of tracking and Activation Lock, just without the constant interruptions.
Situations where it can be safe to reduce or silence alerts
It can be reasonable to dial down alerts when:
- You understand exactly which Find My features are sending the alerts.
- You only turn off individual options like ‘Notify When Left Behind’.
- You keep Find My enabled but change how notifications appear.
- You plan to sell or trade in the iPhone soon and will erase it anyway.
- The iPhone is a secondary device and not critical for daily use.
With this in mind, you can now focus on the easiest adjustments that solve most alert problems. Start with quick fixes inside the Find My app itself before touching system-level settings or turning anything off.
Quick Fixes: Stop Annoying Find My iPhone Alerts Without Turning It Off
The fastest way to calm down Find My alerts is to adjust settings inside the app. This lets you control which activities trigger alerts while keeping the core security features intact.
Turn off ‘Notify When Left Behind’ for specific devices
The ‘Notify When Left Behind’ feature is very helpful, but it can create many alerts if it is set for every device and item. To adjust it:
- Open the Find My app on your iPhone.
- Tap the Devices or Items tab.
- Choose the device or item that sends too many left-behind alerts.
- Scroll to Notifications and tap Notify When Left Behind.
- Turn the feature off entirely, or add exceptions.
If you want to keep this safety net, add trusted locations where you do not need alerts:
- Tap New Location under the ‘Notify When Left Behind’ section.
- Add your home, workplace, or any place where you often leave the device.
- Set the location as a place where you will not receive left-behind alerts.
This way, you only get alerts when you leave a device in a truly unexpected place, like a cafe or a friend’s house, instead of every time you walk around your home.
Disable ‘Notify When Found’ and similar one-time alerts
If you activate Lost Mode or turn on ‘Notify When Found’ for a device, you may later forget that you enabled it. After the device is found or you no longer care about it, you should turn these alerts off.
To do this:
- Open Find My and go to the Devices tab.
- Select the device that is marked as lost or monitored.
- Look for options like Notify When Found or Lost Mode settings.
- Turn off the alert or disable Lost Mode if you no longer need it.
If the device is gone for good, you can remove it from your account after erasing it. This stops future alerts related to that old device.
Stop alerts from shared devices and family members
Family Sharing and location sharing can also generate a lot of notifications. Arrival and departure alerts are useful in some cases but can become excessive.
To manage them:
- Open Find My and tap the People tab.
- Select the contact whose alerts you want to change.
- Look at their notifications and turn off options such as arrival, departure, or ‘Notify Me’.
- If you do not want that person to see your location at all, tap Stop Sharing My Location.
Once you have reduced alerts inside the Find My app, you can further control how the remaining alerts appear by adjusting system notification settings. That is the next place to fine-tune the experience.
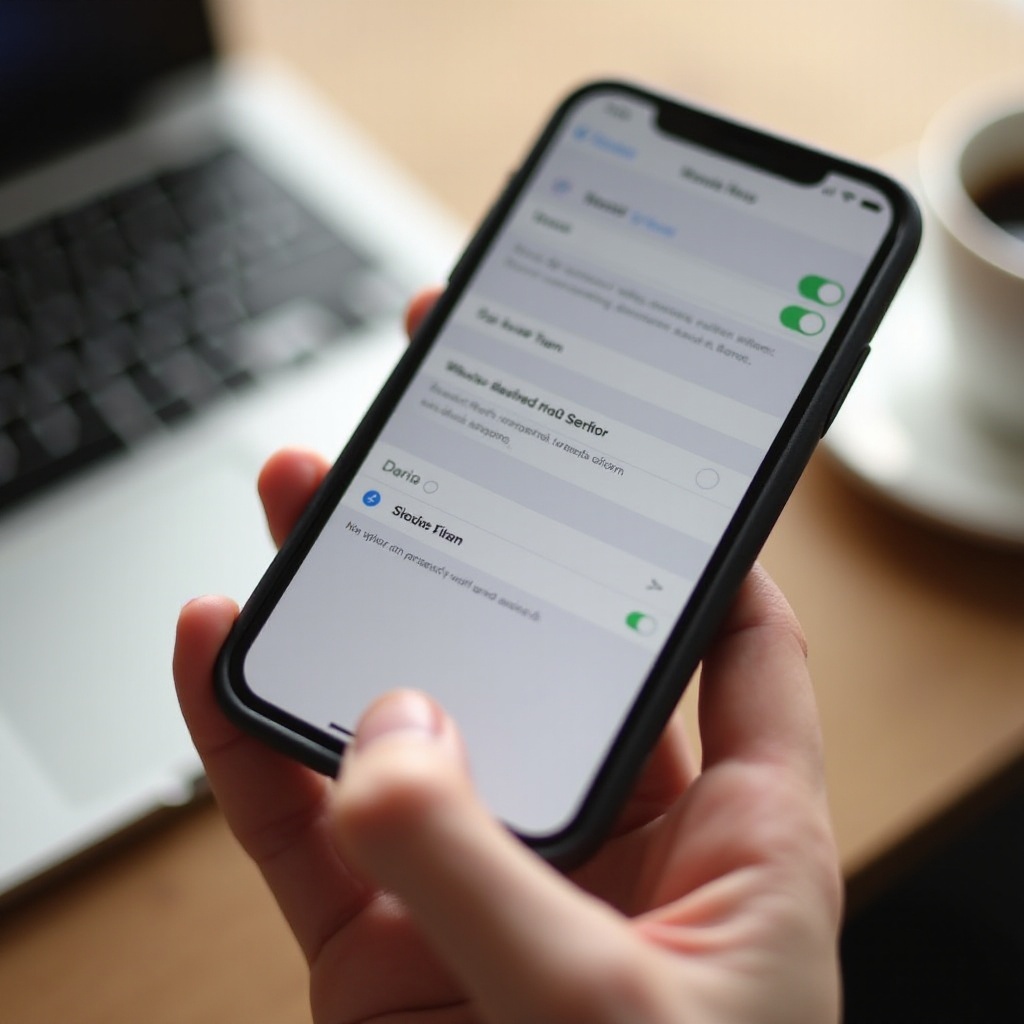
Adjust iPhone Notification Settings for the Find My App
Find My can stay active and secure while your iPhone delivers alerts in a quieter way. The Notifications section in Settings gives you fine control over banners, sounds, and time-sensitive behavior.
Change alert style, banners, and sounds for Find My
To adjust how Find My notifications appear:
- Open the Settings app.
- Tap Notifications.
- Scroll down and select Find My.
-
Review the following options:
-
Allow Notifications: turn this off to block all Find My alerts. This is not recommended if you rely on security warnings, but can be used in rare cases.
- Alerts: choose where notifications appear (Lock Screen, Notification Center, Banners).
- Sounds: pick a softer tone or turn sounds off so alerts do not make noise.
- Badges: keep this on to show a small red dot on the Find My icon when an alert is waiting.
Many people find that turning off sounds and limiting banners is enough to stop alerts from feeling overwhelming, while still keeping the important information available.
Use Time-sensitive Notifications and Focus modes smartly
Some Find My alerts are marked as time-sensitive. These alerts can break through Focus modes such as Do Not Disturb when something urgent happens.
To manage this:
- In Settings → Notifications → Find My, check the Time Sensitive Notifications option.
- If too many alerts are interrupting you, consider turning this off so Find My alerts stay within your chosen Focus rules.
- Create or edit Focus modes (for example, Work or Sleep) to allow only certain apps to notify you.
For example, you might allow Find My alerts overnight so you know if a device moves unexpectedly, but limit them during working hours so you can stay focused.
Make Find My alerts silent while keeping them active
If you want Find My protection but almost no disruption, you can make the alerts effectively silent:
- Leave Allow Notifications on, so you still receive alerts.
- Turn off Sounds and disable banners.
- Keep only Notification Center and Badges enabled.
- Optionally, use Scheduled Summary to group non-urgent alerts together.
This setup keeps a record of alerts without forcing you to react in real time. If you still face strange or repeating alerts, the problem might be a glitch or an old device tied to your account. That is where the next section comes in.
How to Turn Off Find My iPhone Completely (If You Really Must)
Most people will not need to turn off Find My entirely, but there are rare situations where you might choose to do so. If you decide this is necessary, you should follow the correct steps and understand the security impact.
Step-by-step: Turn off Find My iPhone from Settings
To disable Find My iPhone on your device:
- Open Settings.
- Tap your name at the top to open your Apple ID settings.
- Tap Find My.
- Tap Find My iPhone.
- Turn off the Find My iPhone toggle.
- Enter your Apple ID password to confirm the change.
Once you do this, the device is no longer protected by Find My, and Activation Lock is removed for that iPhone.
Remove or erase your device from iCloud after disabling Find My
If your goal is to sell, give away, or trade in your iPhone, you should also erase it and remove it from your account:
- Back up your data using iCloud or a computer.
- Go to Settings → General → Transfer or Reset iPhone.
- Tap Erase All Content and Settings and follow the prompts.
- After erasing, visit iCloud.com or use another Apple device to remove the old iPhone from your Apple ID device list.
This ensures the new owner can set up the device without running into Activation Lock.
Security and privacy risks of fully turning off Find My in 2024
Disabling Find My iPhone has serious downsides:
- You will not be able to see your iPhone’s location if it goes missing.
- You lose Activation Lock on that device, making theft less risky for a thief.
- You may have fewer options if you need help from Apple Support in a loss or theft situation.
Because of these risks, it is better to exhaust other options first: adjust alerts inside Find My, refine your notification settings, and clear out old devices. If you still see odd alerts, there may be an underlying issue with your account or software, which you can often fix without turning Find My off.
Fixing Persistent or ‘Ghost’ Find My iPhone Alerts
Sometimes you keep seeing alerts that do not make sense, or they repeat even after you change your settings. These ‘ghost’ alerts are often caused by old devices, leftover lost-mode settings, or sync problems between your iPhone and Apple’s servers.
Check for older or unknown devices linked to your Apple ID
An old iPhone, iPad, or Mac that you no longer use can still be linked to your Apple ID and appear in Find My. That device might have alerts or lost-mode settings attached.
To review your devices:
- Open Settings on your iPhone.
- Tap your name at the top.
- Scroll down to see the list of devices linked to your Apple ID.
- Remove any devices you no longer own, recognize, or use.
Then open the Find My app and check each tab (Devices, Items, and People) for any leftover entries. Remove or update anything that no longer applies to your current setup.
Reset Location & Privacy and sign out of iCloud
If alerts still appear incorrectly, you can reset some system-level settings:
- Go to Settings → General → Transfer or Reset iPhone.
- Tap Reset.
- Choose Reset Location & Privacy.
You can also sign out of iCloud and sign back in:
- In Settings, tap your name.
- Scroll to the bottom and tap Sign Out.
- Restart your iPhone.
- Sign in again with your Apple ID.
These steps can refresh the connection between your device and Apple’s servers, clearing up stuck alerts or outdated information.
When updating iOS or resetting all settings can help
If ‘ghost’ alerts continue after those steps, the problem might be a software bug:
- First, check for an iOS update under Settings → General → Software Update and install any available update.
- If the issue persists, you can try Reset All Settings (also found under Transfer or Reset iPhone). This does not erase your data, but it does reset system settings like Wi-Fi networks, location, and notifications.
A full factory reset is a last resort. If you reach that point, back up your iPhone first and then restore it as a new device. In many cases, though, cleaning up old devices and resetting key settings is enough.
Next, you should understand that not all alerts are a nuisance. Some are vital warnings about unknown trackers, and you should treat them seriously.
How to Tell If a Find My Alert Is From an Unknown Tracker
Find My does more than help you with your own devices. It is also designed to warn you if someone might be tracking your movements without your knowledge, using an AirTag or similar device.
Recognizing AirTag and third-party tracker alerts
Your iPhone may display alerts such as:
- ‘AirTag Found Moving With You
- ‘Unknown Accessory Detected
- ‘Item Detected Near You
These alerts usually mean a tracker that does not belong to you has been moving with you over time. They are privacy and safety alerts, not just regular notifications. You should always investigate them.
Using ‘Items Detected Near You’ safely
When you receive an unknown item alert:
- Tap the notification to open the details in Find My.
- Follow the instructions to play a sound and locate the item.
- Review any information the app provides, such as the tracker type or serial number.
- If the alert still appears and you cannot explain it, treat it as suspicious.
The app may guide you through steps to disable the tracker or provide information to share with local authorities if you feel unsafe.
What to do if you suspect unwanted tracking
If you believe someone is tracking you without your consent:
- Move to a safe, public place.
- Use the Find My guidance to locate the tracker.
- Disable the device if possible, following Apple’s instructions.
- Consider contacting law enforcement and show them the details from the app.
- Review and tighten your own location sharing settings in Find My and in other apps.
After you understand which alerts are critical and which ones are optional, you can set up a balanced approach. The final step is to build habits that keep Find My useful but quiet.
Best Practices: Keep Find My iPhone Useful, Not Annoying
Once you have cleaned up alerts and fixed any glitches, you can prevent future problems with a few simple habits. These best practices help you keep protection high and noise low over the long term.
Set up trusted locations like home and work
Left-behind alerts work best when they only trigger where they truly matter. Inside the Find My app:
- Open each important device or item and review its ‘Notify When Left Behind’ settings.
- Add your home, work, or other safe places as locations where you do not want alerts.
This reduces pointless reminders and focuses alerts on situations where forgetfulness could lead to loss or theft.
Review Find My and location sharing settings regularly
Every few months, make a quick check part of your routine:
- Open Find My and scan all three tabs (Devices, Items, People).
- Remove devices you sold, lost permanently, or no longer use.
- Clean up items you no longer track.
- Check who you share your location with and adjust as your relationships and needs change.
This ongoing maintenance keeps your account tidy and prevents surprise alerts from old settings.
Balancing privacy, safety, and fewer notifications
You do not need to live with constant Find My alerts, and you do not need to turn off security to stop them. By combining:
- Targeted changes inside the Find My app,
- Smarter notification settings in iOS,
- Regular cleanup of old devices and alerts,
you can reach a balance where Find My protects you in the background. The alerts you do see will be the ones that actually matter, not noise you feel tempted to ignore.
Conclusion
You now have a clear path to stop Find My iPhone alerts without giving up security. Instead of switching off Find My completely, you can fine-tune which features send notifications, silence or bundle non-urgent alerts, and remove outdated devices and settings that create confusion.
For most people, the best approach is to keep Find My on, adjust ‘Notify When Left Behind’ and shared location alerts, and use notification settings to control when and how alerts appear. If a serious alert shows up, especially about an unknown item, you will recognize its importance and know how to respond.
Take a few minutes to apply these steps on your own iPhone. That effort will leave you with a quieter, more focused device that still has powerful tools ready if it is ever lost, stolen, or used to track you without your consent.
Frequently Asked Questions
Can I stop Find My iPhone alerts without turning off Find My completely?
Yes. You can keep Find My turned on and only reduce or silence alerts. First, adjust settings in the Find My app by turning off features like ‘Notify When Left Behind’ for specific devices or adding trusted locations such as home and work. Then open Settings → Notifications → Find My and change how alerts appear by disabling sounds, limiting banners, or using Notification Center and badges only. This way, you stay protected and still have access to tracking and Activation Lock, but you stop constant interruptions.
Will disabling Find My iPhone prevent me from finding my phone if it’s lost or stolen?
If you disable Find My iPhone, you will not be able to locate that device through the Find My app or iCloud.com. You also remove Activation Lock from that iPhone, which makes it easier for thieves to erase and reuse it. Because of this, you should treat turning off Find My as a last resort, mainly when you are selling, trading in, or giving away the device and plan to erase it. For everyday use, it is much safer to leave Find My on and just control which alerts you receive.
Why do I still get Find My alerts after turning off some notifications?
You may still see alerts because Find My uses multiple layers of settings. Location-based alerts such as ‘Notify When Left Behind’ are controlled inside the Find My app, while sound, banners, and time-sensitive behavior are managed under Settings → Notifications → Find My. You might also have old devices, lost-mode settings, or shared location alerts still active on your Apple ID. To fully resolve the issue, review your devices and items in Find My, turn off or adjust their alerts, clean up any unused devices from your Apple ID, and then refine the notification options in the system Settings.