Introduction
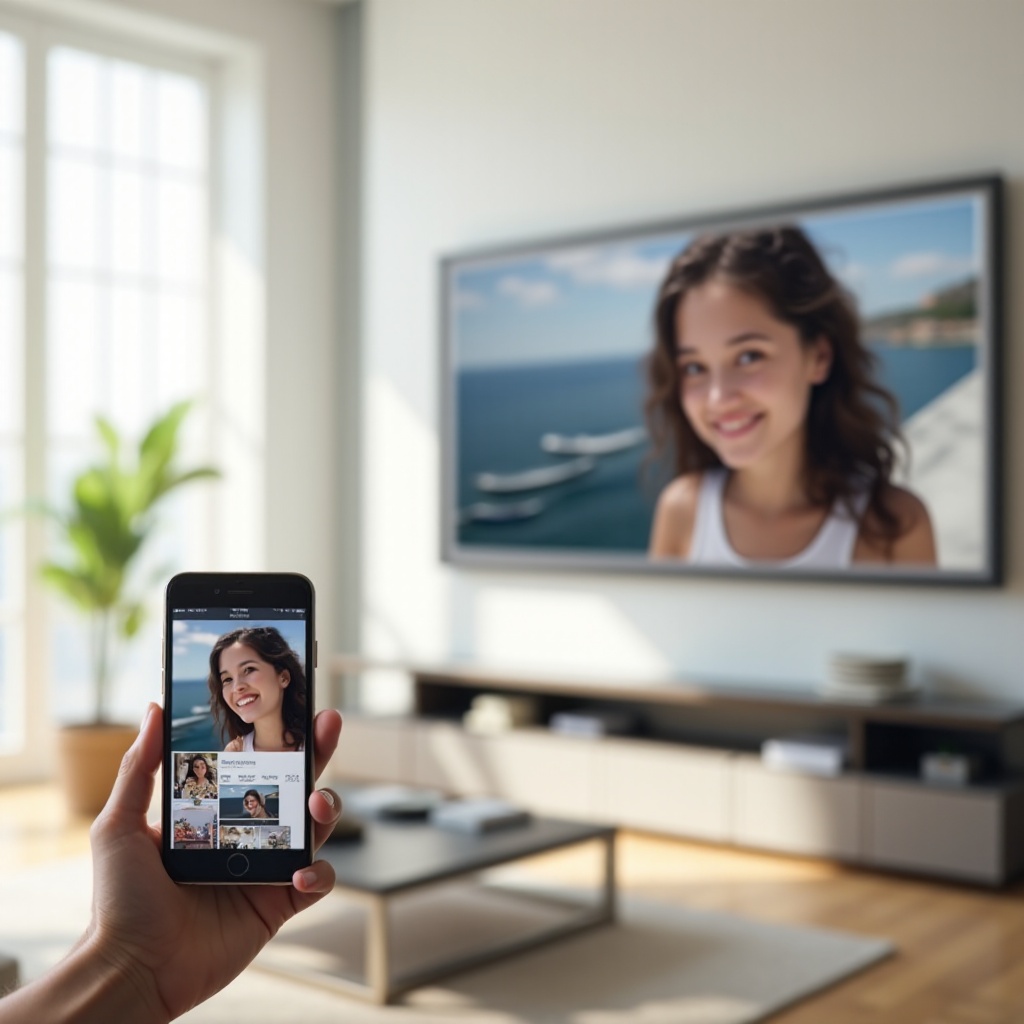
Samsung The Frame replaces a blank black screen with art that looks like part of your decor. You are not limited to Samsung’s Art Store either. You can turn your own iPhone photos into wall art and display family portraits, travel photos, or design mockups right on your TV.
Many new owners install SmartThings, tap around for a while, and still cannot figure out why their iPhone photos do not show up or why images look cropped or blurry. Upload options often sit a few taps deep in menus, and a missed setting can stop the whole process.
This guide explains exactly how to upload photos to Samsung Frame TV from iPhone using the SmartThings app. You will learn what you need before you start, how to connect your TV and phone, how to upload single photos and entire galleries, and how to optimize image quality so your photos look like framed prints instead of stretched screens.
We will also cover the most common problems and how to fix them quickly. By the end, you will have a simple workflow you can repeat any time you want to refresh your wall with new art from your iPhone.
What You Need Before Uploading Photos from iPhone to Samsung Frame TV
Before you send a single photo to The Frame, make sure your devices, apps, and accounts meet a few basic requirements. Spending a few minutes here prevents most connection and upload errors later.
Compatible Samsung Frame TV Models and iPhone Requirements
Most recent Samsung The Frame models, including 2024 releases, work with SmartThings on iPhone for photo uploads. To keep things smooth:
- Use a Samsung The Frame model that supports Art Mode and SmartThings.
- Use an iPhone running a modern iOS version (iOS 16 or newer is ideal).
- Confirm that your iPhone has enough storage for SmartThings and your photos.
If you own a new Frame TV from 2024, you already have all needed features. Slightly older The Frame models usually work as well, as long as they are updated to the latest firmware.
Wi‑Fi Network, Samsung Account, and SmartThings App Checklist
Your iPhone and Frame TV must communicate over the same network and Samsung ecosystem. Check these points before you begin:
- Connect the Frame TV and the iPhone to the same Wi‑Fi network.
- Sign in with a Samsung account on both the TV and SmartThings.
- Download and install the SmartThings app from the App Store on your iPhone.
- Open SmartThings and log in with the same Samsung account used on your TV.
If your router broadcasts both 2.4 GHz and 5 GHz bands, try to keep both devices on the same band. This often makes device discovery more reliable.
Updating Your TV Firmware, iOS, and SmartThings in 2024
Samsung regularly updates The Frame’s firmware to improve Art Mode and app compatibility. On your TV, open Settings and check for software updates. Install any available updates.
On your iPhone, update iOS in Settings > General > Software Update, and update SmartThings through the App Store. Running the latest versions reduces bugs, fixes “TV not found” issues, and ensures new features work as expected.
With these basics in place, you are ready to connect your iPhone to your Frame TV, which is the next key step.
How to Connect Your iPhone to Samsung Frame TV
Once your software and accounts are ready, you can link your iPhone and your Frame through SmartThings. A stable, verified connection here makes photo uploads predictable and easy.
Signing In or Creating a Samsung Account on iPhone
You must use a Samsung account to manage Art Mode and your own photos.
- Open the SmartThings app on your iPhone.
- Tap ‘Sign in’. If you do not have a Samsung account, tap ‘Create account’.
- Complete the sign‑up steps and confirm your email if requested.
- Stay signed in with this account for all your Frame TV tasks.
On your TV, go to Settings > General > System Manager > Samsung Account and sign in with the same Samsung account. This links your TV to your Samsung profile and to SmartThings.
Adding Samsung Frame TV to the SmartThings App
After you sign in, you need to add the Frame TV as a device in SmartThings:
- Turn on the Frame TV and confirm it is connected to Wi‑Fi.
- Open SmartThings on your iPhone.
- Tap the + icon and choose ‘Add device’.
- SmartThings should detect your Frame automatically. Select it when it appears.
- Follow the on‑screen prompts to finish pairing.
When the process completes, you will see your Frame TV listed as a device in SmartThings. From that device card, you can access Art Mode, basic controls, and photo upload tools.
Fixing Connection Issues When the TV Does Not Appear
If SmartThings cannot find your TV:
- Confirm both the TV and iPhone are on the same Wi‑Fi network and band.
- Restart your Frame TV by turning it off, unplugging it for 30 seconds, then plugging it back in.
- Close SmartThings on your iPhone, force quit it, then reopen it.
- Restart your Wi‑Fi router if other devices also seem unstable.
If the TV still does not appear, remove and re‑add your Samsung account on the TV, then repeat the discovery process in SmartThings.
Once your iPhone and Frame TV connect reliably, you can move on to the practical part: sending photos through Art Mode.
Method 1 – Upload Photos to Samsung Frame TV Using SmartThings Art Mode
Art Mode is the signature feature that turns your Frame TV into artwork instead of a normal display. SmartThings lets you control Art Mode from your iPhone and upload your own images with just a few taps.
Opening Art Mode and Granting Photo Permissions on iPhone
Start by switching your TV into Art Mode from the SmartThings app:
- Open SmartThings on your iPhone and tap your Frame TV.
- Tap ‘Art Mode’ or ‘Art’ in the control options to switch the TV into Art Mode.
- The first time you attempt to add personal photos, iOS will ask if SmartThings can access your photos.
- Tap ‘Allow access to all photos’ for the simplest experience, or choose selected photos if you prefer more control.
Without photo permissions, SmartThings cannot display your image library, so this step is essential.
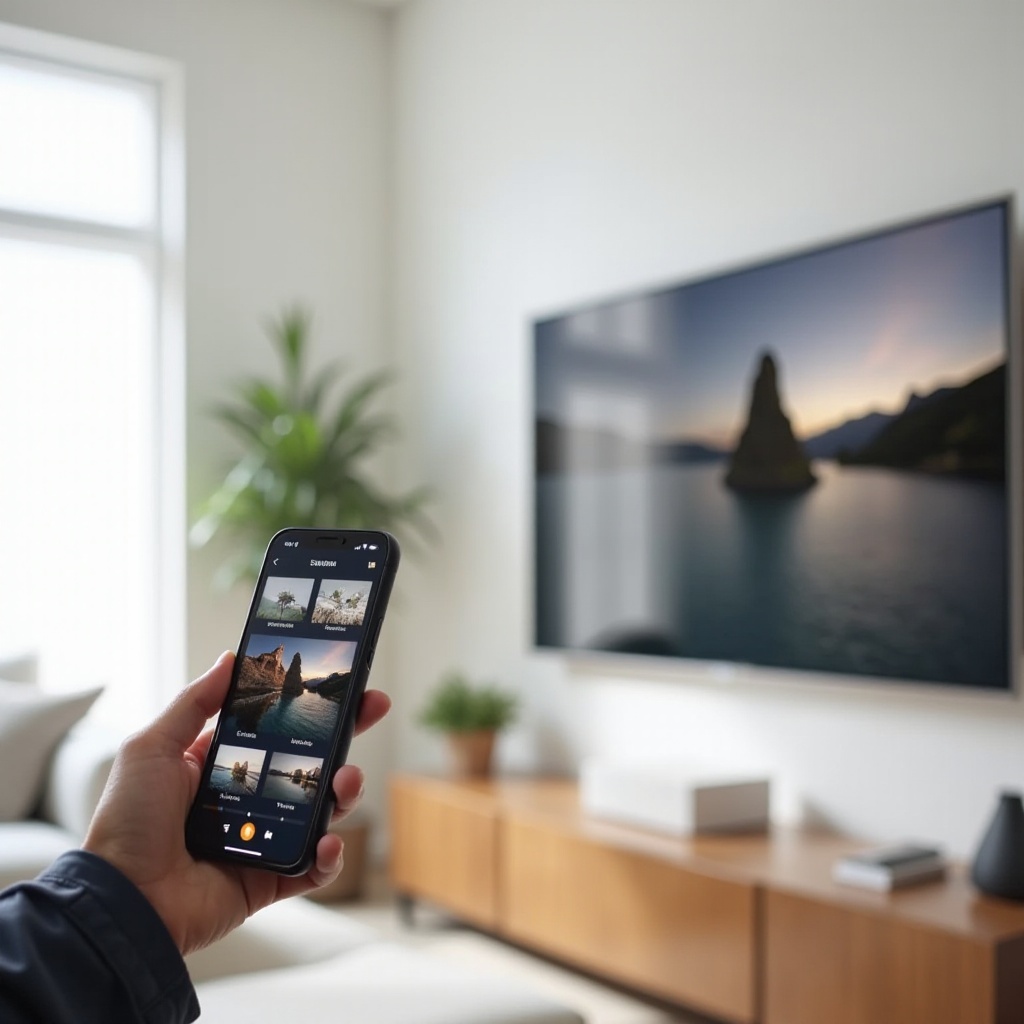
Selecting Single or Multiple Photos from the iPhone Camera Roll
Once SmartThings can see your photos, you can choose what to display:
- Within Art Mode, tap ‘Add your photos’ or ‘My Photos’, depending on your app version.
- Browse through your albums, Favorites, or Recents from your iPhone library.
- Tap one image to upload a single photo, or select multiple images for a small set.
- Focus on high‑quality photos from your iPhone’s main camera rather than screenshots or tiny images.
Landscape photos often fit the Frame’s horizontal orientation better, but portrait shots can still look great with the right mat and frame.
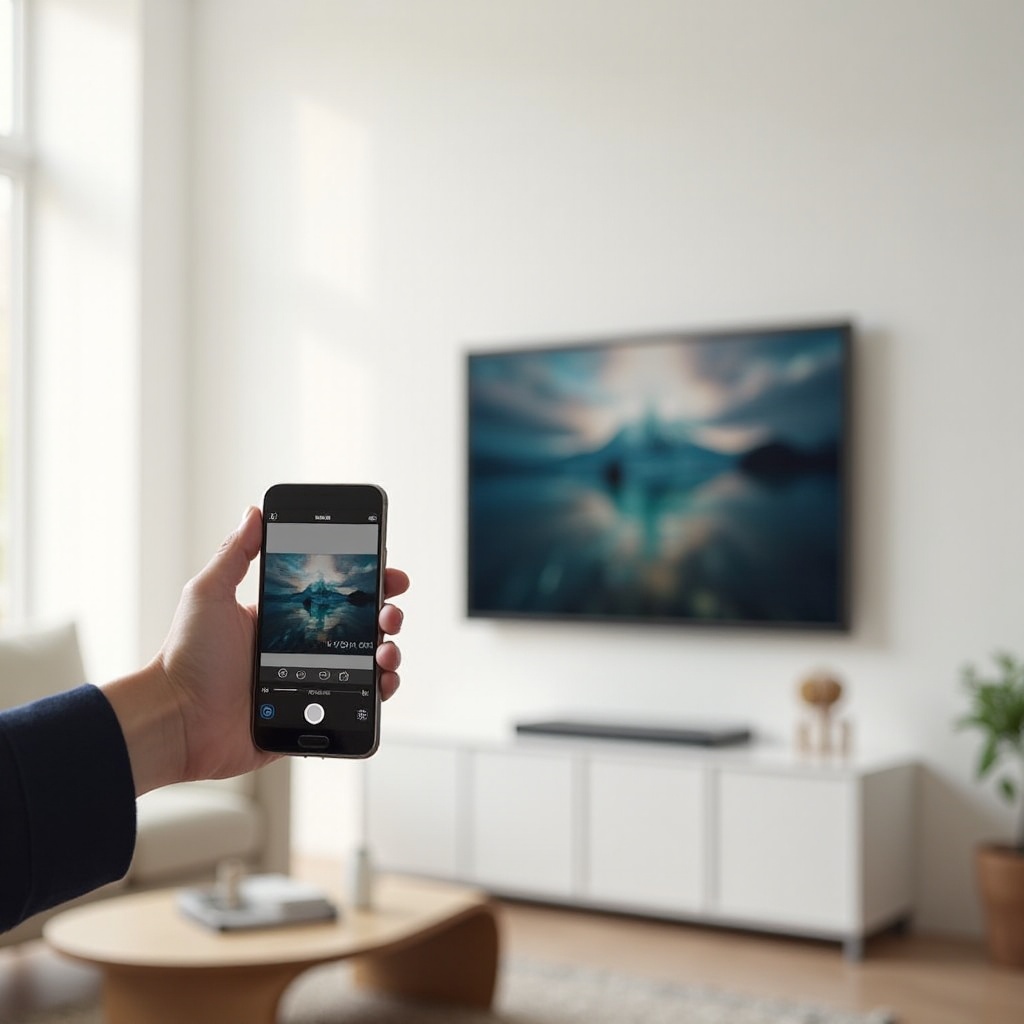
Sending Photos to The Frame and Setting Them as Art
After selecting your photos, you can refine and send them to the TV:
- Tap ‘Done’ or ‘Next’ in SmartThings to open the edit view.
- Use the crop, zoom, and rotate tools to frame the subject well.
- Ensure important details stay within the safe area of the screen.
- Select a digital frame or mat style if the app offers those options.
- Tap ‘Save to The Frame’ or ‘Set on TV’ to apply the photo in Art Mode.
The Frame TV should update almost instantly to show your new art. You can repeat this process for any favorite images you want to display.
Method 1 is perfect when you just want one or a few photos on your screen. If you want a rotating gallery that changes over time, you can build custom slideshows using a slightly different workflow.
Method 2 – Create Custom Photo Galleries and Slideshows from iPhone
Once you are comfortable uploading single images, you can create themed galleries and slideshows. These help your Frame TV cycle through multiple images automatically, keeping your wall fresh without extra effort.
Creating Themed Albums on iPhone for The Frame TV
It is easier to build galleries when your photos are organized beforehand. On your iPhone:
- Open the ‘Photos’ app.
- Tap the ‘Albums’ tab and hit the ‘+’ icon.
- Create a new album such as ‘Living Room Gallery’, ‘Travel 2024’, or ‘Family Wall’.
- Add your chosen photos to this album from your library.
Organizing photos into albums makes them faster to find in SmartThings and helps you keep each gallery consistent in style or theme.
Uploading Multiple Photos and Building a Playlist in Art Mode
Turn that album into a curated gallery on your Frame:
- Open SmartThings and select your Frame TV, then go into Art Mode.
- Tap ‘Add photos’ or an equivalent option to upload new content.
- Browse to the themed album you created on your iPhone.
- Select multiple photos at once and upload them to your Frame.
After the upload finishes:
- Open ‘My Collection’ or ‘My Photos’ within Art Mode on the TV or in SmartThings.
- Select the uploaded images and group them into a playlist or gallery.
- Save the gallery under a clear, memorable name for later use.
This gallery acts like a digital photo album that your Frame TV can display as a series.
Setting Display Duration and Slideshow Transitions
To make The Frame cycle through your gallery automatically:
- Select your gallery or playlist inside Art Mode.
- Open the slideshow or playback settings.
- Choose how long each photo stays on screen, such as 5, 10, or 30 minutes.
- Pick transition options, such as subtle fades, or keep transitions minimal if you want a more static art look.
With these settings, your Frame quietly rotates through your selected images, creating an evolving art display throughout the day.
As you watch your gallery, you may notice that some images do not fit perfectly or look slightly soft. A bit of optimization on your iPhone before upload improves their appearance on the large 4K screen.
Optimize iPhone Photos for the Best Look on Samsung Frame TV
The Frame’s 4K resolution and matte‑style look can make good photos look amazing, but it can also expose flaws. Simple adjustments to resolution, cropping, and color on your iPhone help your images shine.
Ideal Resolution, Aspect Ratio, and Orientation for The Frame
The Frame typically runs at 3840 x 2160 pixels. To keep images sharp and clean:
- Use original photos captured with your iPhone camera at full resolution.
- Prefer landscape photos for a horizontal Frame to minimize cropping.
- Use portrait photos with a digital mat or vertical layout when possible.
- Avoid screenshots and small web images, which often look pixelated.
If you edit photos in third‑party apps, export them at full size or at least around 3840 pixels on the long edge when possible.
Editing Photos on iPhone Before Upload to Improve Quality
You can use the built‑in Photos editor to polish your images before sending them to The Frame:
- Open a photo in the ‘Photos’ app and tap ‘Edit’.
- Adjust ‘Exposure’, ‘Brilliance’, and ‘Contrast’ to bring out details.
- Use ‘Highlights’ and ‘Shadows’ to balance bright skies and dark areas.
- Tweak ‘Warmth’ and ‘Tint’ so whites look natural under your room lights.
- Apply filters lightly if you want a specific look, but avoid heavy grain or extreme effects unless it suits your style.
If you want more control, apps like Lightroom or VSCO let you fine‑tune color and sharpness, then save the final version back to your Camera Roll for upload.
Avoiding Black Bars, Cropping Issues, and Pixelation
A few habits help keep your photos clean on The Frame:
- Use SmartThings’ crop and zoom tools to fill the screen while keeping key subjects intact.
- For portrait shots, consider adding a digital mat so the TV shows a vertical image with neat borders instead of awkward cropping.
- If an image looks pixelated, check that you are not using a tiny or compressed file. Replace it with the original high‑resolution version when possible.
After you dial in image quality, you can enhance the overall look even further by adjusting digital frames, mats, and display behavior to match your decor.
Customize Frames, Mats, and Display Settings on Samsung The Frame
The Frame is more than a display; it is part of your interior design. Digital frames, mat options, and brightness controls help your uploads blend into the room instead of standing out as a TV.
Choosing Digital Mats, Borders, and Frame Styles
Inside Art Mode:
- Select a photo you have uploaded to your collection.
- Tap ‘Edit’ or ‘Details’ to access style settings.
- Choose a mat style: thick, thin, or no mat at all.
- Test different mat colors that match your wall, furniture, or physical frames.
- Experiment with digital frame styles until you find one that fits your taste.
If you own a physical bezel for your Frame TV, try to match the digital frame color and texture so the whole setup feels consistent.
Adjusting Brightness, Color Tone, and Motion Sensors
The Frame can adapt to room lighting and activity to look more like real art:
- Use the Art Mode brightness control so photos are not too bright at night or too dim during the day.
- Enable brightness optimization if your model supports it, so the TV adjusts to ambient light.
- Turn on motion sensors so the TV shows art when someone is nearby and switches off when the room is empty, saving power.
- Check ‘Color Tone’ or similar options so whites and skin tones look natural, not overly warm or cool.
These settings make your Frame feel less like a regular display and more like framed artwork that responds to your space.
Matching Your Digital Art Style to Your Room Decor
Think about the style of your room and choose images and frames that support it:
- In minimal spaces, use simple mats, soft colors, and clean compositions.
- In bold or colorful rooms, pick vibrant photos and stronger contrast to create a focal point.
- If your Frame sits within a gallery wall, match digital mat colors to the real frames around it.
Even with the perfect style and photos, you may still run into technical issues from time to time. Understanding common problems and their fixes helps you recover quickly.
Troubleshooting Common iPhone to Samsung Frame TV Upload Problems
Upload failures, missing photos, and connection drops can be frustrating, but they usually come from a few predictable causes. A quick checklist often gets everything working again.
Photos Not Showing Up in Art Mode or SmartThings
If your uploaded photos do not appear where you expect them:
- Make sure you are checking ‘My Collection’ or ‘My Photos’ in Art Mode, not just the Art Store.
- Confirm the upload finished successfully in SmartThings without error messages.
- Verify that the TV and iPhone are still signed in to the same Samsung account.
- Restart the TV, then reopen Art Mode and check again.
If the photos are still missing, remove the TV from SmartThings, add it again, and then reupload a small test image.
Fixing Failed Uploads, Stuck Progress, or Slow Transfers
When uploads get stuck at 0% or 99%, or take much longer than expected:
- Test your Wi‑Fi speed on the iPhone to confirm that your network is stable.
- If the TV is far from the router, move the router closer or connect the TV with an Ethernet cable if possible.
- Try uploading fewer photos at once to see if smaller batches work better.
- Force close SmartThings on your iPhone, reopen it, and attempt the upload again.
If problems persist, sign out of your Samsung account in SmartThings and on the TV, then sign back in and repeat the steps.
Solving Wi‑Fi, Account, and Storage‑Related Issues
Sometimes the barrier is not the app but the network or storage:
- If the TV keeps dropping off your Wi‑Fi network, restart the router and reconnect the TV from its Network Settings.
- Check internal storage inside Art Mode. If it is nearly full, delete older photos or unused Art Store pieces.
- Ensure your Samsung account is active and not locked by recent password changes or security alerts.
Once you resolve connection, account, or storage issues, uploads usually begin working again and new photos appear reliably in Art Mode.
Technical issues are only one side of the story. You should also decide who can upload content and how you want to control access to your Frame.
Privacy, Sharing, and Managing Access from Multiple iPhones
The Frame often sits in a shared space, and several people may want to add their own photos. With a few settings, you can share access safely while maintaining control over what appears on your TV.
What Permissions SmartThings Has on Your iPhone Photos
When you grant SmartThings access to your photos, the app can:
- Read the photos you allow it to access.
- Upload chosen images to your Samsung account and TV.
SmartThings does not post your photos publicly. If you prefer tighter control, go to iOS Settings > Privacy > Photos > SmartThings and switch access to ‘Selected Photos’. You can then adjust the selection any time you add new images to The Frame.
Letting Family Members Upload Photos from Their iPhones
If you want other household members to contribute photos:
- Ask them to install SmartThings on their own iPhones.
- Decide if they will use your Samsung account or separate accounts.
- If they use your account, share the login carefully and enable two‑factor authentication.
- Once signed in on the same Wi‑Fi network, they can add the Frame as a device and upload photos as you do.
You can agree on shared albums or themes so each person knows which kinds of photos fit the display best.
Removing Old Devices and Securing Your Samsung Account
Over time, you may upgrade phones or no longer want certain devices to control your Frame:
- In SmartThings, open settings and remove any devices you no longer use.
- On your Samsung account page in a browser, review connected devices and sign out of ones you do not recognize or no longer own.
- Change your Samsung account password if you shared it in the past and now want to limit access.
Keeping your account and devices tidy ensures that only trusted people can upload or change the photos on your Frame TV.
Conclusion
Learning how to upload photos to Samsung Frame TV from iPhone gives you full control over what appears on your wall. Once you set up your Samsung account, connect your Frame and iPhone in SmartThings, and understand how Art Mode works, the process becomes quick and easy.
You can upload single photos for a specific look or build themed galleries that rotate through your favorite images. By paying attention to resolution, cropping, and display settings, you can make your iPhone photos look like curated prints instead of simple digital pictures.
When problems appear, a short checklist for Wi‑Fi, storage, accounts, and app updates usually solves them. Clear privacy and sharing settings also help you decide who can upload and manage content on your Frame.
Use this workflow whenever you want to refresh your home with new art. In just a few taps, your latest trip, family gathering, or creative project can become a centerpiece on your wall, framed by Samsung The Frame and powered by your iPhone.
Frequently Asked Questions
Can I upload Live Photos or HEIC files from my iPhone to Samsung Frame TV?
Samsung The Frame does not display Live Photos as moving images. When you upload a Live Photo, the TV uses the still frame only. The iPhone saves photos as HEIC by default, and SmartThings usually converts them during upload. If a file fails, export it as a JPEG from the Photos app or a third‑party editor, then upload the JPEG version through SmartThings for best compatibility.
Do I need a paid Art Store subscription to use my own iPhone photos?
You do not need a paid Art Store subscription to upload and display your own photos. Art Store is a separate paid service that gives access to curated artwork. The ability to add and show personal photos from your iPhone through SmartThings is included with The Frame itself. As long as you have a Samsung account, Wi‑Fi, and the SmartThings app, you can use your own images for free.
Why do my uploaded iPhone photos look blurry or cropped on The Frame TV?
Blurry or awkwardly cropped photos usually come from low‑resolution files, heavy zooming, or poor framing. Screenshots, small web images, and compressed files often look soft on a 4K display. Whenever possible, use original iPhone camera photos at full size. In SmartThings, adjust the crop so important parts stay within the safe area of the screen. If an image still looks soft, open it in the Photos app, export a high‑resolution copy, and re‑upload that version to The Frame.