
Introduction
Need to say more than text can? Send a quick voice message in iMessage. You can record, preview, and share your voice in seconds, and the recipient hears exactly what you mean. This guide shows you how to send, save, and manage audio messages on iPhone. You will learn two easy methods, when to use each, and how to control expiration and storage. You will also see practical tips for clear audio, plus fixes for common issues. If you chat with friends on Android, this guide covers reliable workarounds as well.
We will start with what iMessage audio messages are and why they help. Then you will check simple settings to prevent disruptions before you record your first clip.
What Are iMessage Voice Messages and Why Use Them? Features, Transcriptions, and Use Cases
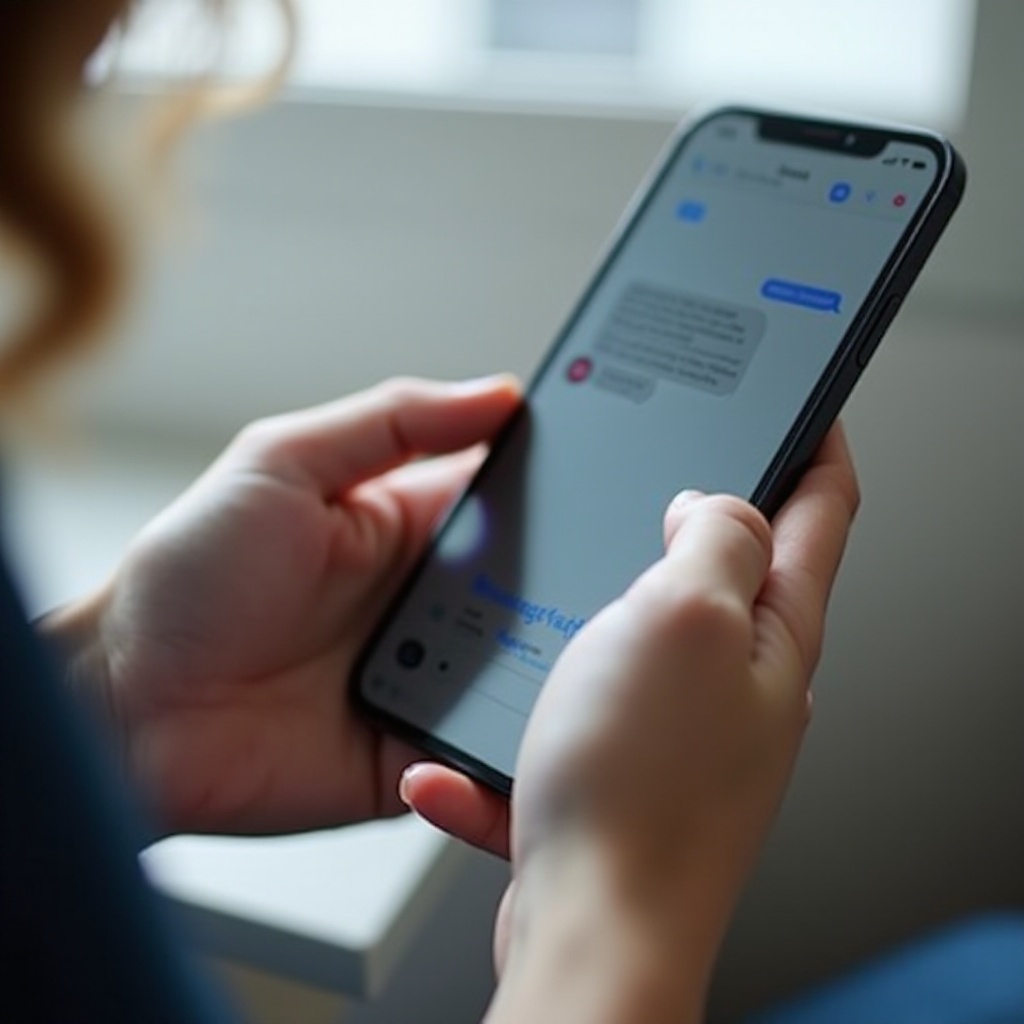
iMessage voice messages are short audio clips you record and send in the Messages app. They are end to end encrypted between Apple devices and play inline in the chat, so you and the recipient stay in the same conversation. On current iOS versions, many audio messages include on device transcriptions you can show or hide, which helps when you cannot listen out loud.
Voice messages shine when tone, urgency, or nuance matters. Use them when typing is hard, when you need to explain something complex, or when you want a more personal touch. They also help when you are on the move and only have a brief moment to respond. You can keep important audio, export it to Files or Voice Memos, and forward it to group chats. With playback controls, raise to listen, and transcripts, voice messages fit neatly into everyday chats and let you communicate with clarity.
Now that you know what audio messages can do, confirm the basics on your iPhone so recording and sending work without friction.
Before You Start: iPhone, iOS, and Settings You Should Check
A quick setup check avoids most recording or delivery issues.
- Confirm iMessage is on: Settings > Messages > iMessage.
- Check Apple ID or phone number is set for iMessage: Settings > Messages > Send and Receive.
- Allow microphone access: Settings > Privacy and Security > Microphone > enable Messages.
- Test the mic: open Voice Memos and record a short note, then play it back.
- Turn on Raise to Listen if you want quick playback through the earpiece: Settings > Messages > Raise to Listen.
- Verify playback sound: ensure Silent mode is off if you plan to use the speaker, or wear AirPods or wired EarPods for privacy.
- Make storage space: Settings > General > iPhone Storage > check free storage and clear large attachments if needed.
- Set audio expiration: Settings > Messages > Expire (Audio Messages) > choose After 2 Minutes or Never.
- Update iOS for the latest Messages features and fixes: Settings > General > Software Update.
- Ensure a stable connection: join Wi Fi or use strong cellular data for reliable iMessage delivery.
With the fundamentals checked, you are ready to send your first audio message using the fastest in app method.
Method 1: How to Send a Quick Voice Message in iMessage (Step by Step)
Use this method for quick clips sent directly inside a chat.
1) Open Messages and select a conversation.
2) Tap the plus button beside the text field to open the app drawer.
3) Tap Audio, usually shown with a waveform icon. A recording panel appears.
4) Tap the record button to start. Hold the phone 6 to 8 inches from your mouth and speak toward the bottom microphone.
5) Tap stop to finish. Tap play to review and drag the scrubber to re listen if needed.
6) Tap the send arrow to send, or tap the delete or X button to discard and try again.
7) If supported, touch and hold the record button for a press to record gesture, and release to send. Slide to cancel to discard quickly.
Tips for speed and clarity:
– Keep the phone steady and avoid covering the bottom mic with your hand.
– If you need privacy while reviewing, raise the phone to your ear or connect headphones.
– For a second try, delete and rerecord before sending so the recipient gets a clean clip.
This fast method keeps you in the flow of a chat. If you want to trim, rename, or reuse a clip across conversations, switch to Voice Memos and share from there.
Method 2: Record in Voice Memos and Share to iMessage for Longer or Higher Quality Audio
Voice Memos gives you editing, naming, and archiving tools that are perfect for longer or more polished recordings.
1) Open Voice Memos and tap record.
2) Speak clearly. You can pause and resume to keep your thoughts organized.
3) Tap stop when finished, then rename the memo for easy reference.
4) Tap the memo, then the three dot menu and choose Edit Recording to trim silence or mistakes. You can also apply Enhance Recording to reduce background noise.
5) Tap the share button and choose Messages.
6) Select the contact, add a short text for context if you like, and send.
Advantages of this method:
– Trim out mistakes and background noise before sharing.
– Keep a local copy archived in Voice Memos and reuse it in other chats without rerecording.
– Share the same clip with multiple contacts or group threads.
Now that you can send and share, learn to listen and reply efficiently so conversations stay fast and clear.
Listen and Reply Like a Pro: Playback Controls, Raise to Listen, and Transcription Tips
When you receive an audio message, Messages offers simple controls for quick comprehension and response.
- Play inline: Tap the audio bubble to play. Use the scrubber to jump ahead or replay a section.
- Control audio route: Switch output between speaker, earpiece, and headphones using the in app icon if available or from Control Center.
- Raise to Listen: With this setting on, lift the phone to your ear to play a new message through the earpiece. Lower and raise again to trigger a quick reply recording in some configurations, or tap the microphone to reply.
- Use transcriptions: Tap Show Transcript to read the text when available and Hide Transcript to collapse it. This helps in noisy places and makes quick scanning easy.
- Keep replies short: Tap the microphone to record a concise response that addresses the point directly.
Mastering these controls helps you move through conversations at speed. Next, protect important clips by saving or exporting them before they expire.
Save, Export, and Keep Important Audio Messages (Keep, Files, and Voice Memos Options)
If you rely on audio for instructions, approvals, or personal notes, do not lose them to expiration. You have several ways to keep audio safe.
- Keep in the chat: Touch and hold an audio bubble and tap Keep. This prevents auto deletion under the two minute rule and pins the audio to your thread history.
- Save to Voice Memos: Touch and hold the audio bubble and choose Save to Voice Memos. Rename and file it for quick search later.
- Save to Files: Choose Save to Files and select an iCloud Drive or On My iPhone folder for backup and cross device access.
- Forward to other apps: Touch and hold, tap Share, then send to Mail, Notes, or your task manager to capture action items.
- Back up your threads: Use Messages in iCloud or iCloud Backup to keep attachments synced across devices and protected if you replace your iPhone.
With saving covered, tune the rules that govern expiration, privacy, and storage so your device stays tidy and your conversations stay secure.
Control Expiration, Privacy, and Storage for iMessage Audio
iMessage gives you control over how long audio messages stick around and how they affect your space and privacy.
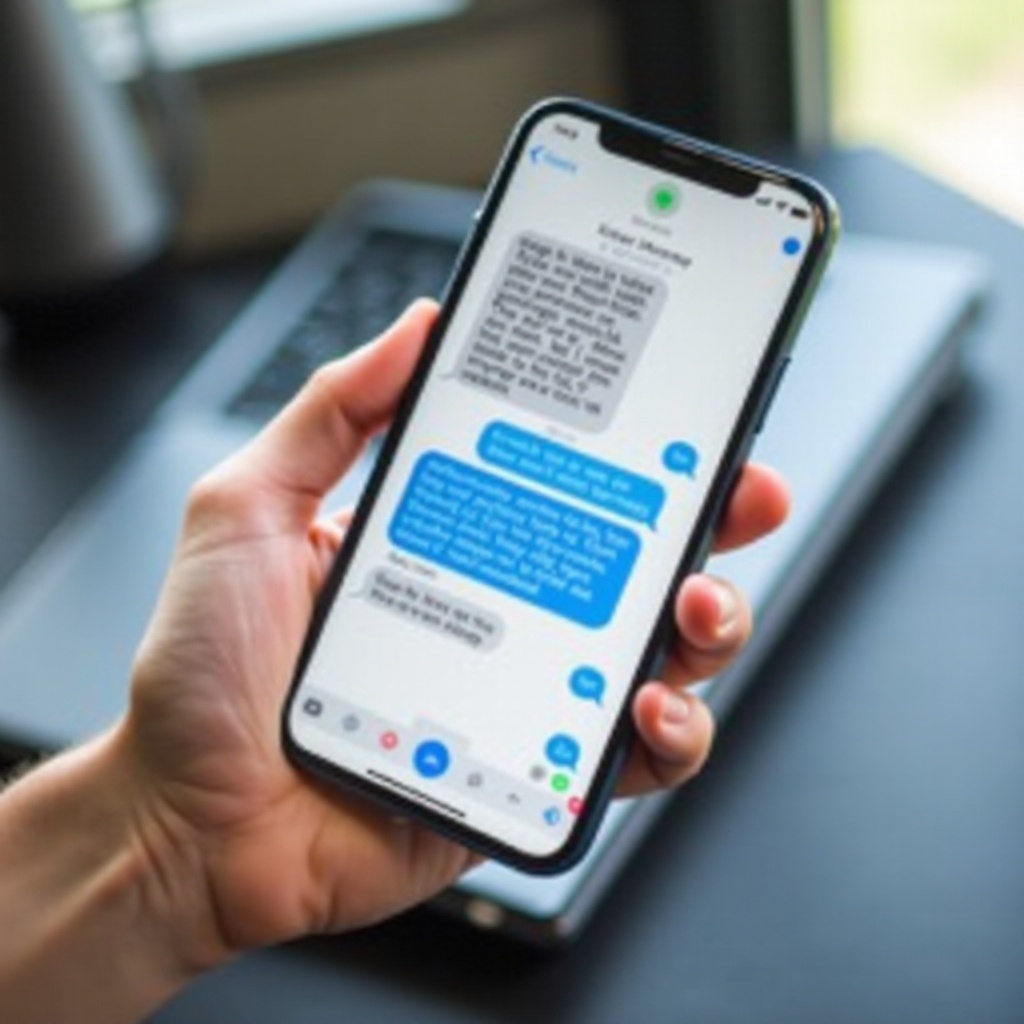
- Expiration settings: Go to Settings > Messages > Expire (Audio Messages). Choose After 2 Minutes for lighter storage or Never if you need to retain audio by default. Even if you use auto expiration, you can tap Keep on individual messages.
- Privacy practices: Audio messages between Apple devices are protected by end to end encryption. For sensitive topics, play audio through the earpiece or headphones, not the speaker. Avoid recording around bystanders who may overhear confidential info.
- Storage management: Open Settings > General > iPhone Storage > Messages > Review Large Attachments. Remove old audio and video you no longer need to free space.
- Notification strategy: Mute noisy group threads while keeping alerts on for key contacts so you listen promptly without constant re sends.
Once your rules are set, focus on delivering clear, effective audio that the recipient can understand on the first listen.
Tips for Clearer, More Effective Voice Messages on iPhone
Small adjustments dramatically improve the listening experience.
- Find a quiet spot and stand out of the wind; turn away from fans or vents.
- Hold the phone 6 to 8 inches from your mouth and avoid covering the microphone.
- Speak at a calm, steady pace and pause between key points.
- Name the topic in the first sentence so the recipient knows what to listen for.
- Keep it short. Break long updates into labeled parts such as Part one schedule and Part two action items.
- Use AirPods or wired EarPods for consistent mic placement when walking.
- Avoid notification sounds in your recording by enabling a Focus for a few minutes.
Even with good technique, glitches can happen. If recording, sending, or playback fails, work through the fixes below.
Troubleshooting: Fix Recording, Sending, and Playback Issues in iMessage
When problems appear, try these steps in order and test after each one.
1) Messages cannot access the mic
– Settings > Privacy and Security > Microphone > enable Messages.
– Force close Apps that use the mic, then reopen Messages and try again.
2) Your voice sounds far away or muffled
– Remove cases or covers that block the mic openings.
– Gently clean the bottom mic grills with a dry soft brush.
– Record a test in Voice Memos to verify improvement.
3) No sound during playback
– Turn off Silent mode and increase volume while the clip plays.
– Check the audio route in Control Center and switch to iPhone, AirPods, or a speaker.
– Disconnect Bluetooth accessories if audio is routed to a device you are not using.
4) Audio will not send or shows Not Delivered
– Confirm the contact uses iMessage by checking for a blue bubble. If it is green, see the Android section for options.
– Toggle iMessage off and on: Settings > Messages.
– Test on both Wi Fi and cellular; switch networks if necessary.
– Restart the iPhone and try again.
5) Messages disappear too fast
– Settings > Messages > Expire (Audio Messages) > set to Never, or tap Keep on the specific audio bubble.
– Save important clips to Voice Memos or Files for long term retention.
6) Transcription missing or inaccurate
– Some languages or noisy clips may not transcribe. Ask the sender to re record in a quieter place or include a short text summary.
– Update iOS for transcription improvements.
7) Storage full or close to full
– Settings > General > iPhone Storage > Messages > Review Large Attachments. Delete large audio and video files.
– Offload unused apps or move files to iCloud Drive.
8) Persistent software issues
– Update iOS to the latest release.
– Reset network settings: Settings > General > Transfer or Reset > Reset > Reset Network Settings.
– If problems persist, contact Apple Support or visit a Genius Bar for hardware checks.
If you regularly chat with contacts who are not on iMessage, you can still share your voice by sending an audio file or using a cross platform app.
Sending Voice Messages to Android or Non iMessage Contacts (What Works and Workarounds)
iMessage audio bubbles are an Apple to Apple feature. When a contact shows a green bubble, you will need to switch methods.
- Send as an audio file via MMS
- Record in Voice Memos.
- Share to Messages and select the contact. The file sends as MMS if your carrier supports it.
- Trim the clip to reduce file size if the message fails.
- Share a file link
- Save the memo to Files in iCloud Drive and share a link in SMS.
- Warn the recipient if the link expires or requires sign in.
- Use a cross platform app
- Send the clip via apps both parties use, such as WhatsApp, Signal, or email.
- These apps often handle longer clips more reliably than MMS.
These options keep your voice in the conversation even when iMessage features are not available. Round out your approach with accessibility and etiquette so every recipient can listen comfortably and respond quickly.
Accessibility and Etiquette: Make Voice Messages Easier and More Polite
Accessibility and etiquette help your message land well and respect each listener.
Accessibility tips
– Use a quick text line that summarizes the clip so screen reader users know what to expect.
– Encourage recipients to use transcripts when available if they cannot listen out loud.
– AirPods and Dictation controls help with hands free listening and replying for those with limited mobility.
Etiquette guidelines
– Ask before sending very long clips; keep most messages under a minute.
– Start with context such as Quick update on the meeting or Question about travel.
– Avoid sending audio late at night unless it is urgent; add listen when you can for non urgent updates.
– If you misspeak, rerecord for clarity instead of sending a correction afterward.
With accessibility and etiquette covered, bring it all together and close with the key takeaways.
Conclusion
Voice messages in iMessage let you speak naturally and share tone that text cannot. You can record inside Messages for speed or use Voice Memos for control and reuse. Save important clips, set expiration rules that fit your storage, and use raise to listen and transcripts to move faster. If issues appear, simple checks fix most problems fast. For non iMessage contacts, share audio as a file or use another app.
With these steps, tips, and safeguards, you will send clear, respectful voice messages your contacts can hear and act on right away. Practice the quick in app method for day to day chats, and switch to Voice Memos when you need polish and longevity.
Frequently Asked Questions
Why do my iMessage audio messages disappear after I listen, and how can I keep them?
By default, audio messages are set to expire two minutes after you listen. To prevent that, open Settings > Messages > Expire (Audio Messages) and change it to Never. You can also keep individual messages without changing the global setting by touching and holding the audio bubble and tapping Keep. For long term archiving, save to Voice Memos or Files so you have a copy outside Messages and your backups.
Can I send an iMessage voice message if the contact shows a green bubble (SMS or MMS)?
No. Green bubbles indicate SMS or MMS, which do not support iMessage audio bubbles. Instead, record in Voice Memos and share the file via Messages so it sends as MMS if your carrier supports it. Keep the clip short to avoid size limits. You can also share a link to a file in iCloud Drive or use another app like WhatsApp or Signal.
How do I enable or disable the transcription of voice messages in iMessage?
Transcriptions appear automatically for many audio messages on recent iOS versions and do not require a specific toggle in Messages. When you receive a clip, tap Show Transcript to reveal it and Hide Transcript to collapse. If a transcription does not appear, the language may not be supported or the recording may be too noisy. In those cases, ask the sender for a clearer recording or provide a brief typed summary alongside your audio.