
Introduction
Seeing SOS or ‘SOS Only’ at the top of your iPhone is stressful. Calls fail. Messages hang. Maps stall. You want action, not theory. You ask, how do I take SOS off my iPhone? This guide gives you the fastest fixes first, then deeper steps if those do not stick. You will learn what the status means, how to tune carrier and SIM settings, and how to refresh network features without losing data. You will also see what to try when you travel, switch carriers, or move to an eSIM. If hardware is to blame, you will know the signs and your next move. Start by understanding the status in your bar, then move into the steps that work in real life.
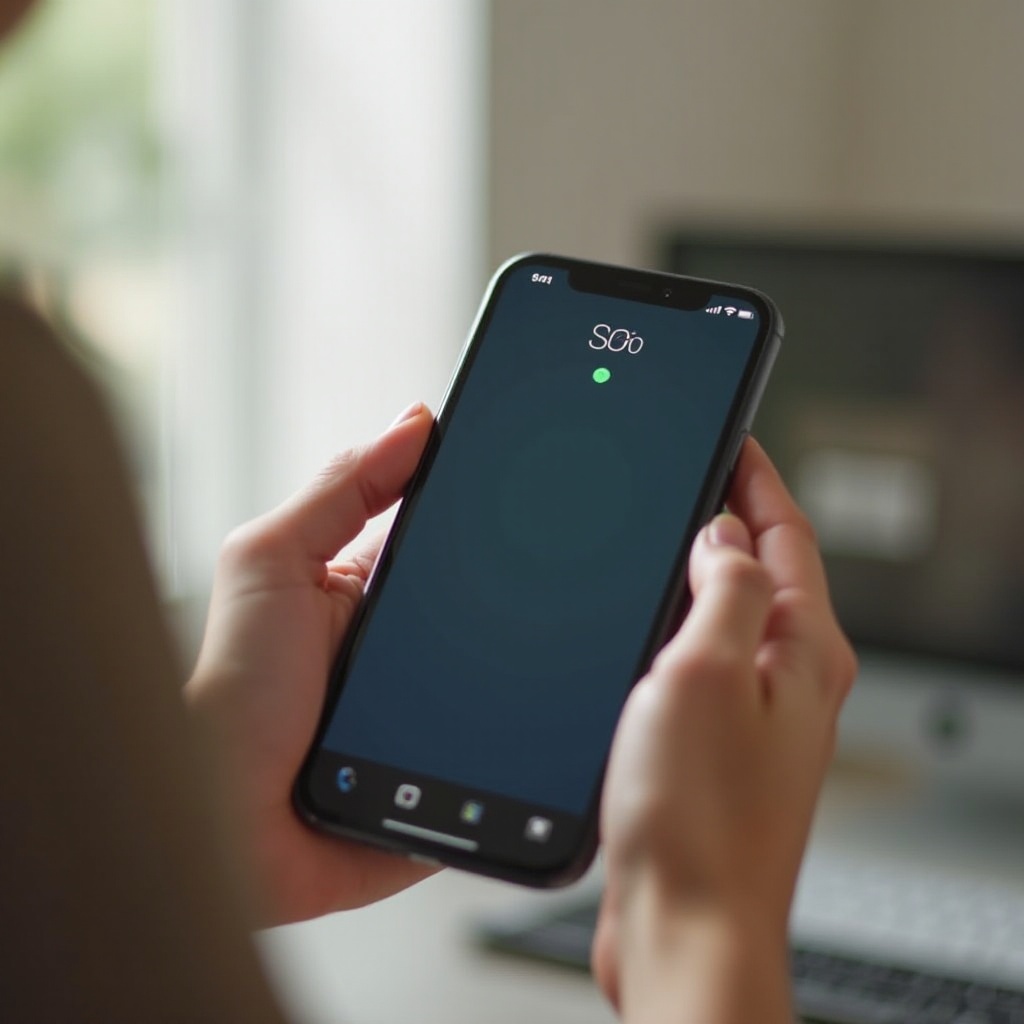
What ‘SOS’ and ‘SOS Only’ Mean on iPhone
SOS and ‘SOS Only’ are two different things. SOS is an emergency calling feature. It lets you reach local emergency services even if your plan cannot place normal calls. ‘SOS Only’ is a network status. It means your iPhone can detect a network but cannot register for your carrier’s normal service. You can often still reach emergency services. Regular voice, text, and data will not work until you restore registration.
Common triggers include weak coverage, a paused or suspended account, an eSIM that is not fully provisioned, or network settings that do not match your carrier. You might also see the status after you switch carriers, port your number, or update iOS. The key idea: you cannot toggle off ‘SOS Only’ in Settings. You must fix the cause that blocks normal network registration.
With that context, you can focus your effort. Start with fast checks that often clear the issue in minutes. If those do not help, move on to the exact carrier, SIM, and iOS steps that follow.
Before You Start: Quick Checks That Solve It Fast
Run these quick checks to rule out simple blockers. Many users clear ‘SOS Only’ here.
- Confirm coverage: Step outside or stand near a window. Try an area with known strong service.
- Check account status: Open your carrier app or website. Confirm your plan is active, paid, and not suspended.
- Enable Cellular Data: Go to Settings > Cellular. Turn Cellular Data on. If you use Dual SIM, make sure the correct line handles voice and data.
- Verify outages: Search your carrier name plus outage or use an outage map. If you see a local issue, wait it out or use Wi‑Fi Calling.
- Remove cases and metal accessories: Some cases or magnetic mounts can affect antennas.
- Disable VPN: Go to Settings > VPN. Turn it off. A stuck VPN can disrupt network registration.
- Check for updates: Note if iOS or carrier updates are available. We will apply them in a later section.
If none of these clears the status, use quick toggles that refresh your radio and force a new registration attempt.
Rapid Fixes to Clear ‘SOS Only’ (Airplane Mode, Restart, Cellular Toggle)
These rapid steps refresh the cellular radio and often restore service immediately.
Cycle Airplane Mode
- Open Control Center.
- Turn Airplane Mode on. Wait 10 to 20 seconds.
- Turn it off. Watch the status bar. If it shows your carrier name and signal bars, you are back.
Toggle Cellular and Lines
- Go to Settings > Cellular.
- Turn Cellular Data off, wait 10 seconds, then turn it on.
- If you use Dual SIM, toggle the active line off and back on. Confirm the right line is set for voice and data.
Force Restart Your iPhone
- For Face ID models: press volume up, then volume down, then hold the side button until you see the Apple logo.
- For Touch ID models with a side button: hold the side button and home button together until the logo appears.
- After the reboot, check the status bar.
Reset Wi‑Fi Calling
- Go to Settings > Cellular > Wi‑Fi Calling.
- Turn it off. Wait 10 seconds. Turn it on.
If your iPhone still shows ‘SOS Only’, adjust the network settings that control how it chooses and joins your carrier.
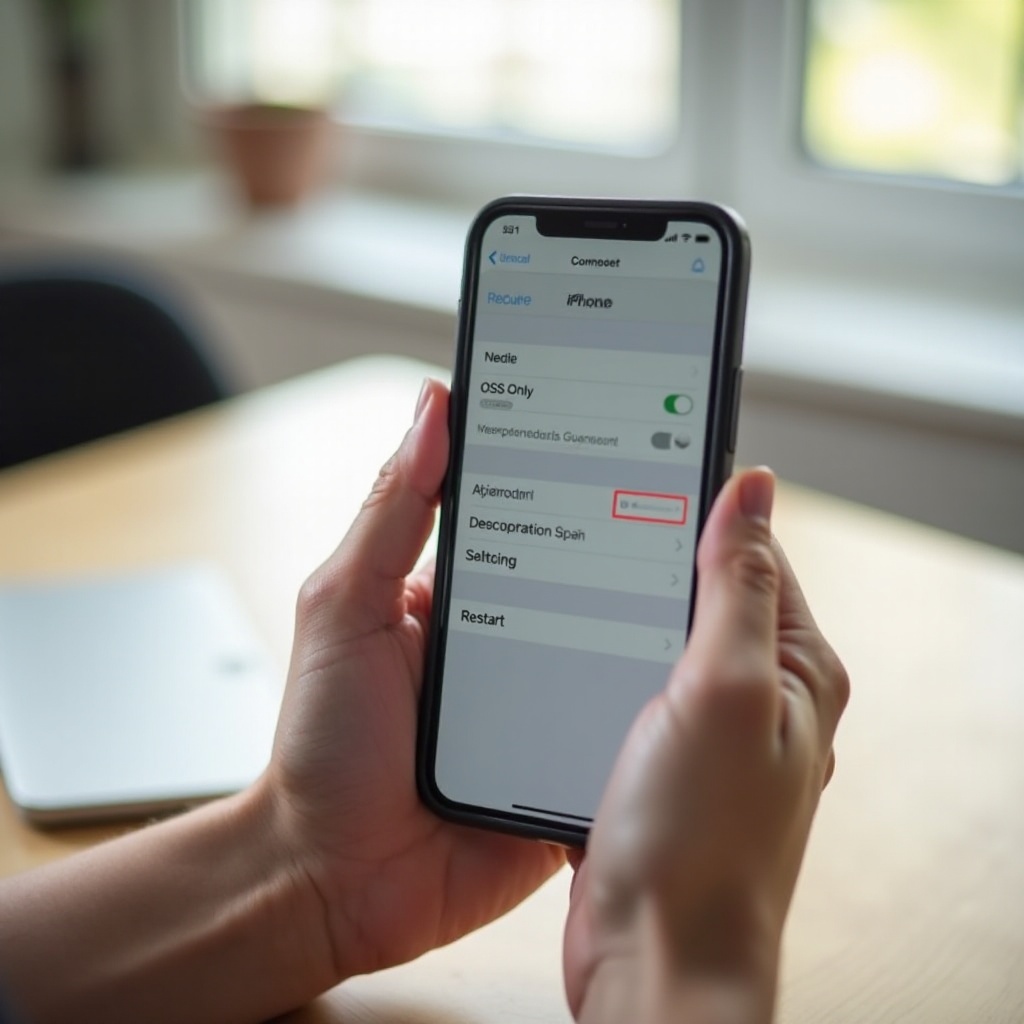
Carrier and Network Settings to Verify (Automatic Selection, Carrier Update, 5G/LTE)
When quick toggles do not hold, confirm the options that govern network selection and radio behavior.
- Network Selection: Go to Settings > Cellular > Network Selection. Turn Automatic on. If it is already on, turn it off, manually pick your carrier, wait 30 seconds, then turn Automatic back on. This forces a fresh registration pass.
- Carrier Settings Update: Go to Settings > General > About. Stay on this screen for 30 seconds. If a carrier update prompt appears, tap Update. These updates change network parameters and can resolve ‘SOS Only’.
- Voice and Data Mode: Go to Settings > Cellular > Cellular Data Options > Voice & Data. If you use 5G Auto, try 5G On or switch to LTE. In patchy 5G areas, LTE can be more stable.
- Data Roaming: In your home region, leave Data Roaming off. While traveling, turn it on to allow roaming. If you roam, manual network selection can also help.
- Wi‑Fi Assist: Go to Settings > Cellular > Wi‑Fi Assist. Toggle it off and on. This step can reset behavior that prefers weak Wi‑Fi over cellular.
- VPN and Profiles: Go to Settings > General > VPN & Device Management. Remove unknown APN or management profiles that can block registration.
If these settings look right and you still see ‘SOS Only’, focus on SIM or eSIM provisioning. Line setup issues are a top cause of stubborn failures.
SIM and eSIM Troubleshooting (Activation, Default Line, Reseating, Reinstall)
Faulty or incomplete SIM and eSIM setups can pin your iPhone to ‘SOS Only’. Fix the line, and your signal returns.
Check Default Line on Dual SIM
- Go to Settings > Cellular.
- Open Default Voice Line and Cellular Data settings.
- Set the correct line for calls and data. If you use two carriers, ensure the active plan supports service where you are.
Reseat or Replace a Physical SIM
- Power off your iPhone.
- Use a SIM tool to eject the tray. Inspect the SIM and tray for debris or damage. Wipe gently with a soft cloth.
- Reseat the SIM and power on. If the issue persists, test with a known good SIM from the same carrier. If that SIM works, replace your old one.
Reinstall an eSIM
- Go to Settings > Cellular and select your eSIM line.
- Remove eSIM. Confirm you can add it again through your carrier app, a QR code, or the Add eSIM flow.
- Reinstall the eSIM and wait for activation. If you recently ported a number, contact the carrier to confirm full provisioning for voice, SMS, and data.
Transfer eSIM the Right Way
- When moving to a new iPhone, use Transfer eSIM during setup or go to Settings > Cellular > Add eSIM and follow the prompts.
- Remove stale eSIM profiles after the new one activates. Duplicate or partial profiles can block registration.
If SIM actions do not resolve the issue, refresh the broader network stack. Updates and safe resets can clear deep configuration conflicts.
iOS and Reset Options: Update, Reset Network Settings, Reset All Settings
A current, clean network stack eliminates many persistent registration errors.
- Update iOS: Go to Settings > General > Software Update. Install the latest stable release. These builds can include modem and carrier improvements that fix ‘SOS Only’.
- Reset Network Settings: Go to Settings > General > Transfer or Reset iPhone > Reset > Reset Network Settings. This forgets Wi‑Fi passwords, VPNs, and APNs, but does not erase photos or apps. After the reboot, rejoin Wi‑Fi and check cellular service.
- Reset All Settings: If issues remain, go to Settings > General > Transfer or Reset iPhone > Reset > Reset All Settings. This resets system preferences without erasing your content. Test cellular after the restart.
- Full Restore as a Last Resort: If nothing works, back up, erase, and restore. Before you go that far, contact your carrier. Many stubborn cases are provisioning issues that they can fix quickly.
Once you refresh software, make sure you are not mixing up the Emergency SOS feature with the ‘SOS Only’ network state. Knowing the difference helps you focus on the right fix.
Emergency SOS Feature vs ‘SOS Only’ Status: What You Can and Cannot Turn Off
You can adjust Emergency SOS triggers. You cannot toggle away the ‘SOS Only’ status. One is a user feature. The other reflects network conditions.
- Manage Emergency SOS: Go to Settings > Emergency SOS. You can turn off Call with Hold and Call with 5 Presses to avoid accidental calls. You can also disable the countdown sound.
- Crash Detection: On supported iPhone and Apple Watch models, you can manage automatic calls after a severe impact. Review these options to prevent false alarms.
- What You Cannot Turn Off: ‘SOS Only’ appears when your phone fails to register for normal service on your carrier. There is no switch. Fix the network cause: coverage, plan status, SIM or eSIM provisioning, or radio settings.
With the difference clear, address a common context where ‘SOS Only’ appears: travel and roaming.
Travel, Roaming, and Coverage Issues (International Tips, Outages)
Travel changes the network equation. Roaming agreements, supported bands, and plan limits can block registration. If you see ‘SOS Only’ while abroad, try these actions.
- Confirm your plan includes voice, SMS, and data roaming for your destination.
- Turn on Data Roaming: Settings > Cellular > Cellular Data Options.
- Use Manual Network Selection to pick a partner network when Automatic fails.
- Switch from 5G Auto to LTE if local bands differ from your phone’s supported bands.
- Install a local eSIM from a reputable provider for better coverage and lower costs.
- Check for local outages and known dead zones in large buildings or transit hubs.
Back at home, ‘SOS Only’ can also signal a tower outage or a coverage gap. Note the time and location and report it to your carrier. If location and travel are not the cause, consider hardware next.
Possible Hardware Problems and When to Visit Apple
Hardware can fail after drops, liquid exposure, or wear. Certain signs point to a radio or antenna issue that software cannot fix.
- ‘SOS Only’ persists across different SIMs and carriers.
- You get no signal even outdoors in areas with strong coverage.
- Other radios act up, such as Wi‑Fi or Bluetooth instability.
- The phone shows visible damage or has a history of hard impacts or liquid contact.
What to do next:
– Run diagnostics in the Apple Support app or visit an Apple Store or authorized service provider.
– Ask for a radio and antenna check.
– If your device qualifies for a repair program, schedule service. A hardware fix may be the only solution.
If Apple sees no hardware fault, escalate with your carrier. Provisioning or account locks can look like hardware trouble but are not.
When to Contact Your Carrier (Account, Porting, Suspensions, IMEI)
Carriers control line provisioning. Many ‘SOS Only’ cases resolve as soon as they refresh your line.
Contact your carrier when any of the following apply:
- You switched carriers or ported your number recently.
- You moved to an eSIM and activation stalled or partially completed.
- Your account shows a billing issue, fraud lock, or a recent plan change.
- Your iPhone shows SIM not supported or similar warnings.
Ask support to do the following:
- Confirm full provisioning for voice, SMS, and data on your line.
- Push an over the air update to your device and refresh network registration.
- Verify that your IMEI or IMEI2 and ICCID match their records.
- Check for local outages or maintenance that could explain the timing.
Keep notes with times, locations, and screenshots. If the carrier confirms that provisioning is correct, return to Apple for a deeper hardware review.
Prevention Checklist to Avoid Future ‘SOS Only’ Surprises
Stop repeat issues with a few simple habits. Use this list after any change to your phone, plan, or number.
- Keep iOS up to date with stable releases.
- Install carrier settings updates when prompted.
- Avoid unknown APN or VPN profiles that can hijack cellular settings.
- When switching carriers, complete number porting before you cancel the old line.
- Use official carrier apps or QR codes to activate eSIMs.
- On Dual SIM setups, set the correct default voice and data lines.
- Handle your SIM tray carefully and avoid bending it.
- Before trips, enable roaming if your plan includes it, or buy a local eSIM for better coverage.
- Track and report persistent dead zones to your carrier.
These steps reduce risk and make support faster if a problem returns.
Conclusion
How do I take SOS off my iPhone? The real goal is to restore normal network service. You now have a clear path: run quick toggles, verify network options, fix SIM or eSIM provisioning, and refresh iOS network settings. Know the difference between the Emergency SOS feature and the ‘SOS Only’ status so you change what matters. On trips, adjust roaming and manual selection to match local networks. If nothing works, bring details to your carrier and to Apple to isolate account, provisioning, or hardware issues. Use the prevention checklist to keep your signal steady. With these steps, most users clear ‘SOS Only’ fast and keep it from returning.
Frequently Asked Questions
Is SOS Only the same as having no service on iPhone?
Not exactly. No Service means the iPhone does not detect a usable network. SOS Only means it can see a network but cannot register for your carrier. You can often place an emergency call, but normal voice, SMS, and data will not work until you restore registration by checking coverage, account status, SIM or eSIM activation, and carrier settings.
Can I completely disable Emergency SOS on my iPhone?
You can turn off the triggers that start an emergency call, but you cannot remove the ability to call emergency services. Go to Settings > Emergency SOS and disable Call with Hold, Call with 5 Presses, and the countdown sound if you want to avoid accidental calls. These changes do not affect the SOS Only status, which reflects network registration.
Why does my iPhone show SOS after switching carriers or installing an eSIM?
Your line may not be fully provisioned for voice, SMS, or data yet. Porting and activation sometimes take time, and systems must match your IMEI, IMEI2, and ICCID. Confirm activation in your carrier app, ask support to refresh registration and push an OTA update, and re-add the eSIM if needed. If you use Dual SIM, set the correct default voice and data lines.