Introduction
Voice memos make it easy to capture ideas, meetings, lectures, or quick reminders on your iPhone. The tricky part often comes later, when you need to send that recording to someone else. You tap around, look for the right button, and sometimes run into errors or file size limits.
This guide explains exactly how to email an iPhone voice memo using the built‑in Mail app and popular third‑party email apps like Gmail and Outlook. You will see each step clearly, from recording and naming the memo to attaching and sending it.
You will also learn what to do when a voice memo is too large to email, how to use links instead of attachments, and how to share through Messages, AirDrop, or cloud storage. Along the way, you will pick up simple tips to improve audio quality so your recipients can hear every word.
What You Need Before Emailing an iPhone Voice Memo
Before you learn how to email an iPhone voice memo, it helps to check a few basics. When your software and email accounts are set up correctly, sending a memo takes only a few taps.
First, make sure your iPhone can run the latest version of Voice Memos without issues. Then confirm that at least one email account is active on your device, so your phone knows how to send messages with attachments.
Check Your iOS Version and Voice Memos App
Voice Memos is pre‑installed on modern iPhones, and it works best on an up‑to‑date system.
Use these steps to confirm:
- Open Settings.
- Tap General > Software Update.
- If an update appears, review the details and tap Download and Install if you want the newest improvements.
Next, confirm that the Voice Memos app is ready:
- Swipe down on the Home Screen and type Voice Memos in the search bar.
- If you do not see it, open the App Store, search for Voice Memos, and install or restore it.
A working Voice Memos app is the foundation for everything that follows.
Make Sure the Mail App or Email Account Is Set Up
You also need at least one active email account on your iPhone so you can send your recording.
Follow these steps:
- Open Settings.
- Scroll down and tap Mail.
- Tap Accounts to see the accounts that are already added.
- If you do not see any, tap Add Account, choose your email provider, and sign in.
Finally, make sure the Mail app is visible on your Home Screen or Apps Library. You will choose this app later when you share your memo.
Once everything is set, you are ready to create a recording that you can send by email.
How to Record and Save a Voice Memo on iPhone
You can only email a memo that has been recorded and saved, so your next step is to capture the audio you want to share. The Voice Memos app is simple to use, even if this is your first time working with audio on your phone.
In this section, you will open the app, record a memo, and give it a clear name. This keeps your recordings organized and makes the right memo easy to find when you are ready to email it.
How to Open the Voice Memos App
To open Voice Memos:
- Look for the Voice Memos icon, which shows a black waveform on a white background.
- If you do not see it, swipe down on the Home Screen to open Search, then type Voice Memos and tap the app.
- If you use it often, drag it to your Home Screen or Dock for quick access.
When the app opens, you will see a list of existing recordings and a large red record button at the bottom.
Record, Pause, and Stop a New Voice Memo
To create a new memo:
- Tap the red record button to start recording.
- Hold the bottom of the iPhone (where the main microphone is) toward your mouth.
- Speak clearly at a steady volume.
- Tap the pause icon if you need a break.
- Tap Resume to continue the same recording.
- Tap the stop button (a red square) when you finish.
Your new memo appears at the top of the list, often with a default name like ‘New Recording’ or a location name. Tap it and then tap Play to check the audio.
Rename and Organize Your Voice Memo
A good name helps you avoid mistakes later, especially if you create many memos.
To rename your recording:
- Tap the memo name (for example, ‘New Recording’).
- Type a descriptive title like ‘Client Meeting – June Project’ or ‘Podcast Intro Draft’.
- Press Return to save the new name.
You can also:
- Swipe left on a recording to delete or duplicate it.
- Use folders inside Voice Memos to group related recordings, such as meetings, interviews, or personal notes.
With a clear name and a saved file, you are ready to send your memo using the Mail app.

How to Email an iPhone Voice Memo Using the Mail App
The built‑in Mail app is often the simplest way to email an iPhone voice memo. It integrates directly with Voice Memos, so attaching and sending your recording only takes a few taps.
In this section, you will open the right memo, attach it to a new email, write a short message, and confirm that the email sent successfully.
Open the Voice Memo You Want to Send
Start in the Voice Memos app:
- Open Voice Memos.
- Scroll through the list and tap the memo you want to send.
- Tap Play if you want to confirm that you picked the correct recording.
If you have a long list of recordings, use the search feature inside Voice Memos. Type a word from the memo name to find it faster.
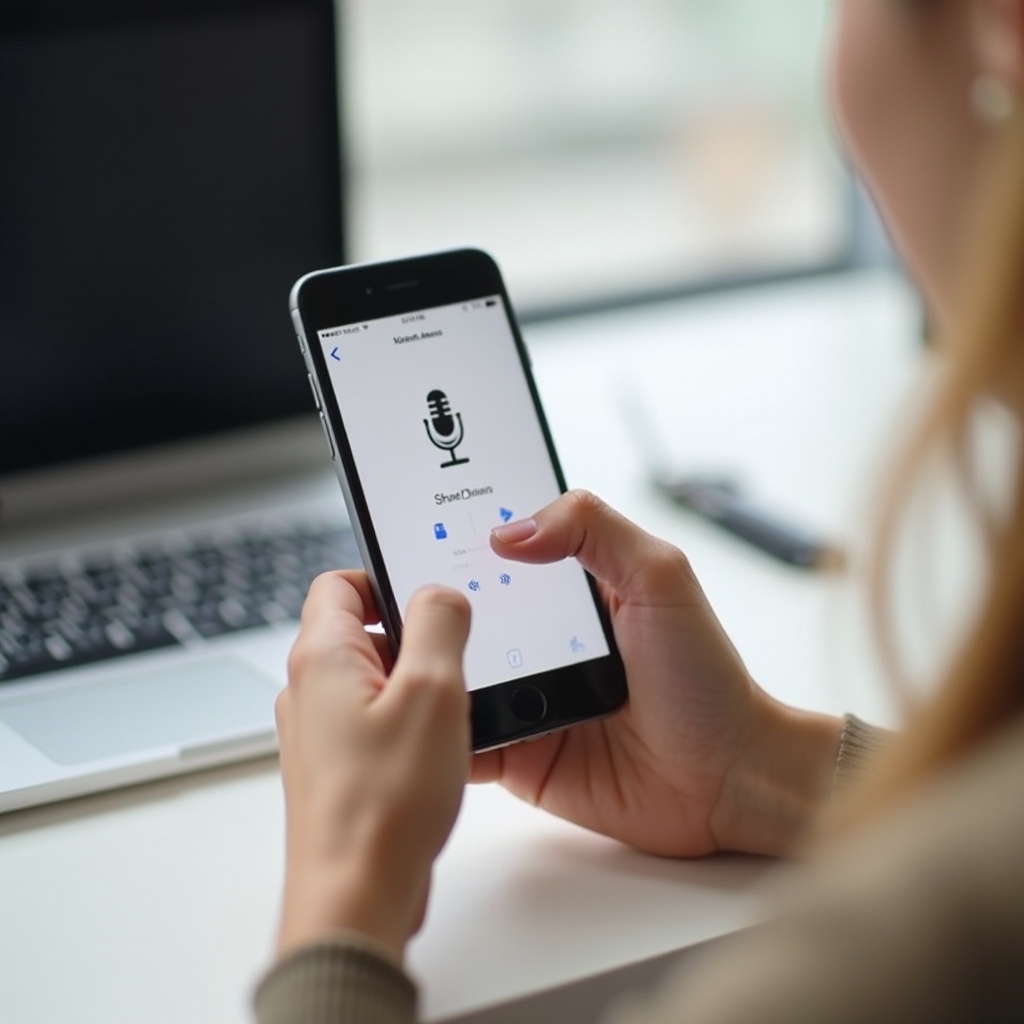
Use the Share Button to Attach the Memo
Once you have selected the right memo:
- Tap the three dots (…) near the memo or tap the memo and then tap the Share icon (a square with an arrow pointing up).
- The Share Sheet opens and shows apps and actions that can handle the audio file.
- Scroll through the apps until you see Mail.
Your iPhone prepares the memo as an audio attachment, usually in .m4a format, and passes it to the Mail app.
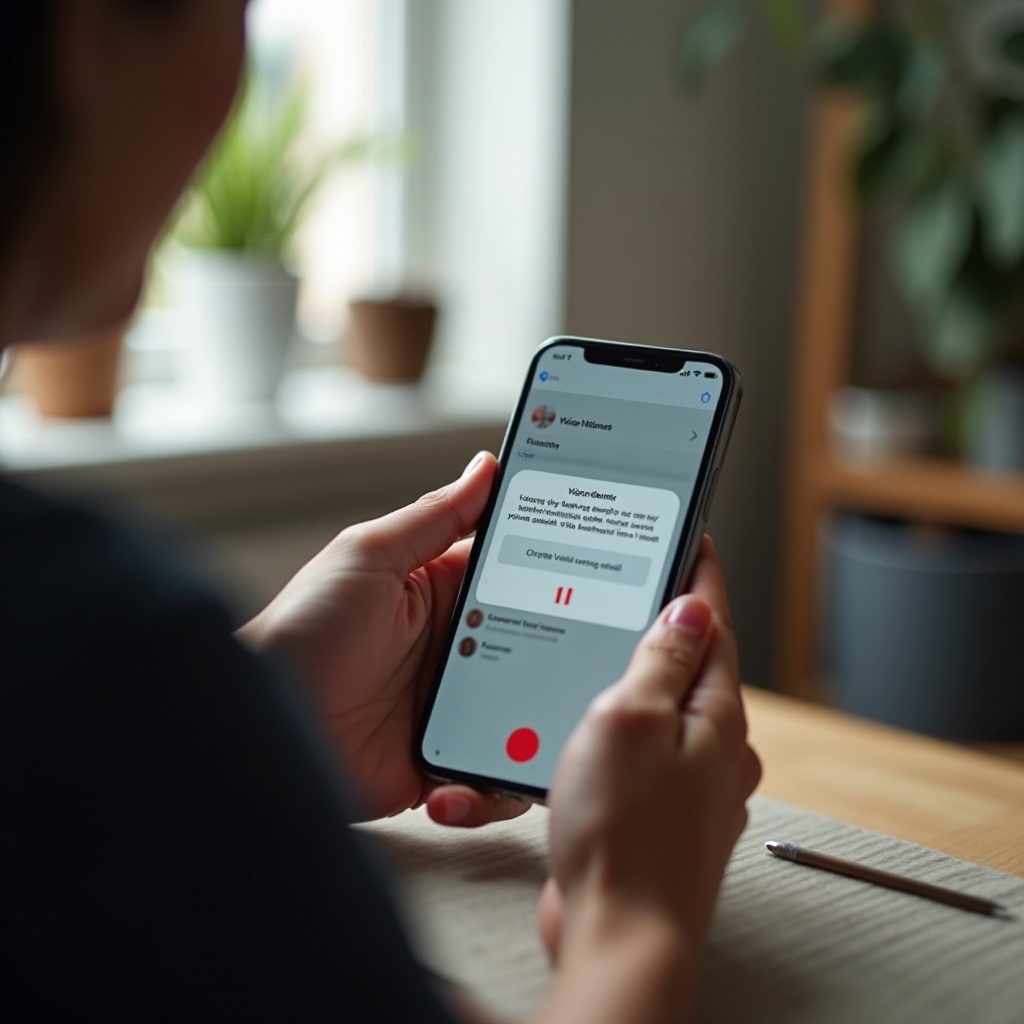
Choose Mail, Add Recipient, Subject, and Message
After you tap Mail in the Share Sheet:
- A new email draft appears with the voice memo already attached.
- In the To: field, type the recipient’s email address.
- Add a clear Subject line such as ‘Voice Memo – Meeting Recap’ or ‘Audio Note for Review’.
- In the message body, explain briefly what the memo contains and any important details.
You can also:
- Tap Cc/Bcc to add other recipients.
- Tap the From field if you need to choose a different email account configured on your iPhone.
A short, clear message helps your recipient understand the context of the audio file.
Send the Email and Confirm It Was Delivered
When your email looks correct:
- Tap the Send button (blue arrow icon).
- Open the Mail app and check the Sent folder to confirm the message left your device.
- If you want extra peace of mind, ask the recipient to reply and confirm that they can open and play the memo.
If the email stays in the Outbox or shows an error, you will find solutions in the troubleshooting section later in this article.
Sometimes you may prefer not to use the Mail app at all. If you rely on Gmail, Outlook, or another service, you can still email an iPhone voice memo directly from those apps.
How to Email an iPhone Voice Memo Using Third‑Party Email Apps (Gmail, Outlook, etc.)
Many people send most of their messages through Gmail or Outlook instead of Apple Mail. The good news is that Voice Memos can share recordings with these apps, as long as they appear in your Share Sheet.
This section shows you how to enable third‑party email apps for sharing and how to send your memo through Gmail and Outlook on your iPhone.
Enable Third‑Party Email Apps in the Share Sheet
First, install and set up your preferred email app:
- Download Gmail, Outlook, or another email app from the App Store.
- Open the app and sign in with your email account.
- Go back to Voice Memos, choose a memo, and tap the Share icon.
- Look for your email app (such as Gmail or Outlook) in the Share Sheet.
- If you do not see it, scroll to the end and tap More, then toggle the app on to add it.
Once it appears, your third‑party email app can receive attachments directly from Voice Memos.
Attach and Send a Voice Memo with Gmail on iPhone
To email a memo through Gmail:
- Open Voice Memos and select your recording.
- Tap the Share icon.
- Choose Gmail from the Share Sheet.
- Gmail opens with a new email draft and your memo attached.
- Enter the recipient’s email address, a clear subject, and a brief message.
- Tap the Send icon.
Gmail sends the memo as a standard audio file. Most people can open it on any device, even if they do not use an iPhone.
Attach and Send a Voice Memo with Outlook on iPhone
To send with Outlook:
- In Voice Memos, select your memo and tap Share.
- Tap Outlook in the list of apps.
- Outlook opens a new message with your memo attached.
- Fill in the To, Subject, and message fields.
- Tap Send.
This method works well for work or school accounts that rely on Microsoft 365 or Exchange.
Third‑party apps make email flexible, but they still face size limits. If your memo is long or high quality, the file might be too large to send as a normal attachment. That is where the next section becomes important.
What to Do If Your Voice Memo Is Too Large to Email
Email providers limit the size of attachments you can send in a single message. Long meetings, interviews, or detailed recordings may create large .m4a files that exceed those limits.
When that happens, you might see error messages about attachments that are too large. You can work around this by trimming the audio, adjusting quality, or sending a link instead of the file.
Check the File Size and Typical Email Limits
To understand the problem, start by checking the size of your memo:
- In Voice Memos, share the memo to the Files app.
- Open the Files app and locate the saved memo.
- Long‑press the file and tap Info to see its size.
Common attachment limits are:
- Many email services: around 20–25 MB per email.
If your memo is bigger than this range, it may not send as a normal attachment.
Compress or Shorten the Voice Memo Before Sending
You have two main ways to reduce file size:
- Trim the memo in Voice Memos:
- Open the memo in Voice Memos.
- Tap the three dots (…) and choose Edit Recording.
- Drag the trim handles at the beginning or end to remove silence or unneeded parts.
-
Tap Trim, then Save.
-
Use compressed audio for future recordings:
- Open Settings.
- Scroll to Voice Memos.
- Tap Audio Quality.
- Select Compressed to create smaller files instead of large lossless files.
Shorter and compressed memos are much easier to send through any email service.
Share a Cloud Link from Files or iCloud Instead of an Attachment
If trimming is not enough, or you do not want to edit the audio, send a shareable link instead:
- In Voice Memos, select your memo and tap Share.
- Choose Save to Files.
- Save it to iCloud Drive or On My iPhone.
- Open the Files app and find the memo.
- Long‑press the file and tap Share.
- Choose Copy Link or a similar option, depending on the service.
- Paste that link into your email instead of attaching the file.
The recipient clicks the link to stream or download the memo, which avoids email size limits entirely.
When email is not the best channel at all, you still have other fast options. The next section covers those alternatives.
Other Ways to Share iPhone Voice Memos (Messages, AirDrop, and More)
Email is reliable, but sometimes you want a quicker or more direct way to share a recording. If you are sending a memo to a friend, to someone nearby, or into a group chat, built‑in tools like Messages, AirDrop, and cloud storage links can be easier than email.
This section explores these alternatives so you can choose the right method for each situation.
Send a Voice Memo via Messages or Chat Apps
To send via the Messages app:
- Open Voice Memos and select the recording.
- Tap the Share icon.
- Choose Messages from the list.
- Pick a contact or enter a phone number or Apple ID.
- Add a short text note if needed and tap Send.
You can also share through chat apps like WhatsApp, Telegram, or Signal:
- Tap Share on your memo.
- Select the chat app you want.
- Choose the conversation and send the memo.
These options are quick and work well for casual or frequent communication.
Share Instantly with AirDrop on Nearby Apple Devices
AirDrop is ideal when the other person is close by and uses an Apple device:
- Make sure Wi‑Fi and Bluetooth are turned on for both devices.
- On the receiving device, open Control Center and enable AirDrop.
- On your iPhone, open Voice Memos, select the memo, and tap Share.
- Tap AirDrop.
- Choose the nearby device from the list.
- The recipient taps Accept to save the memo.
This method skips email and uploads, so it is often the fastest way to hand off a recording in person.
Save and Share Voice Memos with Files and Cloud Storage
Cloud storage gives you flexible ways to share longer recordings:
- Save the memo to the Files app.
- From Files, upload it to services like Google Drive, Dropbox, or OneDrive.
- Create a shareable link from the cloud app.
- Send that link by email, text, chat, or any other channel.
This approach works well for large files, team projects, and recordings you want to access from multiple devices.
You now know several ways to get your audio from your iPhone to someone else. The next step is making sure that audio sounds good when it arrives.
Tips for Recording Clear, Professional‑Sounding Voice Memos
Learning how to email an iPhone voice memo is important, but audio quality matters just as much. A clear recording sounds more professional and is easier for your recipient to understand.
This section covers simple techniques that improve your recordings without any special equipment. Better audio makes every memo you send more valuable.
Choose a Quiet Space and Hold the Microphone Correctly
Start with your recording environment:
- Move away from loud fans, traffic, or background music.
- Close windows and doors to block outside noise.
- Hold the bottom of the iPhone about 6–8 inches from your mouth.
- Do not cover the microphone with your hand or a case.
Speak clearly, at a steady pace, and at a consistent volume. If you record often, consider using wired or Bluetooth headphones with a built‑in microphone for even clearer sound.
Adjust Recording Quality in Settings (Compressed vs. Lossless)
You can control the balance between quality and file size:
- Open Settings.
- Scroll down and tap Voice Memos.
- Tap Audio Quality.
- Choose one of these options:
- Compressed for smaller files that are easier to email.
- Lossless for higher quality audio that captures more detail.
If you mainly email short memos, compressed audio is usually enough. If you record long interviews or content for podcasts, lossless audio might be worth the larger file size.
Organize and Label Voice Memos for Easier Sharing
Good organization saves time when someone asks for a specific recording:
- Give each memo a descriptive name instead of leaving the default.
- Use folders inside Voice Memos to separate work, school, and personal recordings.
- Regularly delete test recordings, mistakes, and duplicates.
When your memos are well labeled, you can find the right one quickly and send it without confusion.
Even with careful preparation, you may still run into a few problems when you try to email a memo. The next section shows you how to fix the most common issues.
Troubleshooting: When You Can’t Email an iPhone Voice Memo
Sometimes the Mail option does not appear, an email gets stuck, or the recipient cannot open the file. These problems are common and usually easy to solve once you know where to look.
This section covers the most frequent issues and gives you practical steps to get your memo sent and heard.
Mail App Missing from the Share Sheet
If you tap Share on a memo and do not see Mail listed:
- Confirm that the Mail app is installed. If not, download it again from the App Store.
- Open Settings > Mail and make sure at least one email account is active.
- Go back to the Voice Memos Share menu.
- Scroll to the end of the apps row and tap More.
- Toggle Mail on and drag it higher in the list if you want quick access.
Use the same steps if a third‑party email app such as Gmail or Outlook is missing from the Share Sheet.
Email with Voice Memo Won’t Send or Gets Stuck
If your email shows a sending error or stays in the Outbox:
- Check your internet connection. Switch between Wi‑Fi and cellular data if needed.
- Open the Mail app and look for an Outbox folder.
- If you see your message there, open it and:
- Remove the attachment and try attaching the memo again.
- Confirm the recipient’s email address is spelled correctly.
- Consider that the memo might be too large. Trim it or send a cloud link instead.
- Restart your iPhone and try sending the email again.
These steps fix most sending problems without much effort.
Recipient Can’t Open or Play the Voice Memo File
iPhone voice memos are usually saved in the .m4a format, which most modern devices can play. If a recipient has trouble:
- Ask them to open the file with another app, such as VLC, QuickTime, or an updated version of Windows Media Player.
- If they still cannot open it, convert the memo to .mp3 using an audio converter app and resend the new file.
- As another option, upload the memo to a cloud service and send a streaming link they can open in a browser.
With these fixes, your recipient should be able to listen to your memo on almost any device.
Conclusion
You have now seen every step of how to email an iPhone voice memo, from recording and naming your audio to attaching it in Mail, Gmail, or Outlook. You also learned how to trim long files, work around attachment limits, and send links when email is not enough.
Beyond email, you can share your memos quickly through Messages, AirDrop, and cloud storage links. With a few simple recording and organization tips, your audio will sound clearer and be easier to find whenever you need it.
The next time you capture an important meeting, a client call, or a quick idea, you will know exactly how to move that voice memo from your iPhone to someone else’s inbox or device without confusion or delay.
Frequently Asked Questions
Can I email multiple iPhone voice memos in one message?
Yes. First, save each memo to the Files app. Then open your email app, start a new message, and attach several files from Files to the same email. Watch the total size, because multiple recordings can exceed your email provider’s attachment limit. If the combined size is too large, upload the memos to cloud storage and send a shared link instead.
Why does my iPhone say the voice memo is too large to send by email?
This message appears when the memo’s file size exceeds your email provider’s attachment limit, which is often around 20–25 MB. To fix this, trim the memo inside the Voice Memos app to remove silent or unneeded parts, or change the audio quality setting to Compressed for future recordings. If the file is still too large, save it to a cloud service and email a shareable link instead of attaching the full audio file.
What format are iPhone voice memos, and can non-iPhone users open them?
iPhone voice memos are usually saved as .m4a audio files. Most modern devices can open this format using built-in or free media players such as VLC, QuickTime, or updated Windows Media Player. If someone still cannot open the file, you can convert it to .mp3 with an audio converter app or upload the memo to a cloud service and send a streaming link, which they can play in a web browser without extra software.