
Introduction
You want to switch carriers, add a travel plan, or sell your phone. First, you need to confirm whether your iPhone is unlocked. An unlocked device accepts service from any compatible carrier using a physical SIM or eSIM. That flexibility saves money and stress. It lets you choose the best plan for your needs without penalties.
This guide walks you through fast on-device checks, live tests with physical SIM and eSIM, and the right way to confirm with your carrier. You will also learn what common error messages mean and how to fix them. If your iPhone turns out to be locked, you will see how to request and complete a permanent unlock. We will start by clarifying what unlocked actually means, because people often mix up SIM locks with Apple ID protections and finance blocks.

What Unlocked Means vs Activation Lock, Financing, and Blacklist Status
Unlocked refers to carrier restrictions on the device. If your iPhone is unlocked, you can use it with any compatible carrier. If it is carrier locked, it only works with that specific carrier unless you roam. This type of lock is different from other controls. Activation Lock ties the phone to an Apple ID as an anti theft feature. It does not control whether a SIM can work. A phone can be unlocked for carriers and still be Activation Locked to its owner.
Financing and account status also come into play. Carriers often keep phones locked until you pay off the device and meet policy rules. After the carrier approves the unlock and updates Apple servers, the phone becomes unlocked. Blacklist status is separate again. If a device is reported lost, stolen, or linked to fraud, carriers can blacklist the IMEI. A blacklisted device may not get service even if it is otherwise unlocked. Keeping these differences in mind helps you pick the right checks in the next sections.
Understanding these lock types sets the stage for your first step: a quick on device look at the Carrier Lock field that reveals your current status in seconds.
The Fastest Check: Carrier Lock in Settings and What No SIM restrictions Means
Start with the easiest verification on the iPhone itself:
- Open Settings.
- Tap General.
- Tap About.
- Scroll to Carrier Lock.
You will see one of two common results:
– No SIM restrictions: The iPhone is unlocked.
– Any other status, such as SIM locked or a named carrier: The device is locked to a carrier.
This check is fast and reliable for most users. Keep in mind that it only tells you about the SIM lock. It does not confirm whether the device is blacklisted or still tied to financing. It also does not guarantee that every network feature, like 5G or Wi Fi Calling, will work with every carrier. If you plan to switch carriers or travel, run a live test next. A test with a different SIM or a trial eSIM confirms both unlock status and real world compatibility.
Method 1: Confirm With a Physical SIM From a Different Carrier (Step by Step)
A live SIM test removes guesswork. Use a SIM from a different carrier than the phone’s original provider. Borrow a friend’s SIM or use a low cost prepaid SIM.
1) Power off the iPhone.
2) Insert the different carrier’s nano SIM into the tray.
3) Power on the iPhone.
4) Enter the SIM PIN if prompted. This PIN applies to the SIM, not your phone.
5) Wait for activation. Watch the status bar for signal bars or the carrier name.
6) Place a test call and open a web page to verify voice and data.
7) If you see SIM Not Supported or SIM Not Valid, the device is likely carrier locked. If you see No Service, the SIM may be inactive, the area may lack coverage, or the phone may not support needed bands.
8) If possible, repeat with a second SIM. A second test helps rule out a bad or inactive card.
If calls and data work with the new SIM, your iPhone is unlocked and compatible with that network. If you still see errors, an eSIM test can confirm whether the issue lies with the physical card or with provisioning.
Method 2: Confirm With a Trial eSIM From a Different Carrier (Step by Step)
eSIM lets you activate service digitally. Many carriers offer free or low cost trials, which makes eSIM a great way to test unlock status and compatibility without buying a physical SIM.
1) Connect the iPhone to Wi Fi.
2) Go to Settings > Cellular (or Mobile Data).
3) Tap Add eSIM or Add Cellular Plan.
4) Choose Add eSIM from a listed carrier or scan a QR code from a trial provider.
5) Follow the prompts to activate. It can take a few minutes.
6) Set the new plan for data or calls, or keep it as a secondary line.
7) Place a call and open a web page to test the line.
8) If you get an error like This iPhone cannot be activated on this carrier, the device may be locked or incompatible with that network.
9) When done, remove the test plan under Settings > Cellular by selecting the plan and tapping Remove eSIM.
If the eSIM line activates and works, your iPhone is both unlocked and compatible with that carrier’s network. If eSIM activation fails but Settings shows No SIM restrictions, you may have a provisioning issue or an account problem. The next section explains how to interpret error messages so you can pick the right fix.
Interpreting Messages: SIM Not Supported, SIM Not Valid, SIM Locked, and No Service
Error messages point to the root cause. Here is what they usually mean and what to do next:
- SIM Not Supported or SIM Not Valid: The phone is carrier locked, or the activation policy blocks that SIM. Contact the original carrier to request an unlock.
- SIM Locked: The SIM itself has a PIN. Enter the PIN or obtain a PUK from the SIM’s carrier. This is not a device lock.
- No Service: The SIM might be inactive, the area may lack coverage, or the phone may not support required bands. The device could be unlocked but incompatible with that network.
- Unable to Activate: The network may be busy, or the eSIM or SIM did not provision correctly. Try again, update carrier settings, or ask the carrier to refresh the line.
If your Settings page shows No SIM restrictions but errors persist, your next move is to confirm with the carrier using your IMEI and to check compatibility. That brings us to contacting the carrier for a definitive status and eligibility review.
Verify With Your Carrier: IMEI Lookup, Account Eligibility, and Unlock Policies
Carriers can confirm lock status and unlock eligibility using your IMEI. To find it, open Settings > General > About or dial *#06#. Ask the carrier that sold the phone whether it is locked and whether it qualifies for unlocking. Prepare to verify account details. Most carriers require that:
- The device is fully paid off.
- The account is in good standing with no overdue balances.
- A minimum active period or usage requirement is met.
If you bought the phone second hand, the original carrier still controls the unlock. You may need the seller’s help. Some carriers allow non customers to request an unlock with proof of purchase; others do not. After approval, the carrier updates Apple activation servers. To finalize, restart the phone and insert a different SIM or add an eSIM. If activation fails, update iOS and carrier settings under Settings > General > About. If the carrier declines, ask for the specific policy reason so you can address it.
Carrier verification gives you a clear status, but you should still be cautious about where you check IMEIs online. The next section explains how to steer clear of risky third party sites and how to validate any result you see.
Avoid Bad Info: Risks of Third Party IMEI Checkers and How to Validate Results
Third party IMEI sites vary widely in quality. Some provide outdated or incorrect data. Others harvest IMEIs or personal details and charge hidden fees. Because carriers and Apple control activation and unlock states, unofficial sources often guess or use stale records.
To protect yourself:
- Prefer official sources: the original carrier and Apple Support for Activation Lock questions.
- Avoid sharing personal data or payment details just to view status.
- Cross check any result with a live SIM or eSIM test.
- Use a carrier store to perform a quick SIM test if you need in person validation.
A real world test is the gold standard. When the carrier confirms and your live test works, you can trust the result and move forward. If you discover a lock, follow the correct path to request a permanent unlock.
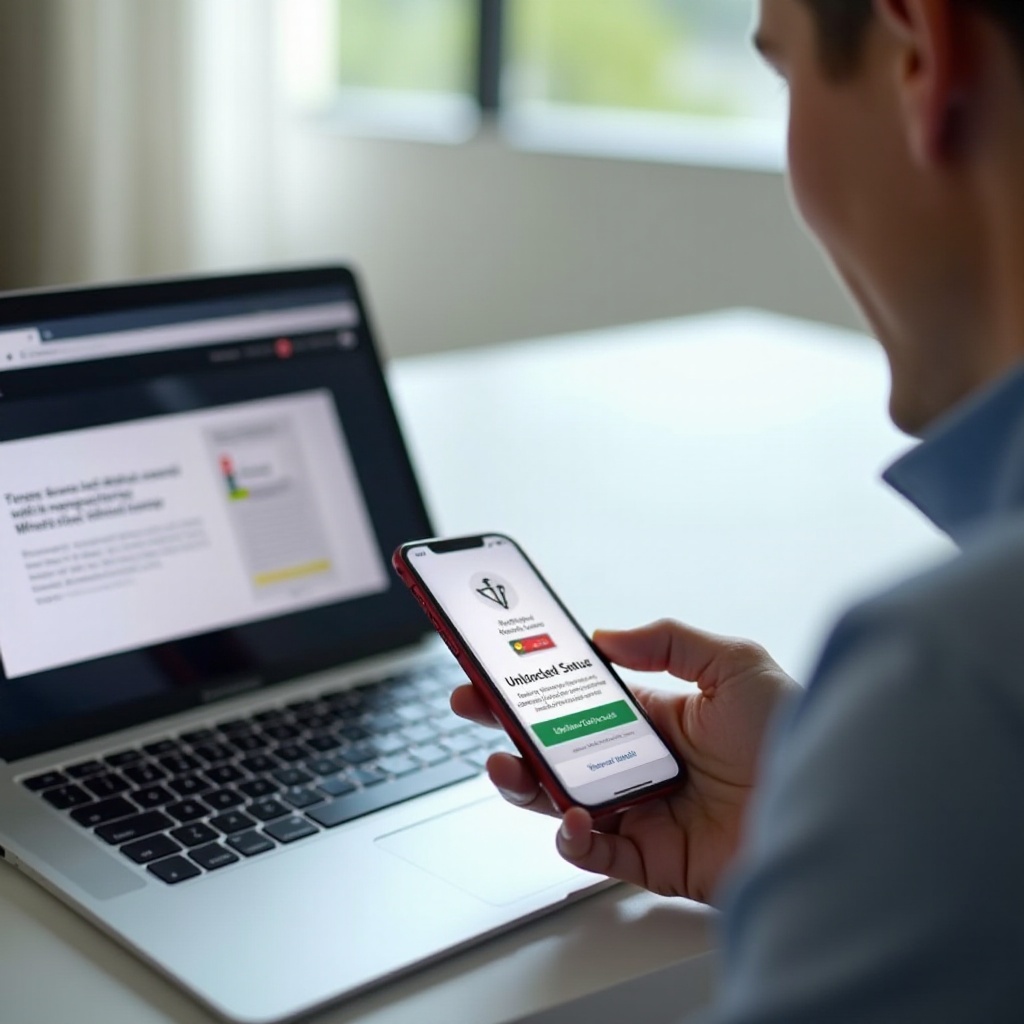
Edge Cases to Consider: Dual SIM and eSIM, MDM Profiles, Refurbished Devices, and Regional Models
Some situations call for deeper checks:
- Dual SIM and eSIM: Many iPhones support one physical SIM and one eSIM, or dual eSIM on newer models. Test both lines. If one plan works and another fails, delete unused eSIMs and re add the plan. Conflicting profiles can cause activation errors.
- MDM or enterprise profiles: Company managed devices can block adding eSIMs or changing carrier settings. Check Settings > General > VPN & Device Management. If the device is managed, ask your IT admin to remove restrictions or to provision an approved plan.
- Refurbished or previously owned devices: You might see No SIM restrictions yet later lose service if the original owner misses payments and the carrier reverses an unlock. Keep proof of purchase and request the original carrier’s written unlock confirmation.
- Regional models and network bands: Even if unlocked, a device may lack certain LTE or 5G bands that your target carrier needs. Check your model number and compare supported bands to the carrier’s network. Feature support like VoLTE and Wi Fi Calling can also vary.
If any edge case applies, pair the Settings check with a SIM or eSIM test and a carrier confirmation. That gives you both a policy answer and a practical result before you commit to a new plan.
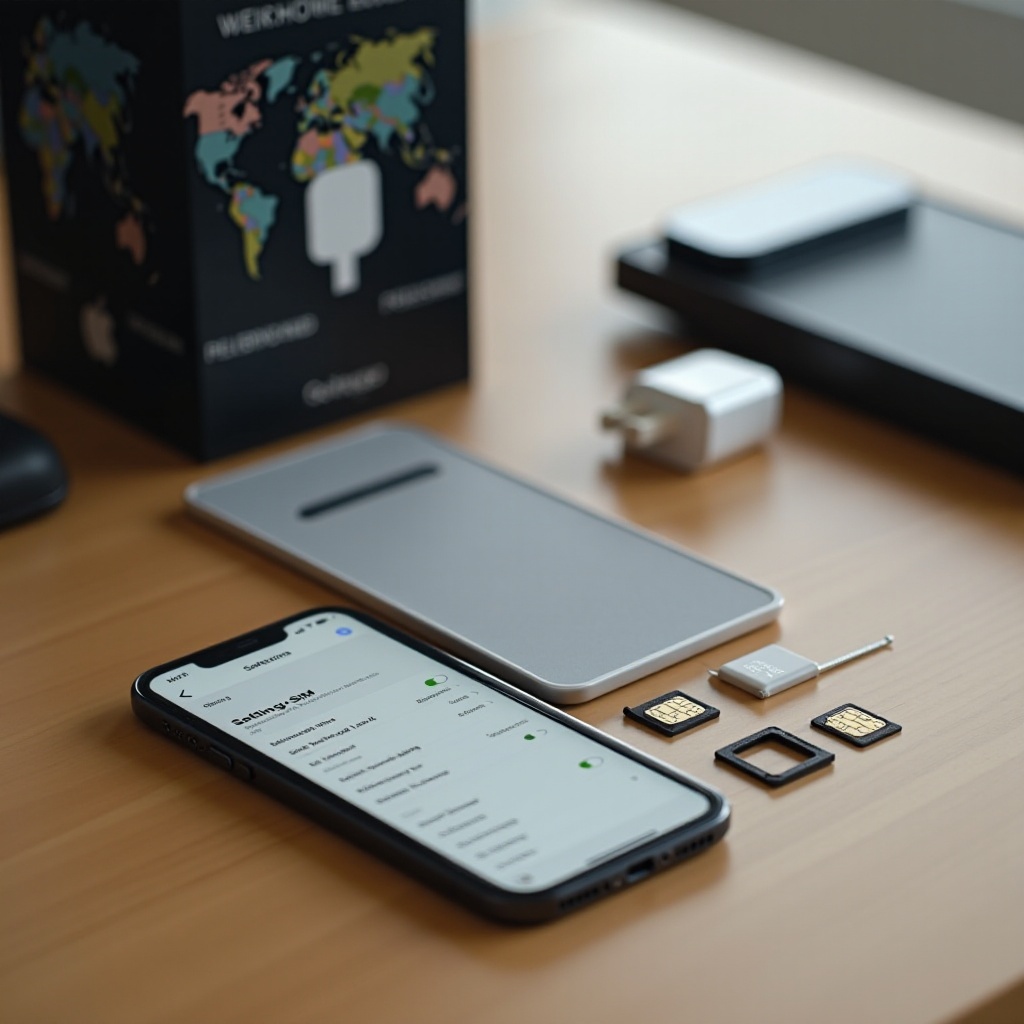
If Your iPhone Is Locked: How to Request and Confirm a Permanent Carrier Unlock
If your tests show a lock, contact the original carrier and follow a structured process:
1) Gather details: IMEI, account holder name, account number, and proof of purchase if required.
2) Review the carrier’s unlock policy on its website. Confirm that you meet the criteria.
3) Submit the unlock request via app, website, chat, or phone. Save the case or ticket number.
4) Watch for confirmation by email or SMS. Processing can take minutes to several days depending on the carrier.
5) Complete the unlock: insert a different SIM or add an eSIM to trigger activation with a new network.
6) If needed, restart the phone, update iOS, and accept carrier settings updates under Settings > General > About.
7) If activation fails, reset Network Settings under Settings > General > Transfer or Reset > Reset and try again.
After a successful unlock, Settings > About should display No SIM restrictions. Keep the approval email for your records. If the carrier declines, ask for the exact reason, such as unpaid balance or minimum service requirement, and resolve it. In the meantime, you can use a plan from the locked carrier or a compatible MVNO until you qualify for the unlock.
Once you secure the unlock, you are ready to act with confidence whether you are switching carriers, traveling, or selling the device. A few practical tips can help you verify status smoothly in those real world scenarios.
Pro Tips for Buyers, Sellers, and Travelers: Real World Unlock Validation
Protect your time and money by validating in the moment.
For buyers:
- Meet in a public place with Wi Fi available.
- Open Settings > General > About and check Carrier Lock.
- Insert your SIM, place a call, and load a web page.
- Confirm the seller signs out of iCloud to clear Activation Lock.
- Inspect for MDM under Settings > General > VPN & Device Management.
For sellers:
- Request and complete the carrier unlock before listing.
- Take a photo of the About screen showing No SIM restrictions.
- Keep the unlock approval email and share it with the buyer.
- Mask part of the IMEI in public listings to reduce fraud risk.
For travelers:
- Add a travel eSIM and test data before you fly.
- Keep your home line active as secondary and route data to the travel plan.
- Save QR codes and carrier support contacts.
- Test tethering if you plan to use your phone as a hotspot.
These steps combine the quick Settings check with live tests. They give you proof that the device is unlocked and compatible where it matters most: on the network you plan to use.
Conclusion
You can confirm whether an iPhone is unlocked in minutes. Start in Settings and look for the Carrier Lock field. If you see No SIM restrictions, you are likely good to go. Then prove it with a live test. Insert a different SIM or activate a trial eSIM to confirm calls and data work. If you hit errors, read the messages and apply the right fix. When in doubt, ask the carrier to verify your IMEI and unlock eligibility. Avoid risky IMEI websites and rely on real tests and official policies.
With these steps, you can move carriers without surprises, use local plans on trips, or sell your device with confidence. The combination of on device checks, live network tests, and carrier validation gives you a clear yes or no and a path to unlock if you need it.
Frequently Asked Questions
How can I check if my iPhone is unlocked without inserting a SIM?
Open Settings > General > About and look at Carrier Lock. If it shows No SIM restrictions, the phone is unlocked. For real world proof without a physical SIM, add a low cost trial eSIM and place a test call and load a web page. That confirms both activation and data.
Does No SIM restrictions guarantee eSIM will work with any carrier?
It confirms the device is not carrier locked. It does not guarantee support for all network bands or features like VoLTE, Wi Fi Calling, or 5G. Regional models can differ. To be sure, start a carrier eSIM trial and test calls, texts, and data. If activation fails, ask the carrier to refresh or reprovision the line.
Can Apple unlock my iPhone if the carrier refuses?
Apple does not unlock carrier locked iPhones. Only the original carrier can approve and trigger the unlock on Apple servers. Ask the carrier for the exact policy and what you must do to qualify, such as paying off the device or waiting the minimum service period. If you bought the phone used, you may need help from the original owner.