Introduction
You grab your iPhone, try to show someone how to do something, and suddenly wish you could just record the screen. That is exactly what the built-in screen recording feature does. Yet many users still ask the same question: how can I add screen record to my iPhone and actually use it without extra apps?
Apple hides the screen recording button in a place many people never check: Control Center settings. Once you turn it on, recording your iPhone screen becomes simple. You can capture app tutorials, gameplay, bugs, short clips from social media, and much more.
This guide walks you through every step. You will learn how to add screen recording to Control Center, start and stop recordings, customize key settings, fix common problems, and share your videos. Everything here reflects how iPhones work in 2024, so you get up-to-date and practical instructions tailored to current devices and software.
What Is Screen Recording on iPhone?
Screen recording on iPhone is a built-in tool that lets you capture a video of whatever appears on your display. You do not need to install extra apps or pay for special software. Once you turn it on in Control Center, you can start recording with a single tap.
Screen recording is useful when you want to:
- Show someone how to change a setting or use an app.
- Capture a bug or glitch to send to tech support.
- Record a short clip from an app or site (within legal and app rules).
- Save gameplay highlights from your favorite mobile games.
Apple keeps the feature simple, but it still gives you control over audio and privacy so you can decide what gets captured.
How Screen Recording Works on iPhone
When you start screen recording, your iPhone captures:
- Everything visible on the screen.
- Internal system audio in most apps, such as game sound or app effects.
- Optional microphone audio if you turn it on, so you can speak over the recording.
The recording runs in the background while you use your phone normally. A red bar, pill, or other indicator shows that the screen is being captured. When you stop, the video saves automatically to the Photos app, ready to view or edit.
What You Can and Cannot Capture
You can usually record:
- Home screen navigation and app switching.
- Most apps and games.
- Tutorials inside apps.
- Web browsing and settings screens.
You generally cannot record:
- Some streaming video apps with DRM-protected content.
- Certain banking or security apps that block recording for privacy.
In those cases, the recorded video may show a black screen or an error. This is intentional, to protect copyrights and sensitive information.
iPhone and iOS Requirements in 2024
Screen recording is available on:
- iPhones running iOS 11 or later, though you should use iOS 17 or newer in 2024 for the best compatibility.
- Most modern iPhones, including iPhone 11, 12, 13, 14, and 15 series.
If your iPhone is reasonably up to date and you have installed the latest iOS version, you should see the Screen Recording option in Settings. If not, update your software before you proceed.
Now that you know what screen recording does and what it requires, it is time to turn on the feature where it matters most: in Control Center.
How to Add Screen Record to Control Center
Before you can start recording your screen, you must add the Screen Recording button to Control Center. Apple does not always show it by default, which is why many people type how can I add screen record to my iPhone into search.
The good news is that enabling it only takes a minute.
Open the Settings App
- Unlock your iPhone.
- Tap the Settings app, the gray gear icon on your Home Screen or App Library.
Almost all system features, including Control Center, can be adjusted from this app.
Navigate to Control Center
- In Settings, scroll down a little.
- Tap Control Center.
Control Center is the panel you open by swiping from the top-right corner (on Face ID models) or from the bottom edge (on Home button models). This menu lets you choose which shortcuts appear there.
Add the Screen Recording Control
Inside Control Center settings:
- Look for the section called More Controls or a list of controls you can add.
- Find Screen Recording in the list.
- Tap the green plus icon next to Screen Recording.
Once you tap the plus sign, Screen Recording moves into the Included Controls section. That means it will now show up in Control Center.
Reorder Controls for Faster Access
If you plan to use screen recording often, keeping the icon easy to reach will save time.
- In the Included Controls list, find Screen Recording.
- Press and hold the three-line icon next to it.
- Drag it up or down to change its position.
Place it near the top so it appears close to your most-used controls like Wi‑Fi, Bluetooth, or Flashlight. With the button in place, you are ready to start capturing your screen, which is the focus of the next section.
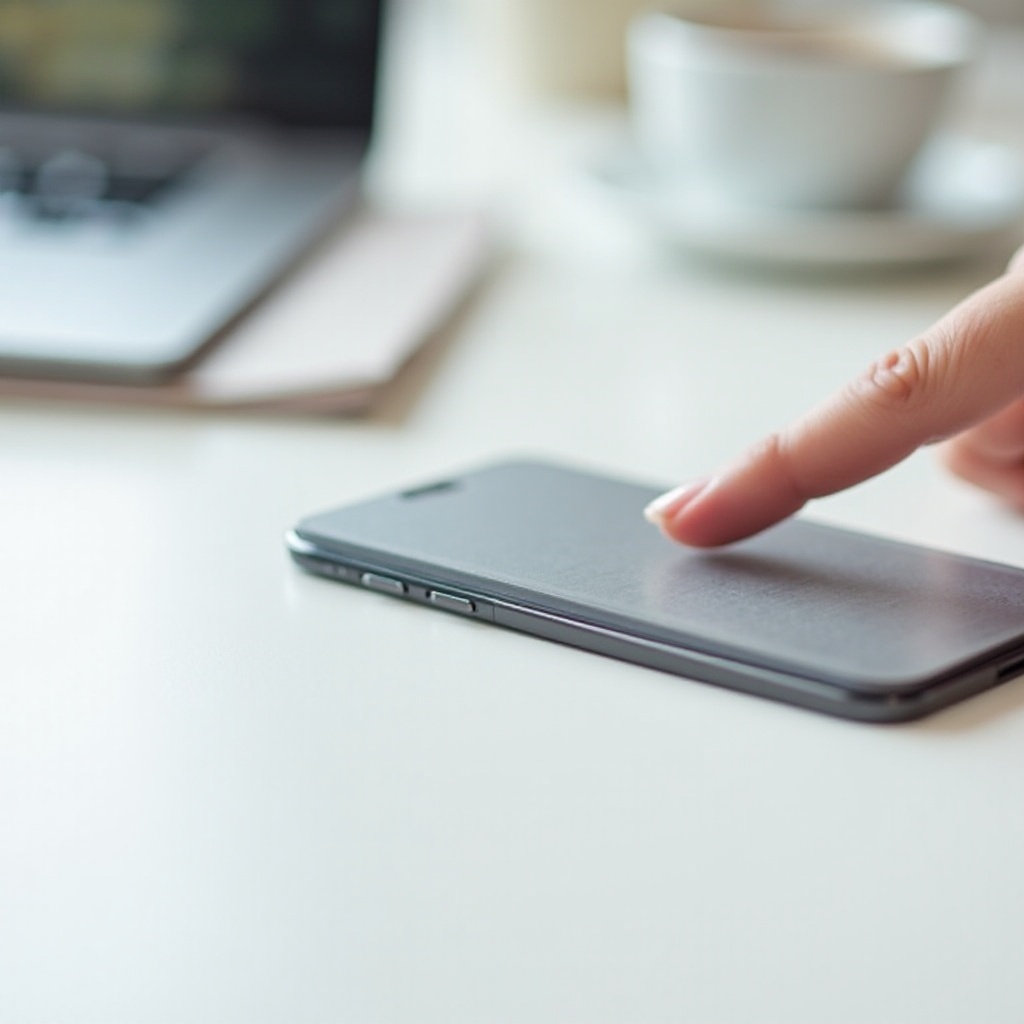
How to Start a Screen Recording on Your iPhone
With Screen Recording added to Control Center, starting a recording takes just a few seconds. The gesture you use to open Control Center depends on your iPhone model, but the process is simple once you get used to it.
Accessing Control Center (Face ID vs. Home Button Models)
To open Control Center:
- On iPhones with Face ID (no Home button, such as iPhone X and later): swipe down from the top-right corner of the screen.
- On iPhones with a Home button (such as iPhone SE, 6, 7, 8): swipe up from the bottom edge of the screen.
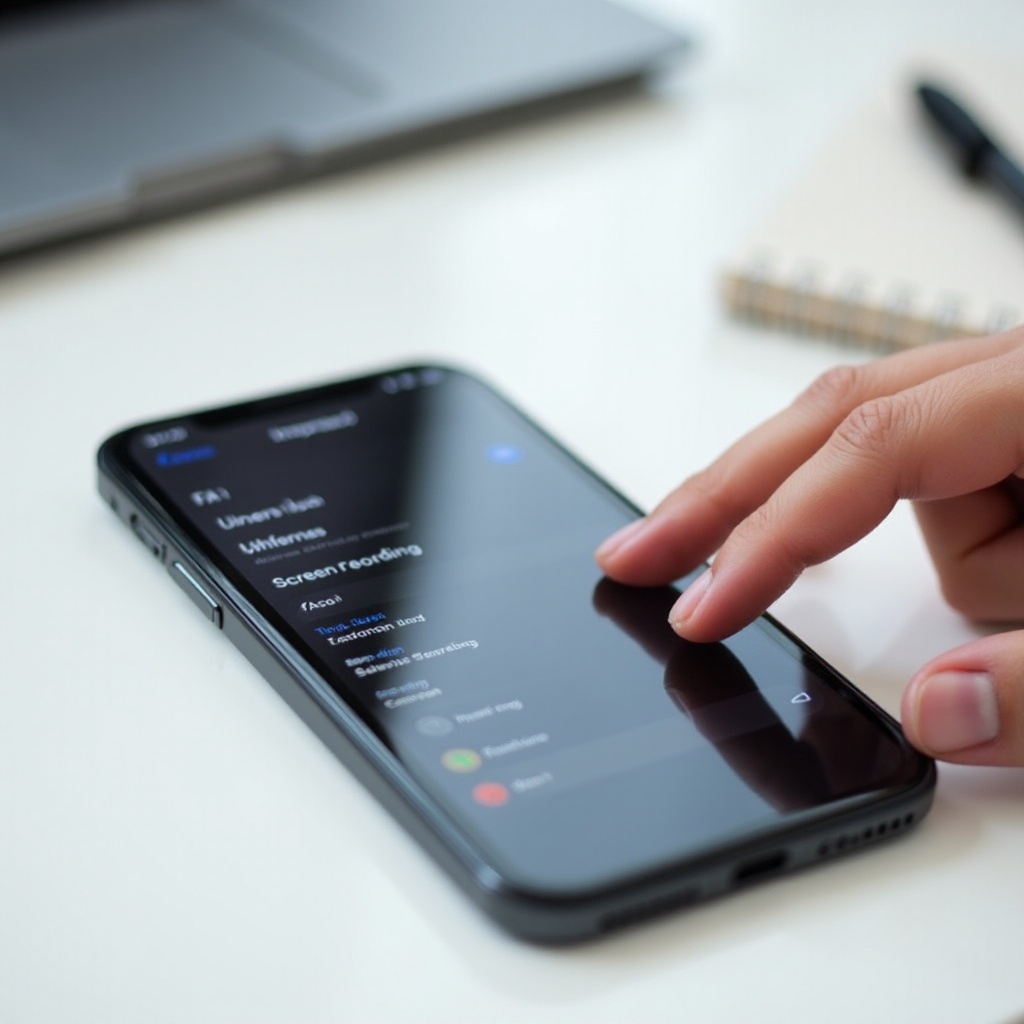
When Control Center appears, look for the Screen Recording icon. It looks like a solid dot inside a thin circle.
Starting a Recording with the 3-Second Countdown
To start a basic recording:
- Open Control Center.
- Tap the Screen Recording icon once.
You will see a 3-second countdown before the recording starts. This gives you time to close Control Center and move to the app or screen you want to capture.
After the countdown, the icon turns red, and a red indicator appears at the top of the screen or around the Dynamic Island, depending on your model. Your iPhone is now recording everything you do on the screen.
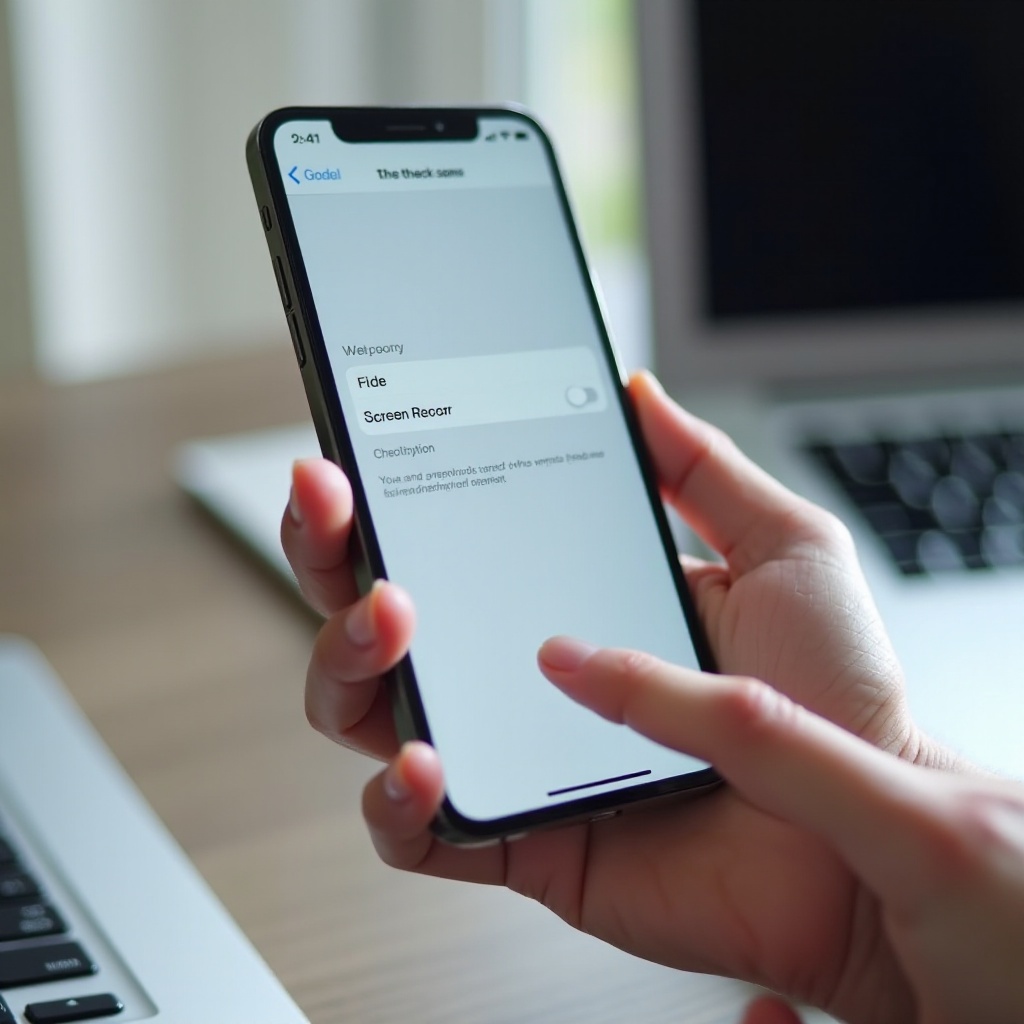
Turning Microphone Audio On or Off
By default, screen recording captures internal audio only. That means game sounds or app effects, but not your voice.
To add your voice:
- Open Control Center.
- Press and hold (long-press) the Screen Recording icon.
- When the menu appears, tap the Microphone icon at the bottom to turn it On.
- Tap Start Recording from the same screen.
When the microphone is on, the icon turns red. Your iPhone will capture both the screen and your microphone voiceover. You can turn the microphone off the same way if you only want internal audio.
Recognizing Recording Indicators (Red Bar, Dynamic Island, Status Icon)
While you record, you will see one of these indicators:
- A red bar or red pill at the top of the screen.
- A glowing red pill around the Dynamic Island on supported models.
- A red circular icon near the time in some views.
These visual cues remind you that screen recording is active. When you are done, you will use this indicator or Control Center to stop the recording. Stopping and finding your captured video is the next important step.
How to Stop and Find Your Screen Recording
Once you have recorded the steps or content you wanted, you need to stop the recording. Then you will find the video in the Photos app, ready to review, edit, or share.
Stopping a Recording from the Screen
The fastest way to stop recording is to use the red indicator at the top of your screen.
- Tap the red bar, red pill, or red icon at the top of the display.
- When the pop-up appears, tap Stop to confirm.
The screen recording ends right away, and you will see a short confirmation.
Stopping a Recording from Control Center
You can also stop it from Control Center if the red bar is not visible or you already have Control Center open.
- Open Control Center again.
- Tap the Screen Recording icon, which will be red while recording.
The icon returns to its normal color, and the recording stops. Either method works, so choose the one that feels more natural for you.
Where Your Screen Recordings Are Saved in Photos
After you stop recording:
- A notification appears saying that the screen recording was saved to Photos.
- Open the Photos app on your iPhone.
- Go to Recents or Albums > Videos to find your recording.
The file behaves like any other video in your library. You can play it back, edit it, share it, or delete it from the Photos app.
Knowing how to start and stop recordings is useful, but you can get better results by adjusting a few settings and habits before you hit record. That is what the next section covers.
Customizing Screen Recording Settings for Better Results
You do not have many advanced settings specific to screen recording, but the options Apple offers make a big difference. You can control audio, reduce distractions, and keep your recording clean and easy to watch.
Long-Press Options on the Screen Record Icon
When you long-press the Screen Recording icon in Control Center, you get extra options:
- Start Recording: begin the capture with your current audio settings.
- Microphone: turn your voiceover on or off.
- Broadcast options: in some apps, you may see options to broadcast to supported services.
Get into the habit of long-pressing when you need to check whether your microphone is enabled before you start.
Choosing Microphone vs. System Audio
Decide what kind of sound you want to capture:
- System audio only (microphone off): best for recording games, app behavior, or silent tutorials where you add voice later.
- System plus microphone audio: best for live walkthroughs, teaching someone a task, or explaining a bug out loud.
Tap the Microphone icon when you long-press the Screen Recording button to switch between these modes before recording.
Using Focus or Do Not Disturb While Recording
Nothing ruins a good recording like a personal notification popping up on screen.
To avoid that:
- Open Control Center.
- Tap Focus or Do Not Disturb.
- Choose a mode such as Do Not Disturb, Work, or Personal.
This prevents calls and notifications from appearing while the screen is being recorded. It protects your privacy and keeps the final video clean.
Locking Orientation and Brightness Before Recording
For a stable, consistent video:
- Turn on Portrait Orientation Lock in Control Center if you want to force portrait mode.
- Set your screen brightness to a clear, comfortable level and keep it steady.
These small tweaks help your recordings look more professional and easier to view on other devices.
Once you have captured a good recording, you will probably want to edit and share it. The next section shows how to do that using tools already built into your iPhone.
Editing and Sharing Your iPhone Screen Recordings
Your iPhone includes basic but powerful editing tools inside the Photos app. You can trim, rotate, and make quick adjustments before sending your recording to others. For more advanced edits, you can use apps like iMovie.
Trimming the Beginning and End of Your Recording
To remove extra seconds at the start or end of your recording:
- Open Photos and select your screen recording.
- Tap Edit in the top-right corner.
- At the bottom, drag the left handle to cut out the beginning you do not need.
- Drag the right handle to trim the extra time at the end.
- Tap Done, then choose Save Video or Save Video as New Clip.
Trimming is useful when you captured the setup steps or closing actions you do not want others to see.
Using iMovie or Other Apps for More Advanced Edits
For extra polish, you can use iMovie or other video editing apps available on the App Store.
With iMovie, you can:
- Combine multiple screen recordings into one video.
- Add titles, background music, and transitions.
- Speed up or slow down parts of the clip.
With third-party editors, you can:
- Add captions or stickers.
- Blur sensitive information.
- Export in different aspect ratios for platforms such as TikTok, Instagram, or YouTube.
You can keep edits light if you want quick sharing, or spend more time refining if you are creating tutorial content or professional demos.
Sharing Your Recording via Messages, Mail, and Social Media
To share a screen recording from Photos:
- Open the recording and tap the Share icon, the square with an upward arrow.
- Choose Messages, Mail, AirDrop, or any installed social app.
- Add your recipient, subject, or caption, then send.
Keep these points in mind:
- Large recordings might be compressed when sent through messaging apps.
- For long or high-quality videos, consider sharing a link from cloud storage instead of sending the full file directly.
Backing Up Recordings to iCloud or Other Cloud Services
To avoid losing your recordings:
- Turn on iCloud Photos so videos sync across your Apple devices.
- Upload important recordings to services such as Google Drive, Dropbox, or OneDrive.
Backing up is especially important if you use screen recordings for work, support tickets, or tutorials that you plan to reuse.
Even when you follow all the steps correctly, things do not always go as planned. The next section explains how to handle common screen recording issues.
Common Screen Recording Problems and Fixes
When users search for how can I add screen record to my iPhone, they often also run into errors or missing options. Here are the most common problems and how to fix them quickly.
Screen Record Button Missing from Control Center
If you do not see the Screen Recording icon in Control Center:
- Go to Settings > Control Center.
- Under More Controls, look for Screen Recording.
- Tap the green plus icon to add it to Included Controls.
If Screen Recording does not appear in the list at all:
- Make sure your iPhone runs the latest iOS version available in 2024.
- Restart your iPhone to refresh system settings.
- Check if any Screen Time settings or work/school profiles restrict screen recording under Settings > Screen Time or Settings > General > VPN & Device Management.
Screen Recording Has No Sound
If your video plays with no audio, first decide what sound you expected.
For voiceover issues:
- Long-press the Screen Recording icon in Control Center.
- Make sure the Microphone icon is turned On.
- Check that you did not cover the microphone with your hand or case.
For app sound issues:
- Make sure the app volume is not muted.
- Turn off Silent Mode and increase your iPhone volume.
- Know that some apps limit internal audio recording; in those cases, you might only capture your microphone voice.
Screen Recording Fails or Stops Unexpectedly
If recordings stop or fail to save:
- Check your storage under Settings > General > iPhone Storage. If it is almost full, delete old videos, photos, or apps.
- Close unused apps and restart your iPhone to free up memory.
- Avoid recording for very long periods if your battery is low or the phone feels hot.
Freeing up space and restarting the device solves most saving issues.
Screen Recording Blocked or Showing a Black Screen
Some apps and services block recording to protect copyright or privacy:
- Streaming apps sometimes produce a black screen in the final recording.
- Banking and security apps may prevent recording entirely.
There is no safe or legal way to bypass these protections. If you see a black screen or error message in certain apps, assume the app does not allow screen recording and respect those limits.
With the technical side covered, it is important to think about how to use screen recording responsibly. The final section focuses on privacy, safety, and best practices.
Privacy, Safety, and Best Practices in 2024
Screen recording is powerful, but it can capture more than you intend. A few smart habits will help you use it safely, protect your data, and respect other people.
Hiding Notifications and Sensitive Information
Before you start recording:
- Turn on Focus or Do Not Disturb to block calls and notifications.
- Close apps that show private data, such as banking, health, or email apps.
- Avoid opening conversations or screens with personal details during the recording.
These steps protect you and anyone who appears in your apps or messages.
Respecting Copyright and App Restrictions
Always follow:
- App terms of service.
- Copyright rules for movies, music, shows, and other content.
Do not share protected content publicly if the rights holder does not allow it. Use screen recording mainly for personal use, education, support, or training unless you have clear permission to publish the material.
Legal and Ethical Considerations When Recording Others
When your recording includes:
- Voice calls, video calls, or conversations.
- Chats where other people's messages appear.
Get consent before you record and share. Laws about recording conversations vary by region, and consent is also an important ethical step. When in doubt, tell people you are recording and explain why.
With these best practices in mind, you can use screen recording confidently, get better results, and avoid unwanted problems.
Conclusion
You now know exactly how can I add screen record to my iPhone and make the most of it. The process starts in Settings > Control Center, where you add the Screen Recording button and place it where you can reach it quickly. From there, you open Control Center, start the 3-second countdown, choose whether to use the microphone, and stop the recording with a tap.
Your recordings save to the Photos app, where you can trim, edit, and share them using built-in tools or external apps like iMovie. If you run into problems such as missing buttons, no sound, or black screens, you can usually fix them with simple checks to storage, settings, and restrictions.
Use screen recording to help friends and family, report bugs, create tutorials, document important steps, or capture gameplay highlights. As long as you respect privacy, copyright, and consent, screen recording becomes one of the most useful and flexible features on your iPhone in 2024.
Frequently Asked Questions
Why can’t I see the screen record option on my iPhone in 2024?
If you do not see the option, go to Settings > Control Center and look under More Controls. Tap the green plus icon next to Screen Recording to add it. If it is still missing, update your iPhone to the latest iOS version, restart your device, and check whether Screen Time or a work or school profile has restricted screen recording under Settings. Removing or adjusting those restrictions usually restores the feature.
Does screen recording on iPhone capture calls or FaceTime audio?
By default, iPhone screen recording does not capture the other person’s audio from regular calls or FaceTime calls. You may record your own voice if the microphone is enabled, but call audio often will not be included due to privacy and legal reasons. Always ask for consent before recording any conversation, even if you believe only your side will be captured.
How long can I screen record on my iPhone before it stops?
There is no fixed time limit built into iOS for screen recording. In practice, the limit depends on your available storage, battery level, and device temperature. Long recordings may stop if your iPhone runs low on space or becomes too hot. For reliability, record in shorter segments when possible, make sure you have enough free storage before starting a long capture, and keep your device charged and well-ventilated.