Introduction
Custom ringtones for specific contacts on Android make it easy to know who is calling without even looking at your screen. A unique sound for your partner, family, boss, or important clients helps you decide whether to pick up right away or call back later. It is a simple tweak that makes your phone feel more personal and more useful.
Android gives you several ways to assign different ringtones to different contacts. You can use the built-in Contacts app, brand-specific settings from Samsung or Google, or even your own audio files. Messaging apps like WhatsApp and Google Messages also let you set custom tones for individual chats and calls.
This guide walks through every major method, from basic steps to advanced tricks, and helps you fix common problems when custom ringtones do not work as expected. By the end, you will have a clean, organized setup where every important person in your life has a sound you recognize instantly.
Why Use Custom Ringtones for Specific Contacts on Android
Before diving into settings and menus, it helps to understand why custom ringtones for specific contacts on Android are worth the effort. The benefits go far beyond simple fun or novelty.
First, custom ringtones improve call triage. When each key contact has a unique sound, you can decide in a second whether you need to answer now. A special tone for your child's school or your manager tells you a call might be urgent. A softer tone for friends lets you pick up when it is convenient.
Second, you reduce the need to check your screen constantly. Many people try to use their phones more mindfully. Distinct sounds help you recognize who is calling while your phone sits on the desk or in your pocket. You can stay focused on work or relaxation and still respond quickly when it truly matters.
Third, ringtones support accessibility and personal comfort. Some users rely more on audio cues than visual ones. Clear, well-chosen tones can make life easier for people with visual or attention challenges. They also help in noisy environments, where a standard ringtone might get lost in the background.
Finally, custom ringtones make your Android device feel truly yours. Along with themes, wallpapers, and widgets, sound personalization is a key part of building a phone that fits your habits and your style.
Now that you know why this feature is useful, it is time to prepare your device so that all the methods you use later work smoothly and reliably.
What You Need Before Setting Custom Ringtones
To avoid frustration later, prepare a few basics before you start changing ringtones. A little setup now will make the rest of the process smoother and more reliable.
You should understand which Android version and phone brand you use and make sure your audio files are in formats that Android accepts. This preparation also helps you follow the brand-specific steps without getting lost.
Check Your Android Version and Phone Brand
Different Android versions and phone brands place ringtone options in slightly different spots. While the idea of custom ringtones for specific contacts on Android is the same everywhere, the path to the setting can change.
Do this first:
- Open Settings.
- Scroll to About phone or About device.
- Note the Android version and brand/model (for example, Samsung Galaxy, Google Pixel, OnePlus).
Knowing this helps you follow the brand-specific sections later without confusion and lets you understand why your menus might look different from screenshots you see online.
Supported Audio Formats and File Locations
If you plan to use your own audio files, check that they use common formats such as:
- MP3
- WAV
- OGG
Most Android phones recognize these without any extra apps. Also keep in mind:
- Put ringtones in a folder named Ringtones in internal storage when possible.
- Avoid storing important ringtone files only on an SD card or cloud drive, as they can disconnect or mount late during boot.
With these basics ready, you are set to start assigning custom sounds. The first and most direct way is through the default Contacts app on your device.
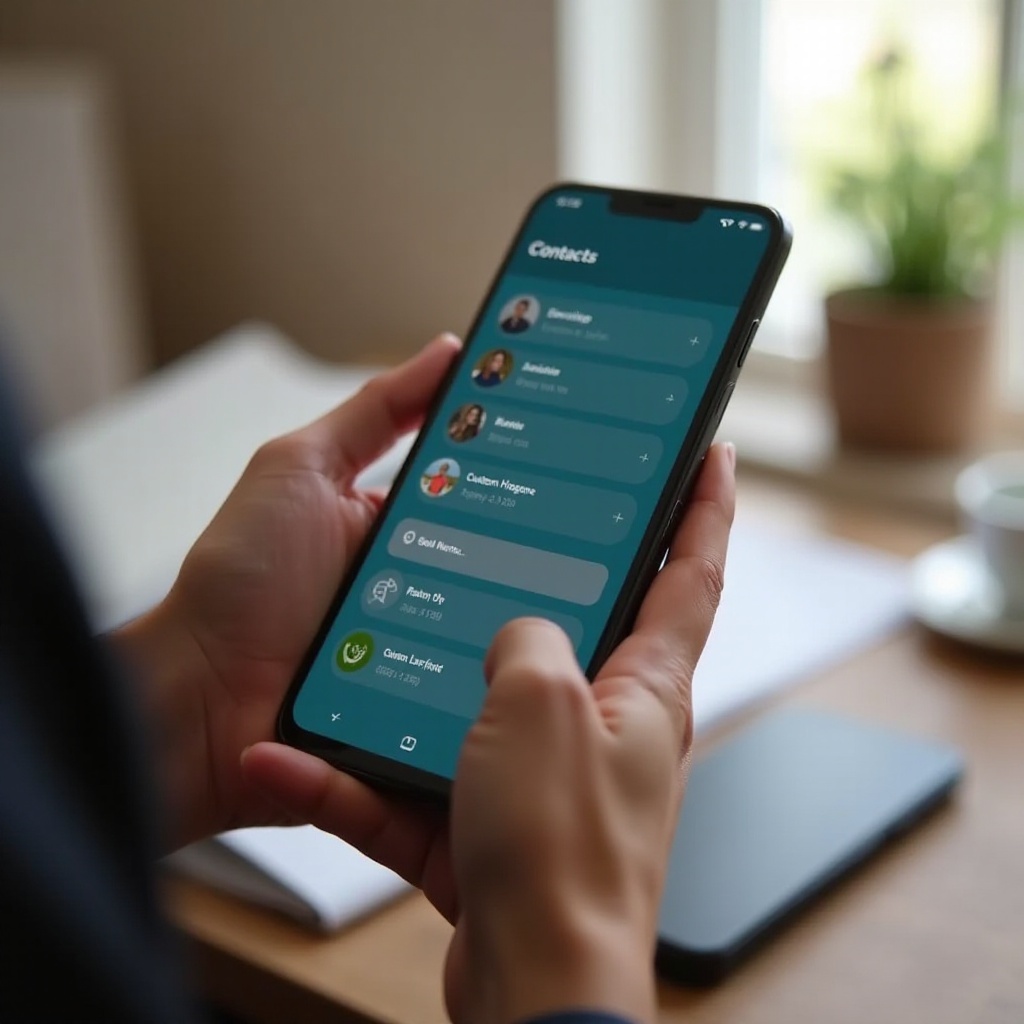
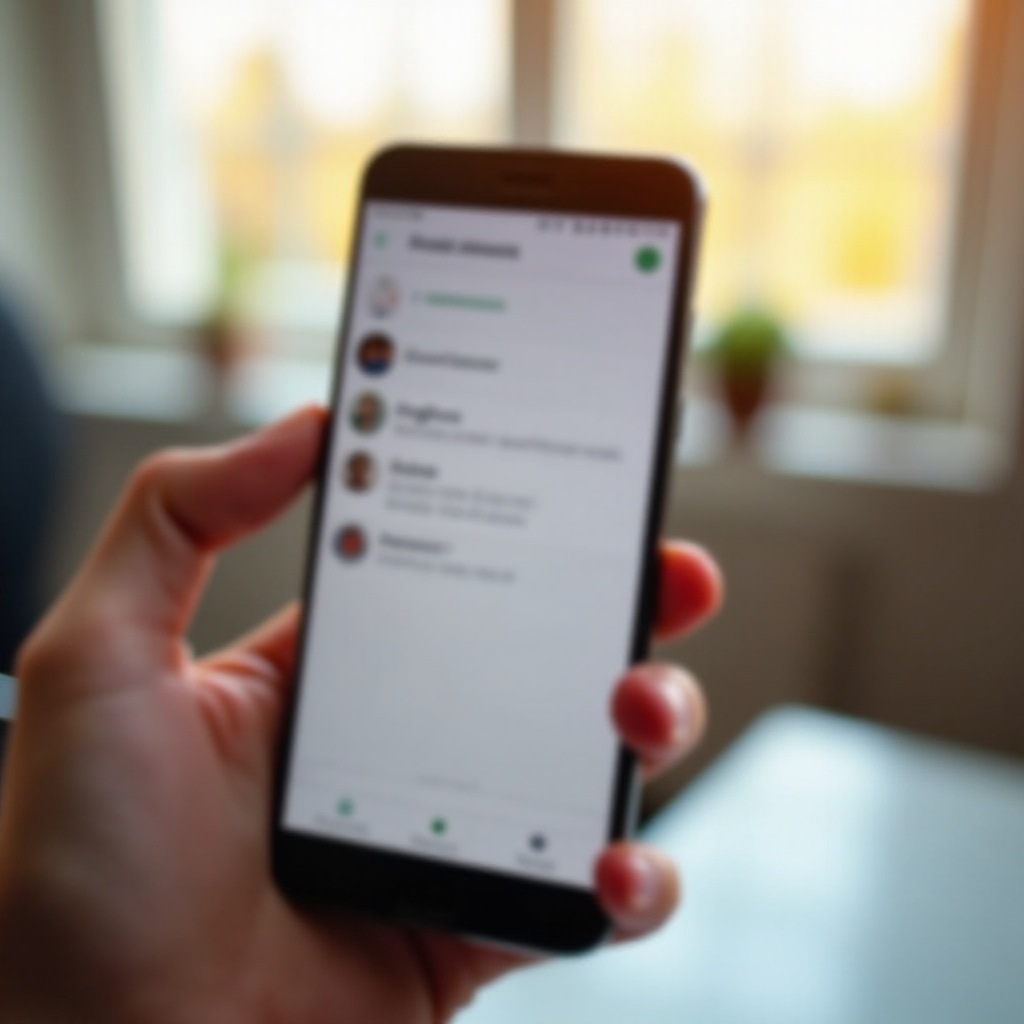
Method 1: Set Custom Ringtones via the Default Contacts App
The easiest way to set custom ringtones for specific contacts on Android is through the default Contacts app. This method works on most phones that use Google Contacts or a similar stock app.
You simply edit a contact, choose a ringtone, and save. Once you understand this core pattern, the brand-specific methods later will feel familiar because they follow the same logic with slightly different menus.
Open and Edit the Contact
Start with the person you want to assign a special ringtone:
- Open the Contacts app (often labeled Contacts or Google Contacts).
- Search for and tap the contact name.
- Tap Edit (usually a pencil icon in the bottom right or top bar).
Make sure the contact is saved to your Google account or phone, not just to the SIM. SIM-only contacts often do not support custom ringtones.
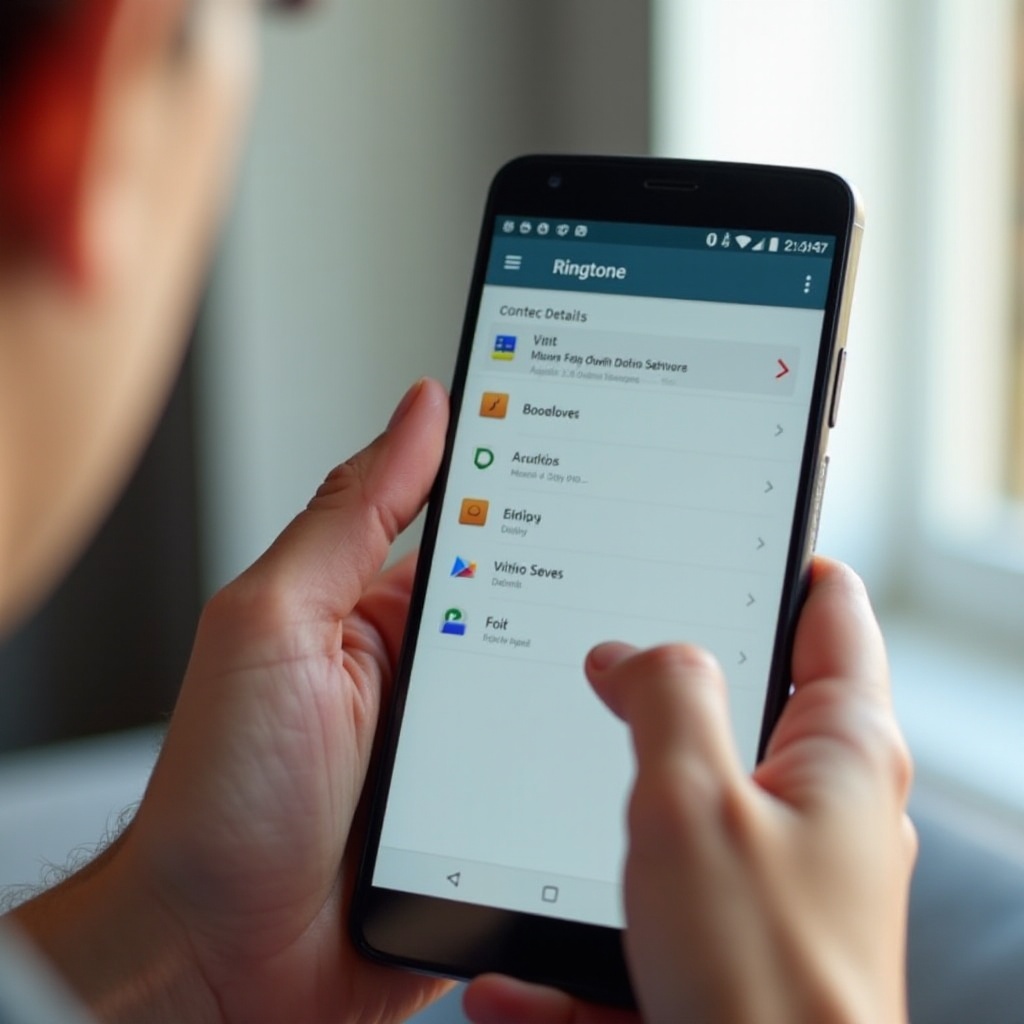
Choose a System Ringtone for That Contact
Once you are editing the contact, look for the ringtone option:
- Scroll down until you see Ringtone, Set ringtone, or Custom ringtone.
- Tap it to open the ringtone picker.
- Browse the list of system ringtones that came with your phone.
- Tap a tone to preview it.
Pick a sound that is:
- Loud enough to hear in your usual environment.
- Distinct from your default ringtone.
- Not too harsh or annoying for frequent callers.
When you find the right one, tap OK, Save, or Set.
Save and Test the Custom Ringtone
To confirm everything works:
- Tap Save on the contact edit screen.
- Ask the contact to call you, or call from a second phone if you have one.
- Listen to verify that the new ringtone plays only for this contact.
If you still hear the default ringtone, recheck that:
- The contact you edited is the same one used when they call, not a duplicate entry.
- You did not assign the ringtone only to a linked or secondary contact profile.
This basic method covers many devices. If the menus look different on your phone or you use a brand with its own interface, the next section shows how to handle those variations.
Method 2: Use Brand-Specific Settings on Popular Android Phones
Many manufacturers layer their own interface on top of Android. They keep the core idea of custom ringtones for specific contacts on Android but change menu names or icons. Knowing your brand's approach saves time and avoids frustration.
If your Contacts app does not match the generic steps above, follow the guidance for your brand. Even if your device is not listed exactly, these examples help you understand where to look.
Set Custom Ringtones on Samsung Galaxy Phones
Samsung's One UI offers a clear way to assign contact-specific tones:
- Open the Phone or Contacts app.
- Tap the contact you want to customize.
- Tap Edit.
- Scroll down and tap View more if needed.
- Tap Ringtone.
- Choose from the list of tones or tap + to add custom audio.
- Tap Save to confirm.
Samsung often lets you pick from system sounds or choose files stored on your device. If you do not see your custom audio, use the My Files app to move the file into the Ringtones folder, then try again.
Set Custom Ringtones on Google Pixel Phones
Pixel phones use a clean, near-stock version of Android:
- Open Contacts (Google Contacts).
- Tap the contact.
- Tap the three-dot menu (⋮) in the top right.
- Select Set ringtone.
- Pick a tone from the list or choose a custom sound if available.
- Tap Save or OK.
If you want to use your own audio on a Pixel, first place your file in the Ringtones folder in internal storage. Then it should appear in the picker without extra steps.
Set Custom Ringtones on Other Android Brands (OnePlus, Motorola, etc.)
On other brands the process is similar, but names and icons may change:
- Open Contacts or Phone.
- Open the contact details.
- Tap Edit or the pencil icon.
- Look for Ringtone, Call ringtone, or Notification sound.
- Tap and select a tone.
If you cannot find the option:
- Tap the three dots (⋮) to open more settings.
- Check whether there is a More or Advanced section in the contact editor.
- Confirm the contact is not stored only on the SIM card.
If no option exists at all, your manufacturer may have removed it. In that case, you can still personalize calls by using your own audio files and, if needed, a trusted third-party app as explained in the next method.
Method 3: Add Your Own Audio Files as Custom Ringtones
System ringtones are fine, but the real power of custom ringtones for specific contacts on Android appears when you use your own audio. This could be a music clip, a voice recording, or a sound effect you like.
To make this work reliably, you must get a suitable audio file, place it in the correct folder, and then assign it to a contact using the methods you learned earlier.
Download or Create the Audio File Safely
Start with a safe and legal audio source:
- Use royalty-free sound libraries if you want non-copyrighted effects.
- Create your own voice recordings or custom sounds.
- If you use music, be aware of copyright rules and local laws.
Avoid shady ringtone download sites that ask for unnecessary permissions or install extra apps. Stick to:
- Trusted app stores.
- Well-known editors and file managers.
Aim for short clips, usually 15–30 seconds, to keep file size small and make the ringtone more effective.
Move the File to the Ringtones Folder
For Android to treat a file as a ringtone, it is best to place it in the right directory:
- Open a file manager app such as Files by Google or your phone's Files/My Files app.
- Browse to Internal storage.
- Look for a folder named Ringtones. If it does not exist, create one.
- Move or copy your audio file into this Ringtones folder.
After moving the file:
- Close any ringtone picker screens you already had open.
- Reopen the ringtone selection menu for your contact so the list refreshes.
Your custom audio should now appear alongside system ringtones.
Assign the Custom Audio to a Specific Contact
Once the file is in place, assign it to a contact using the steps from Method 1 or Method 2:
- Open the Contacts app.
- Edit the specific contact.
- Tap Ringtone.
- Scroll until you see your custom file name.
- Select it and save.
Test with a real call. If the custom tone does not play, confirm:
- The file is in Internal storage > Ringtones, not on an SD card that might disconnect.
- The file format is supported (MP3, WAV, or OGG).
With calls covered, you can extend these ideas to messaging apps so that you recognize both calls and messages from key contacts at a glance.
Custom Ringtones for Messaging and Calling Apps
Calls are only part of the story. Many important conversations now happen in messaging apps. To keep everything consistent, it is smart to set custom tones inside those apps as well. This way, custom ringtones for specific contacts on Android cover both phone calls and app alerts.
Most major apps let you choose sounds per chat or per contact. You just need to find the notification settings inside each app.
WhatsApp Custom Ringtones for Individual Contacts
WhatsApp lets you personalize notifications per chat:
- Open WhatsApp.
- Tap the chat of the person you want to customize.
- Tap their name at the top.
- Tap Custom notifications.
- Check Use custom notifications.
- Tap Notification tone or Ringtone (depending on whether you are changing message or call sounds).
- Choose a tone and save.
Here you can set different sounds for:
- Messages
- Calls
- Group chats
Make sure Android system notification settings still allow WhatsApp sounds and that you did not mute that chat at the system level.
SMS and Messaging Apps (Google Messages, Samsung Messages, Telegram)
Most modern messaging apps support per-chat tones:
- Google Messages
- Open the conversation.
- Tap the three dots (⋮).
- Tap Details or Notifications.
- Enable Custom notifications if needed.
- Choose a specific sound.
- Samsung Messages
- Open a conversation.
- Tap the three dots (⋮).
- Tap Notification sound or a similar option.
- Select your tone.
- Telegram
- Open the chat.
- Tap the contact name.
- Tap Notifications.
- Choose Custom and set your sound.
This lets you match app alerts with your phone call ringtones so each person has a consistent sound profile across calls and messages.
Difference Between Call Ringtones and Notification Sounds
It is important to understand the difference:
- Call ringtones: Play during incoming voice calls from the Phone app or VoIP calls in apps.
- Notification sounds: Play for messages, alerts, and app activity.
Changing a ringtone in your Contacts app affects only phone calls. Messaging apps need their own configuration. For a seamless experience, set both:
- A call ringtone in Android's Contacts app.
- A notification tone inside each major messaging app.
Once you handle individual contacts and apps, you can go further and build a more advanced system that separates work, personal life, and VIP contacts.
Advanced Tips: Groups, VIP Contacts, and Dual SIM
Once you have basic custom ringtones for specific contacts on Android working, you can go further. Advanced setups help you manage many contacts and complex situations like work and personal numbers.
By combining contact-specific tones, group strategies, and dual SIM features, you can turn sound into a quick signal for what kind of call is coming in.
Create VIP Ringtones for Important Contacts
Start by identifying your VIPs:
- Family members
- Close friends
- Boss or key clients
- Emergency numbers (doctor, school, etc.)
Give each VIP a distinctive tone that stands out from your default. You can:
- Use brighter, louder tones for urgent callers.
- Use calmer tones for frequent, non-urgent callers.
Some phones support Favorites or Starred contacts. Even if they do not let you assign a group ringtone, you can manually set unique tones for each VIP in this group.
Use Work vs Personal Tones with Dual SIM
If you use two SIM cards, custom ringtones can help you separate work from personal life:
- In Settings > Sound & vibration (or similar), assign different default ringtones per SIM if your phone supports it.
- For key work contacts, assign tones that match your work SIM and feel more formal or urgent.
- For personal contacts, choose clearly different sounds that feel more relaxed.
This way, you know at once whether an incoming call relates to work or personal matters, even if you cannot see your phone.
Combine Custom Ringtones with Vibration Patterns
In noisy or quiet environments, vibration patterns matter as much as sound:
- Set stronger vibration for critical contacts.
- Use lighter or shorter patterns for casual contacts.
On some phones, you can customize vibration patterns per contact. If that is not available, use:
- A universal vibration pattern with sound differences.
- Wearables (like smartwatches) to mirror VIP alerts and add wrist vibrations.
Even with a smart setup, issues can appear from time to time. Learning how to troubleshoot them will save you a lot of confusion.
Troubleshooting Custom Ringtones on Android
Sometimes custom ringtones for specific contacts on Android do not behave the way you expect. Settings disappear, tones reset, or calls use the wrong sound. Most of these issues have simple fixes.
By checking contact storage, file locations, and sound modes, you can usually restore your personalized setup in a few minutes.
Custom Ringtone Option Missing or Greyed Out
If you cannot find or tap the ringtone option:
- Make sure the contact is saved to Google or phone storage, not only to the SIM.
- Check if your Contacts app is up to date via the Play Store.
- On some devices, the setting hides under More, Advanced, or the three-dot menu.
If your manufacturer removed this feature, consider:
- Installing Google Contacts and setting it as default.
- Using a trusted third-party contacts or dialer app that supports custom tones.
Ringtones Reset After Reboot or Update
If your custom ringtone reverts to default:
- Confirm the audio file is stored in internal storage, not on an SD card that might mount late.
- Keep custom ringtones in the Ringtones folder.
- After a system update, recheck permissions and ensure the file still exists.
For stability:
- Avoid moving or renaming ringtone files after assigning them.
- Back up your ringtone folder before major updates or factory resets.
Volume, Do Not Disturb, and Focus Mode Conflicts
Sometimes the ringtone is set correctly, but you still do not hear it:
- Check the ringer volume in Settings > Sound & vibration.
- Make sure Do Not Disturb, Focus, or Bedtime modes are not silencing calls from that contact.
- In Do Not Disturb settings, add important contacts to Allowed or Starred contacts so their calls ring through.
If calls from VIP contacts stay silent, tweak these modes until their calls ring even when others stay muted.
Best Practices for Managing Your Ringtone Library
A bit of organization keeps your custom ringtones for specific contacts on Android easy to manage as your contact list grows. A messy setup can lead to confusion, duplicate files, and broken links.
By naming files clearly, choosing suitable tones, and backing up your library, you can keep your ringtone system stable for years and transfer it smoothly to new devices.
Organize Folders and File Names Clearly
Treat your ringtone folder like a small music library:
- Use simple, descriptive file names, such as boss_call.mp3 or mom_soft_tone.ogg.
- Group files by type in subfolders if your phone supports it, such as Ringtones/Family or Ringtones/Work.
Clear names make it easier to remember which sound belongs to whom during assignment and troubleshooting.
Choose Loud, Clear, and Non-Distracting Tones
The best ringtone is not always your favorite song. For daily use:
- Pick tones with a clean, distinct start.
- Avoid long intros and very quiet openings.
- Avoid overly harsh or stressful sounds that might cause anxiety when they repeat.
Test tones in the environments where you usually get calls: home, office, and outside. Adjust volume and tone choice accordingly.
Back Up Your Custom Ringtones for New Devices
When you upgrade your phone, you will want to keep your custom setup:
- Copy the Ringtones folder from your old phone to a computer or cloud storage.
- Transfer that folder to the same location on the new phone.
- Let Contacts and Settings sync through your Google account if possible.
- Recheck a few key contacts to ensure their custom tones still point to existing files.
Regular backups prevent you from losing your work when you reset or replace your device and make it easy to restore your favorite sounds.
Conclusion
Custom ringtones for specific contacts on Android turn everyday calls into clear, meaningful signals. With a few simple steps in the Contacts app, brand-specific settings, and your own audio files, you can recognize key callers by sound alone. Extending this personalization into WhatsApp, SMS, and other messaging apps keeps your entire communication setup consistent and easy to manage.
By organizing your files, picking clear and comfortable tones, and handling VIP contacts and dual SIMs thoughtfully, you build a system that supports your work, your relationships, and your focus. When problems arise, checking contact storage, file locations, and Do Not Disturb settings usually solves them quickly.
Take a few minutes to assign unique tones to your most important contacts. Once you do, you will spend less time checking your screen and more time responding only when it truly matters.
Frequently Asked Questions
How do I set different ringtones for different contacts on Android?
Open the Contacts app, select a contact, tap Edit, then tap Ringtone or Set ringtone. Choose a tone from the list or select a custom audio file, then save. On some phones you may need to tap View more or the three dots menu to see the ringtone option.
Why did my custom ringtone for a contact stop working after an update?
System updates can break the link if the ringtone file moved, was on an SD card, or got deleted. Check that the audio file still exists in Internal storage > Ringtones, confirm the contact still points to that file, and make sure sound, Do Not Disturb, and Focus modes allow calls from that contact.
Can I use songs or recordings as custom ringtones for specific contacts?
Yes. Save the song or recording as an MP3, WAV, or OGG file, move it into the Ringtones folder in internal storage, then select it as the ringtone for a contact in the Contacts app. Make sure you have the legal right to use that audio and that the clip is short, clear, and loud enough for use as a ringtone.