
Introduction
Your iPhone’s name shows up in more places than you might expect. You see it in AirDrop, on Bluetooth pairing screens, as your Personal Hotspot name, and in Find My. A clear, consistent name helps friends identify your device, keeps your gear organized, and speeds up everyday tasks. You might rename your phone for privacy, to standardize names across your family’s devices, or to distinguish multiple iPhones on one Apple ID. The best part: you can change the name in seconds.
This guide walks you through every reliable method. You will learn how to rename your iPhone in Settings, from a Mac using Finder, or on a Windows PC using iTunes. Then you will verify the new name across AirDrop, Hotspot, Bluetooth, and Find My. If the change does not appear right away, you will get troubleshooting steps that make the new name stick. We will also cover privacy tips, sensible naming conventions for home, school, and work, and how to rename your other Apple devices for a clean, consistent setup.
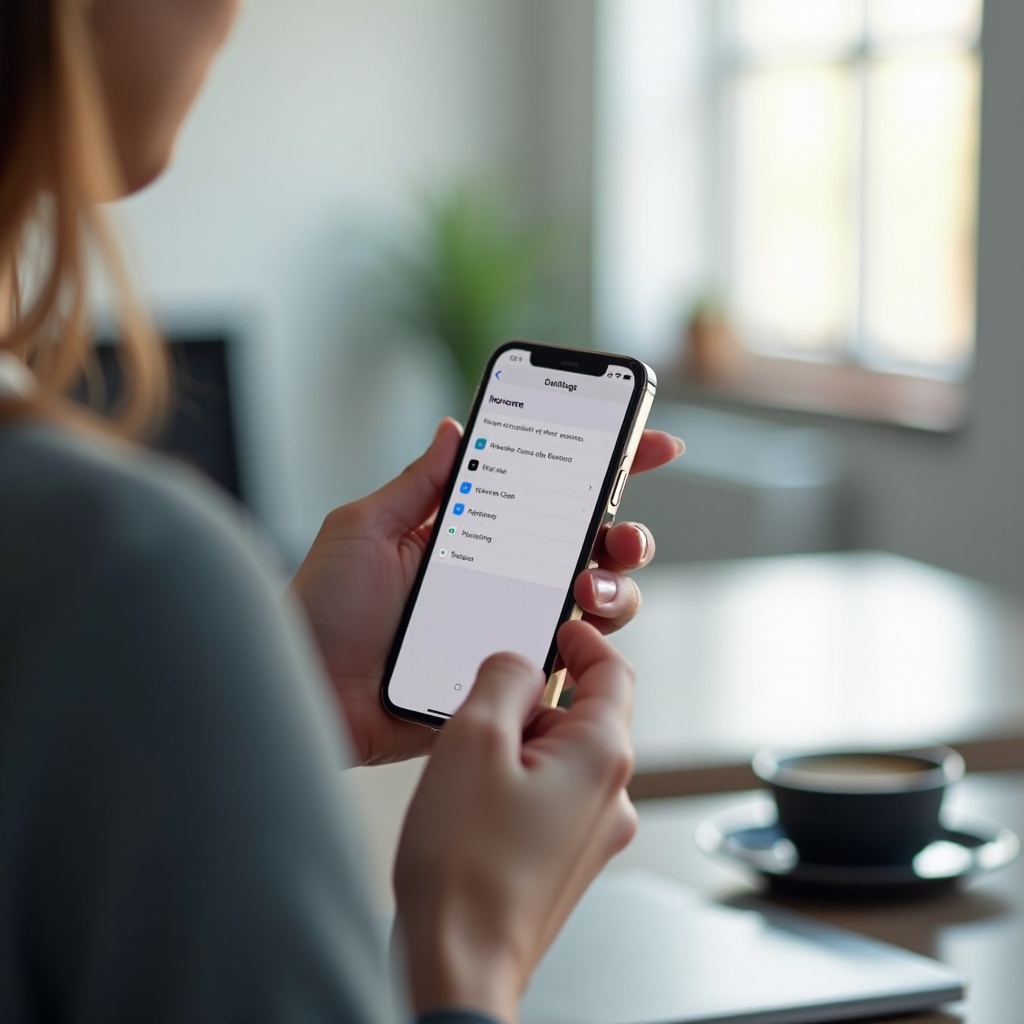
What Your iPhone’s Name Controls and Where It Appears
Your iPhone’s name is not just cosmetic. iOS and Apple services use it across key features and screens:
- AirDrop: People nearby see your iPhone’s name when they share files. A clear name helps them pick the right device.
- Bluetooth: Headphones, cars, speakers, and other gadgets show your device name during pairing and when connected.
- Personal Hotspot: Your iPhone broadcasts its name as the Wi‑Fi network name when Hotspot is on.
- Find My and iCloud device list: Your Apple ID pages and the Find My app display the device name in lists and maps.
Because your name appears in public contexts like AirDrop and Hotspot, avoid revealing personal details. A simple, tidy label reduces confusion and helps you move faster when sharing or pairing. Before you rename your device, confirm a few basics so the change syncs across Apple services without delay.
Before You Start: Requirements, iOS Notes, and Account Considerations
A quick check prevents hiccups and speeds up propagation of the new name:
- Use a stable internet connection so iCloud can sync device details.
- Make sure you are signed in to your Apple ID on the iPhone you plan to rename.
- Update iOS if you have not done so in a while. A current version minimizes odd bugs.
- Keep Wi‑Fi and Bluetooth on while verifying the change. These radios power AirDrop and Hotspot.
- If your phone is managed by your employer or school via MDM, the administrator might enforce naming policies. Ask IT before changing anything.
With the basics in place, start with the fastest way to change the name directly on your iPhone.
Method 1: Change Your iPhone’s Name in Settings
Renaming in Settings is the simplest and quickest path. You make the change right on the device and can confirm the result in seconds.
Step-by-step: Settings > General > About > Name
Follow these steps:
1. Open Settings.
2. Tap General.
3. Tap About.
4. Tap Name.
5. Enter your new iPhone name. Keep it short and clear.
6. Tap Done on the keyboard.
You have updated the device name. In most cases, AirDrop, Bluetooth, Personal Hotspot, and Find My reflect the change quickly. If you do not see the new label elsewhere yet, give it a moment and continue below to verification and troubleshooting.
Tips for instant updates and avoiding typos
- Keep it short: Aim for 8 to 20 characters so car screens and small UIs display it cleanly.
- Avoid private info: Do not use your full name, phone number, or home address.
- Prefer simple characters: Letters, numbers, spaces, and modest punctuation display well on most accessories.
- Trigger a quick refresh: Toggle Airplane Mode on and off, or briefly turn Wi‑Fi and Bluetooth off and back on.
If you prefer to manage devices from a computer, or if Settings will not save the name, use Finder on a Mac.
Method 2: Rename Your iPhone from a Mac Using Finder
Renaming with Finder is handy if you sync iPhones to a Mac or manage several devices. It also helps when you want to pair the change with a backup.
Wired or Wi‑Fi sync: finding your device in Finder
- Connect your iPhone to the Mac with a USB cable, or ensure Wi‑Fi syncing is enabled for your device.
- Open Finder and select your iPhone from the sidebar under Locations.
- In the device header area, click the current device name.
- Type the new name and press Return to save.
Apply and sync changes to propagate the new name
- If you use a cable, the new name usually appears on the device immediately.
- If you sync over Wi‑Fi, click Sync in Finder to push the change.
- Keep the Mac and iPhone on the same network for reliable updates.
- On the iPhone, open Settings > General > About to confirm the new name.
If you use a Windows PC for backups and device management, iTunes offers a similar path.
Method 3: Rename Your iPhone from a Windows PC Using iTunes
Windows users can rename an iPhone inside iTunes. This mirrors the Finder approach and can help if on‑device changes do not stick.
Connect, locate device, and edit the device name field
- Install or open the latest iTunes.
- Connect your iPhone via USB and unlock it.
- Click the device icon at the top left of iTunes.
- On the Summary page, click the current name at the top.
- Type the new name and press Enter to save.
Update drivers and fix connection issues if the device will not appear
- Use a known‑good cable and a reliable USB port.
- When prompted on your iPhone, tap Trust this computer and enter your passcode.
- Update the Apple Mobile Device USB driver via Windows Update or Apple Software Update.
- Restart iTunes and your iPhone.
- Try a different port or cable if detection still fails.
Now that you have changed the name, confirm it appears everywhere that matters, starting with the services where it is most visible.
Verify the New Name Everywhere (AirDrop, Hotspot, Bluetooth, Find My)
Verification ensures your new name replaced the old one in all common views. A quick check now prevents confusion later when you share files or pair accessories.
Make sure AirDrop shows the updated name
- On your iPhone, open Control Center and press and hold the network card to view AirDrop.
- From another Apple device, start an AirDrop share and confirm the updated name appears in the picker.
- If you still see the old name, toggle Wi‑Fi and Bluetooth off and on, then try again.
Confirm the Personal Hotspot broadcast name
- Go to Settings > Personal Hotspot.
- On another device, scan for Wi‑Fi networks and look for your iPhone’s hotspot.
- Ensure it shows the updated name. If not, turn Personal Hotspot off and back on and rescan.
Check Bluetooth visibility and paired accessories
- Open Settings > Bluetooth.
- Put a known accessory in pairing mode and check the label shown for your phone.
- If an already‑paired accessory shows the old name, forget and re‑pair it:
- Tap the i button next to the device.
- Tap Forget This Device.
- Pair again to refresh the label.
Verify in Find My and on iCloud.com
- Open the Find My app and locate your iPhone. The updated name should appear in the list and on the map card.
- Go to Settings > [Your Name] > Devices on your iPhone and confirm the label under your Apple ID.
- On a computer, sign in to iCloud.com and check the device list for the new name.
If any service still shows the old name, use the troubleshooting steps below to force a refresh and clear cached data.
Troubleshooting: When the New Name Does Not Appear or Reverts
Sometimes a device or service caches the old name, or a network setting delays sync. These actions usually make the new name stick.
Refresh caches and force a name sync
- Toggle Airplane Mode on, wait ten seconds, then turn it off.
- Toggle Wi‑Fi and Bluetooth off and on.
- Open Settings > General > About and tap Name to confirm the new text.
- Leave the iPhone unlocked and connected to Wi‑Fi for a few minutes to allow iCloud to sync.
Restart, toggle radios, and re‑pair accessories
- Restart your iPhone.
- Restart any other device that still shows the old name.
- For Bluetooth, forget and re‑pair accessories so they fetch the new label.
- For AirDrop, close and reopen the share sheet on the sending device and try again.
Reset Network Settings (what it does and cautions)
- Go to Settings > General > Transfer or Reset > Reset > Reset Network Settings.
- This clears saved Wi‑Fi networks and passwords, VPNs, APN and cellular settings, and known Bluetooth devices.
- Only do this if the name will not update anywhere after basic steps. Be ready to re‑enter Wi‑Fi passwords and re‑pair accessories.
Sign out and back into iCloud as a last resort
- Go to Settings > [Your Name] and tap Sign Out, then confirm what you keep on device.
- Restart your iPhone, sign in again, and confirm the name in Settings > General > About.
- Give iCloud several minutes to refresh the device label across all services.
With the name visible in all key places, take a moment to ensure your new label protects your privacy and does not overshare.
Privacy and Security: Smart, Safe Naming Practices
Your device name can appear to strangers through AirDrop and Hotspot. Keep it clear but not revealing.
What to avoid (real names, phone numbers, locations)
- Avoid full names, phone numbers, email addresses, home addresses, and office or school names.
- Skip company project codes, client identifiers, or location tags that expose your routine.
- Do not use bait names that draw unwanted attention.
Safer naming ideas for public places and travel
- Use neutral patterns such as A Phone or Phone A instead of a full name.
- For travel, try A‑Phone or Personal‑Phone. Keep it short and generic.
- If multiple devices look alike, include non‑sensitive hints like color or model: Phone‑Blue or Phone‑Mini.
Once you choose a safe pattern, extend it to every device in your household or team for clarity and consistency.
Naming Conventions for Households, Classrooms, and Teams
Consistent names reduce confusion, speed up pairing, and help support teams. A simple format applied everywhere pays off quickly.
Families: simple patterns that make sense for everyone
- Pattern: Role or Name + Device + Number or Color, for example Mom‑iPhone‑Blue or Sam‑Phone‑01.
- Keep the same order for every device. Predictable labels make car pairing and AirDrop faster.
- Avoid emoji for older cars and legacy Bluetooth gear that may not render them.
Work and MDM environments: clear, trackable identifiers
- Pattern: Company + Dept + Initials + Device, for example Acme‑IT‑JD‑iPhone.
- Follow the IT team’s approved format if your device is managed.
- Document the scheme so new devices follow it and the help desk can locate them fast.
With a naming plan in place, align the rest of your Apple gear so everything matches and is easy to find.
Rename Your Other Apple Devices and Accessories for Consistency
A unified naming scheme helps every time you AirDrop a file, share audio, or switch devices. Apply the same pattern to AirPods, Apple Watch, iPad, and Mac.
AirPods: rename for clearer pairing dialogs
- Go to Settings > Bluetooth on your iPhone.
- Tap the i next to your AirPods.
- Tap Name, enter the new label, and tap Done.
- Use the same pattern as your iPhone for clarity, such as A AirPods or Sam‑AirPods.
Apple Watch: rename from the Watch app
- Open the Watch app on your iPhone.
- Go to General > About > Name.
- Enter the new watch name and tap Done.
- Check the name in Bluetooth pairing lists if you connect to gym equipment or other accessories.
iPad and Mac: align names across your ecosystem
- iPad: Settings > General > About > Name.
- Mac: System Settings > General > About > Name, or click the name at the top of the About panel.
- Keep the same pattern across all devices so AirDrop lists remain tidy and predictable.
With all devices renamed, run a final check to confirm the new iPhone name appears everywhere that matters.
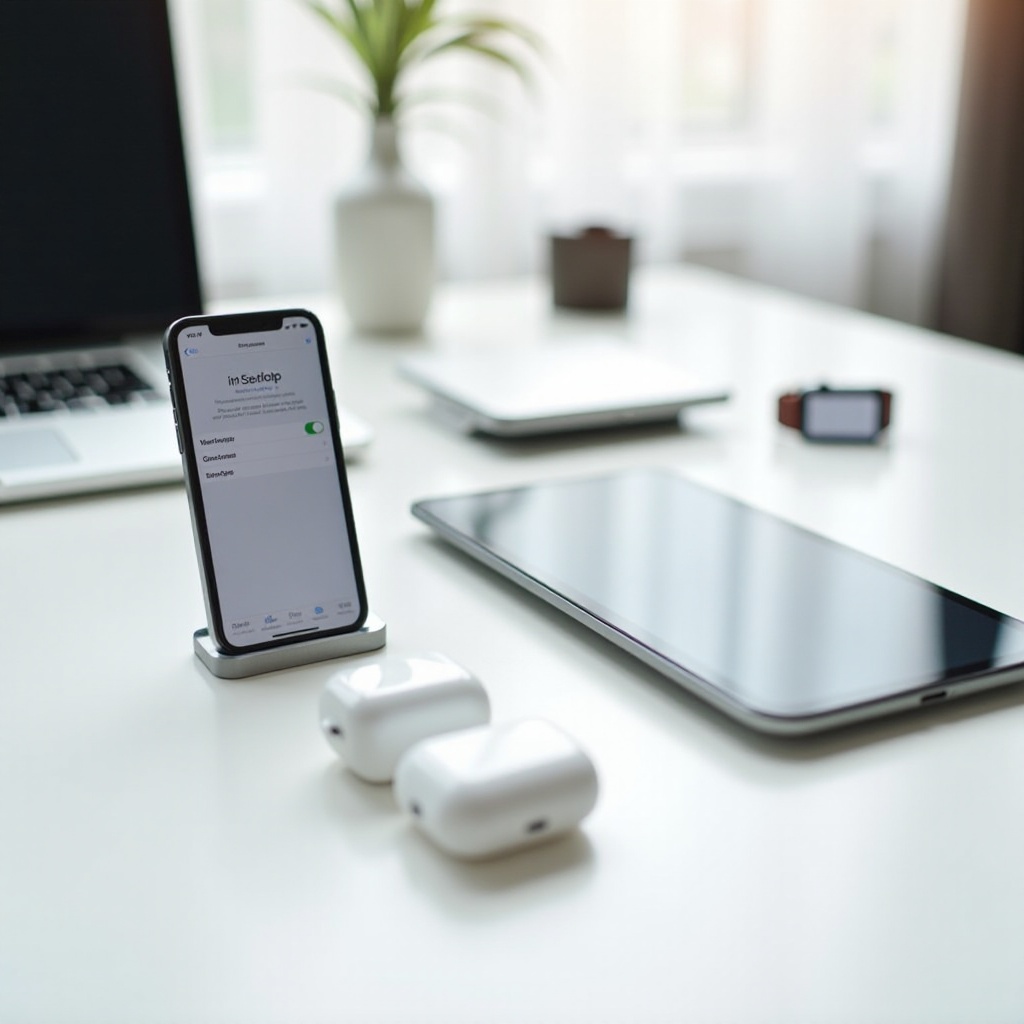
Final Verification Checklist
Use this quick list to ensure your new name is visible in all key places and on the devices you use most.
Confirm across Settings, Control Center, and connected devices
- Settings > General > About shows the new name.
- The Control Center network card reflects the change for AirDrop and Hotspot.
- Recently paired Bluetooth accessories display the correct label.
Double‑check in Apple ID device list and Find My
- Settings > [Your Name] > Devices shows the updated label.
- Find My lists the new name and location.
- iCloud.com shows the new name in your device list.
Conclusion
Changing your iPhone’s name is a small task with lasting benefits. A clear, private label streamlines AirDrop and Bluetooth, reduces pairing mistakes, and looks tidy in Find My and your Apple ID. You can rename your phone in Settings, Finder, or iTunes, then confirm the update across AirDrop, Hotspot, Bluetooth, and iCloud.
If the new name does not appear right away, refresh radios, restart devices, or reset network settings as a last resort. Keep personal data out of your device name, and adopt a simple naming scheme for every phone, tablet, and computer you own. This small change helps your whole setup stay organized, secure, and easy to use every day.
Frequently Asked Questions
Can I use emoji or special characters in my iPhone’s name?
Yes, iOS accepts emoji and many special characters. Some car systems and older accessories may show boxes or question marks. For maximum compatibility, stick to letters, numbers, spaces, and hyphens. If you add an emoji, test it with your most used accessories and remove it if anything misbehaves.
Will changing my iPhone’s name affect backups, apps, or warranty?
No. Renaming your iPhone does not delete data, change app behavior, or affect warranty coverage. Backups continue normally. You may see the new label for future backups in Finder, iTunes, and iCloud device lists. If your phone is managed by work or school, an admin may enforce a specific name.
Why does my Personal Hotspot still show the old name?
Devices that connected before may cache the old hotspot label. Turn Personal Hotspot off and back on, then toggle Wi‑Fi on the connecting device. Forget the hotspot network and rejoin it. If the old name persists, restart both devices. As a last resort, use Reset Network Settings and test again.