Introduction
Stickers can give your iPhone personality, help you spot it quickly, or show off your favorite brands. The problem starts when you want a cleaner, minimal look, plan to sell or trade in your device, or simply change your style. You pull off a sticker and discover torn paper, sticky residue, or even tiny scratches on the surface.
If you rush or use the wrong products, you can easily damage your iPhone. Harsh chemicals, sharp tools, and too much heat may remove adhesive, but they also risk scratching the glass, dulling the finish, or affecting the battery area. The good news is that you can remove stickers from iPhone surfaces safely with simple tools and a careful method.
This guide shows you how to remove stickers and adhesive from the iPhone body, screen, and camera area without damage. You will learn which materials react well to isopropyl alcohol, when to use gentle heat from a hairdryer, and how to clean up stubborn residue. You will also see what to avoid and how to prevent sticker mess in the future.
By the time you finish this guide, you will know the safest, most effective steps to remove stickers from your iPhone while keeping it looking clean, premium, and ready for reuse or resale.
Understand Your iPhone Before Removing Stickers
Before you peel anything, take a moment to understand what you are working with. Not all iPhones use the same materials or finishes, and that matters when you remove stickers. A method that works perfectly on glossy glass might not be ideal for a matte or textured finish.
When you understand your iPhone’s back material and finish type, you can choose the safest tools and cleaners. This reduces the risk of scratching, staining, or dulling the surface while you strip away old stickers.
Know Your iPhone’s Back Material: Glass, Aluminum, or Titanium
Recent iPhones commonly use a combination of glass backs and metal frames. Many current models have:
- A glass back panel that feels smooth and polished.
- Metal sides made of aluminum, stainless steel, or titanium.
- Some older models with aluminum backs instead of glass.
Glass is relatively hard and resistant to light scratches from gentle tools, but it can crack if you apply force in the wrong way or expose it to extreme temperature changes. Metal surfaces can scratch more easily and may show scuffs and wear if you use rough cloths or abrasive pads.
When you plan to remove stickers from iPhone backs or frames, treat all materials as delicate. Assume you need soft tools and take your time rather than forcing the adhesive to come off.
Why Finish Type Matters for Sticker Removal
Even when the base material is the same, the finish changes how you should clean it:
- Glossy glass tends to clean well with a microfiber cloth and a small amount of 70% isopropyl alcohol.
- Matte or frosted finishes can hold onto oils and residue more and may show streaks if you oversaturate them.
- Colored or coated finishes may reveal scratches or discoloration faster.
If your iPhone has a glossy glass back, you can usually remove stickers and residue safely with gentle wiping and a bit of alcohol applied to a cloth. For matte or special finishes, use less liquid and more gentle wiping, and avoid harsh scrubbing.
Once you know your material and finish, the next step is to gather safe tools so you can work efficiently without risking damage.
Tools and Supplies You Will Need to Remove Stickers From an iPhone
With your iPhone’s material in mind, you are ready to collect the tools you need. Having the right supplies within reach lets you work slowly, stay in control, and avoid desperate quick fixes that might harm your phone.
You do not need specialized equipment. Simple household items and a few optional products are enough to remove stickers from iPhone surfaces safely and effectively.
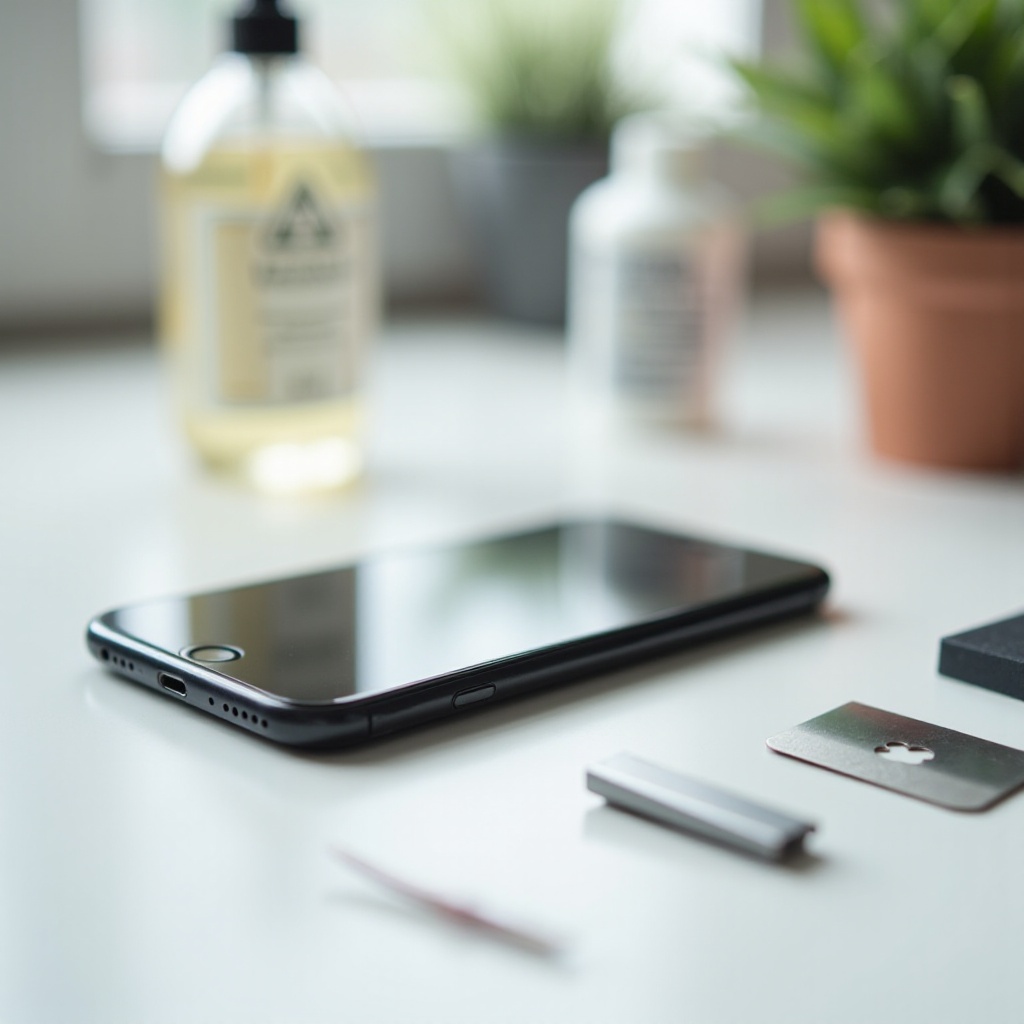
Safe Cleaning Tools for iPhone Surfaces
Start with basic tools that will not scratch or grind the surface:
- Microfiber cloths: Ideal for wiping, polishing, and applying small amounts of cleaner.
- Soft lint-free cloths: A clean, soft cotton cloth or T-shirt works if you lack microfiber.
- Plastic card: An old gift card, transit pass, or loyalty card is perfect for gently lifting sticker edges.
- Cotton swabs: Helpful for narrow areas around buttons, the camera bump, and seams.
- Small bowl and mild dish soap: Useful if you need to clean a case separately from the phone.
Avoid harsh or sharp tools. Never use knives, razor blades, metal scrapers, steel wool, or rough sponges on your iPhone. They can create permanent scratches in seconds.
Optional Products for Tough Sticker Residue
Some stickers use strong adhesive that clings tightly or has dried out over time. For these stubborn cases, optional products help break down residue more quickly:
- 70% isopropyl alcohol: Use a small amount on a cloth to dissolve residue on glass and metal surfaces.
- Electronics-safe adhesive remover: Only use products clearly labeled as safe for electronics or plastics, and always test on a hidden spot.
- Hairdryer: On a low setting, it can warm and soften adhesive, making stickers easier to peel.
Begin with the mildest tools and methods and move to stronger options only if needed. Now that you have the right tools, you can follow a safe step-by-step process to remove stickers from the iPhone body.
Step-by-Step Method to Remove Stickers From the iPhone Body
With everything ready, you can tackle the sticker itself. The main goal is simple: remove the sticker and adhesive while leaving the iPhone’s body smooth and clean. Take your time at each step. Patience matters more than force.
By following a structured method, you reduce the risk of ripping the sticker into tiny pieces or scratching the phone while you try to pry it off.
Step 1: Power Down and Prepare a Safe Workspace
Always start by shutting down your iPhone. Turning it off protects against accidental touches and keeps the device cooler if you later use gentle heat.
Then prepare your workspace:
- Remove any case or accessory that covers the sticker.
- Place a soft cloth or towel on a table to create a cushioned surface.
- Lay your iPhone face up or face down depending on where the sticker is.
- Make sure the area has good lighting so you can see small residue clearly.
Keep liquids away from the charging port, speakers, microphones, and buttons. If you plan to use any cleaner, always apply it to the cloth first, not directly on the phone.
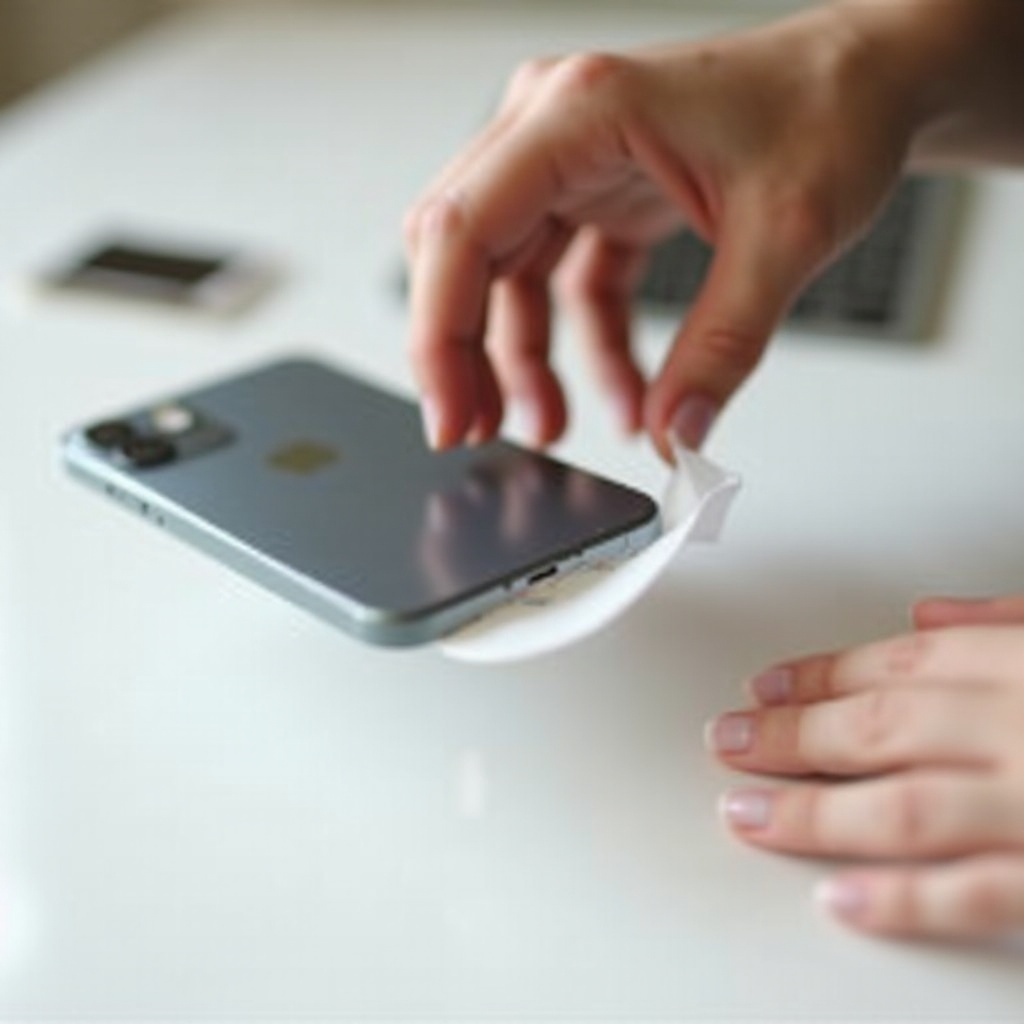
Step 2: Gently Lift a Corner of the Sticker
Next, focus on getting a clean starting point:
- Use your fingernail or the corner of a plastic card to nudge under one edge of the sticker.
- Work slowly so you lift the sticker, not the phone’s surface.
- Once a corner lifts, pinch that corner between your fingers.
If the sticker cracks or tears right away, you may need to soften the adhesive with a bit of heat before trying again. Avoid scraping aggressively or jabbing the card into the surface.
Step 3: Peel Slowly at a Low Angle to Avoid Damage
With the edge lifted, you can peel:
- Pull the sticker back at a low angle, close to the phone’s surface.
- Move slowly, keeping the angle consistent as you go.
- If you feel strong resistance or hear the sticker tearing, pause and adjust your grip.
Peeling at a low angle reduces stress on both the adhesive and the surface. Often, you will remove the sticker in one piece this way, leaving less residue behind. If some adhesive stays on the phone, do not worry. You will clean that residue in a later step.
For stickers that barely move or crack into several pieces, you can bring in gentle heat to loosen the adhesive.
Using Heat Safely to Loosen Sticker Adhesive
Very old or heavy-duty stickers sometimes cling so tightly that peeling them cold feels impossible. In these cases, gentle warmth can make a big difference. Heat softens the adhesive and lets you lift the sticker with less force.
However, heat must be used carefully. A hairdryer held too close or used too long can overheat your device. You want just enough warmth to soften glue, not to heat the iPhone itself.
How to Use a Hairdryer Without Overheating Your iPhone
If you use a hairdryer, follow these steps:
- Set the hairdryer to a low or medium heat setting.
- Hold it about 8–12 inches (20–30 cm) away from the sticker.
- Move the airflow across the sticker, not staying in one spot, for about 10–20 seconds.
- Turn the dryer off and test the sticker by lifting an edge again.
The sticker should feel slightly warm, not hot. If the phone’s body feels hot to the touch, stop using heat and let it cool before continuing.
Once the adhesive softens, repeat the peel-at-a-low-angle method. In many cases, using just a short burst of warmth makes the sticker come off much more cleanly.
When to Avoid Heat Near Battery and Sensitive Areas
There are times when you should skip heat altogether or limit it:
- Avoid prolonged heat directly over the battery area.
- Do not blast hot air on the front display for long periods.
- Limit warming around the camera bump, lenses, and edge seals.
If your iPhone already feels warm from charging, gaming, or heavy use, wait until it cools before you add any extra heat. When in doubt, use less heat and more patience.
Once you succeed in peeling the sticker, you may still see tacky residue on the surface. The next step is to remove that residue safely.
How to Remove Sticky Residue From an iPhone
After the sticker is gone, you might notice a sticky patch, cloudy area, or small bits of paper left behind. This adhesive residue traps dust, feels unpleasant, and makes the phone look dirty even when the sticker is off.
You can clean this residue without harming the iPhone’s finish if you start gently and increase intensity only when needed.
Cleaning Light Residue With a Microfiber Cloth
For light or fresh residue, a dry cloth often does the job:
- Take a clean, dry microfiber cloth.
- Rub the sticky area in small circles with gentle pressure.
- Continue for 20–30 seconds and check the surface.
The slight friction and the cloth’s fibers can lift mild adhesive without any liquid. This method is safe for glass, metal, and most finishes and should always be your first choice.
Using 70% Isopropyl Alcohol on Glass and Metal Safely
If residue remains after dry wiping, bring in a small amount of 70% isopropyl alcohol. It is effective at dissolving adhesives and evaporates quickly when used in moderation.
Follow these steps:
- Lightly dampen one corner of a microfiber cloth with isopropyl alcohol.
- Rub the sticky area gently in straight lines or small circles.
- Avoid soaking the cloth or letting liquid run.
- Wipe the area dry with a clean part of the cloth.
Use alcohol only on glass and metal surfaces and keep it away from ports, speakers, microphone openings, and physical buttons. Never pour it directly onto the phone. When used sensibly, alcohol is one of the safest ways to remove sticker residue from an iPhone.
Dealing With Stubborn Adhesive Without Scratching
For stubborn adhesive that resists cloth and alcohol:
- Use the edge of a plastic card at a very low angle to gently coax the residue off while you wipe.
- Apply a bit more alcohol to the cloth and repeat the process in short sessions.
- If you use an electronics-safe adhesive remover, test a tiny amount on a hidden spot of the phone or case first.
Never scrape with metal blades or scratch at the residue with keys or sharp objects. That will almost always leave visible marks. With a combination of plastic, soft cloth, and alcohol, you can remove even tough residue without scratching.
Now that you understand how to clean the iPhone body, it is time to look at more sensitive areas like the screen and camera, which need extra care.
Special Cases: Stickers on iPhone Screen, Screen Protector, and Camera Area
Removing stickers from the back of the phone is one thing, but stickers stuck to the screen or around the camera area require more caution. These spots affect how you see and use your iPhone every day, so you need to keep them crystal clear.
The goal here is to remove stickers without affecting touch sensitivity, screen clarity, or photo quality.
Removing Stickers From an iPhone Screen or Screen Protector
You might find manufacturer labels, privacy stickers, or decorative decals on the front screen or on a screen protector. To remove them safely:
- Start with your fingernail to lift a corner of the sticker. Avoid pressing a card into the glass.
- Peel the sticker back slowly at a low angle.
- If the sticker sits on a screen protector and leaves heavy residue, consider replacing the protector instead of fighting with it.
To clean residue:
- Use a clean microfiber cloth.
- If needed, lightly dampen a section of the cloth with a screen-safe cleaner or a small amount of 70% alcohol.
- Wipe gently in straight strokes, not harsh scrubbing.
This approach keeps the screen and protector free of scratches and streaks.
Cleaning Around the Camera Bump and Lenses
Stickers near or on the camera bump can cause serious trouble by blocking part of the lens or trapping dirt. To handle them:
- Carefully lift and peel stickers away from the camera area.
- Avoid dragging sticky adhesive across the camera glass.
- After removal, clean each lens with a microfiber cloth or lens wipe.
Use minimal liquid near the camera. A quick, light pass with a lens wipe or a cloth slightly dampened with alcohol is usually enough to restore clarity.
When to Replace a Screen Protector Instead of Scrubbing
Sometimes, a sticker on a screen protector leaves deep marks or stubborn residue that you cannot remove without aggressive rubbing. In those cases, it is better to:
- Gently remove the screen protector itself.
- Clean the underlying screen with a microfiber cloth and a small amount of screen-safe cleaner.
- Apply a new screen protector.
Replacing a damaged protector is cheaper than risking scratches or damage to the actual display by over-scrubbing.
Once you master sticker removal on the phone itself, it is also worth handling stickers on your iPhone case properly, since that is where most people place their decals.
Removing Stickers From iPhone Cases Instead of the Phone
Many users wisely put stickers on their iPhone case rather than on the device itself. Cases are cheaper to replace and easier to clean. However, some adhesives still cling tightly to silicone, plastic, or leather.
The way you remove stickers from a case depends on the material. By matching the method to the material, you can clean up the case without warping, staining, or cracking it.
Silicone and Soft Cases: Soak and Peel Method
Soft silicone and rubber cases handle water and mild soap well, which makes them easy to clean:
- Remove the case from your iPhone.
- Fill a bowl with warm water and add a drop of mild dish soap.
- Soak the case for 10–15 minutes to soften the adhesive.
- Peel stickers off while the case is warm and flexible.
- Rub any remaining residue with your fingers or a soft cloth.
Rinse the case with clean water and let it air-dry completely before putting it back on your phone.
Hard Plastic and MagSafe Cases: Scrape and Clean Method
Hard plastic and MagSafe cases need a slightly different approach:
- Use a plastic card to lift sticker edges and peel them away.
- If residue remains, wipe it with a microfiber cloth dampened with a bit of 70% alcohol.
- Repeat until the surface feels smooth and clean.
Do not soak hard plastic cases in harsh chemicals and avoid strong solvents that may cloud or crack the material. When in doubt, test cleaners on a hidden part of the case.
Leather and Premium Cases: Extra-Care Sticker Removal
Leather and premium cases require gentle care:
- Avoid soaking them in water or exposing them to heavy heat.
- Do not use strong solvents or aggressive cleaners.
- Start with a dry, soft cloth to lift residue.
- If needed, use a slightly damp cloth with a tiny amount of mild soap, then dry promptly.
Some marks from stickers on leather might not vanish completely, but trying to scrub them away can cause worse discoloration or damage. Sometimes a small mark is better than over-treating the surface.
Whether you clean the phone or the case, the products you avoid matter as much as the ones you use. Next, you will see what to keep away from your iPhone when removing stickers.
What NOT to Use When You Remove Stickers From an iPhone
It is tempting to reach for the strongest cleaner in your home to strip away tough adhesive quickly. However, many common chemicals and tools are far too harsh for your iPhone.
To keep your device safe, you need to know which products and tools to avoid completely, even if they seem effective at first glance.
Harsh Chemicals and Solvents That Can Damage Your iPhone
Do not use the following on your iPhone’s body, screen, or camera area:
- Acetone or nail polish remover.
- Bleach or chlorine-based cleaners.
- Ammonia-based glass cleaners.
- Strong multi-purpose solvents not labeled for electronics.
These chemicals can damage coatings on the glass, discolor or weaken metal and plastic, and affect seals and adhesives inside the device. They may remove residue, but they also increase the risk of permanent cosmetic and functional damage.
Abrasive Tools That Scratch the Phone’s Surface
Also avoid all abrasive tools, including:
- Steel wool or scour pads.
- Coarse sponges and rough scrubbers.
- Paper towels with a scratchy texture.
- Metal knives, razor blades, or scrapers.
These tools can leave visible scratches and micro-abrasions across your iPhone’s surface. Even a single slip can mark the glass or frame. Stick to microfiber cloths, soft fabrics, and plastic tools to keep your device looking new.
Once you know what not to use, you can focus on long-term habits that prevent sticker mess in the first place.
Preventing Future Sticker Residue on Your iPhone
After you clean your iPhone and remove all stickers and residue, you probably want to keep it that way. A few simple habits can help you enjoy the fun of stickers while avoiding sticky clean-up sessions later.
By choosing where and how you apply stickers, you protect your phone’s finish and save time in the future.
Use Stickers on Cases and Skins, Not Directly on the Phone
The easiest strategy is to keep stickers off the device itself:
- Place stickers on a removable case instead of the iPhone.
- If you like a certain design on the phone, apply a clear or decorative skin, then stick your decals on that layer.
When you want to change the look, you can:
- Swap the case for a new one.
- Replace the skin or film.
Your iPhone’s body remains clean, smooth, and free from adhesive.
Choose Removable or Low-Tack Stickers for Easy Removal
Not all stickers use the same adhesive. To make removal easier in the future, look for:
- Stickers labeled as removable or repositionable.
- Low-tack vinyl stickers designed to peel away cleanly.
These stickers tend to:
- Peel off in a single piece with less force.
- Leave little to no residue behind.
By combining these smarter sticker choices with the safe methods in this guide, you can personalize your iPhone setup without worrying about damage or sticky buildup.
Conclusion
Removing stickers from your iPhone does not have to be risky or stressful. With a bit of planning and patience, you can peel away stickers and clean adhesive residue without scratching the glass, dulling the metal, or hurting sensitive areas like the screen and camera.
Start by understanding your iPhone’s materials and finish. Gather safe tools, such as microfiber cloths, a plastic card, and a small amount of 70% isopropyl alcohol. Power down the device, lift sticker edges gently, and peel slowly at a low angle. Use only mild heat and keep it brief if you need to soften tough adhesive. For residue, begin with a dry cloth, then move to alcohol or approved adhesive removers if necessary.
Avoid harsh chemicals and abrasive tools, and remember that cases and skins are the best places for stickers. Choose removable, low-tack decals to keep future clean-up simple. By following these steps, you can remove stickers from iPhone surfaces safely and keep your device looking clean, polished, and ready for whatever you decide to do with it next.
Frequently Asked Questions
Will removing stickers from my iPhone void the warranty?
Removing stickers from your iPhone will not void the warranty as long as you do not damage the device in the process. Warranty issues arise only if you scratch the screen or back, crack the glass, warp the frame, or cause internal damage by using too much heat or harsh chemicals. Use gentle tools, avoid strong solvents, and do not open the phone. If visible physical damage occurs, that damage may not be covered, but simple sticker removal is not a problem by itself.
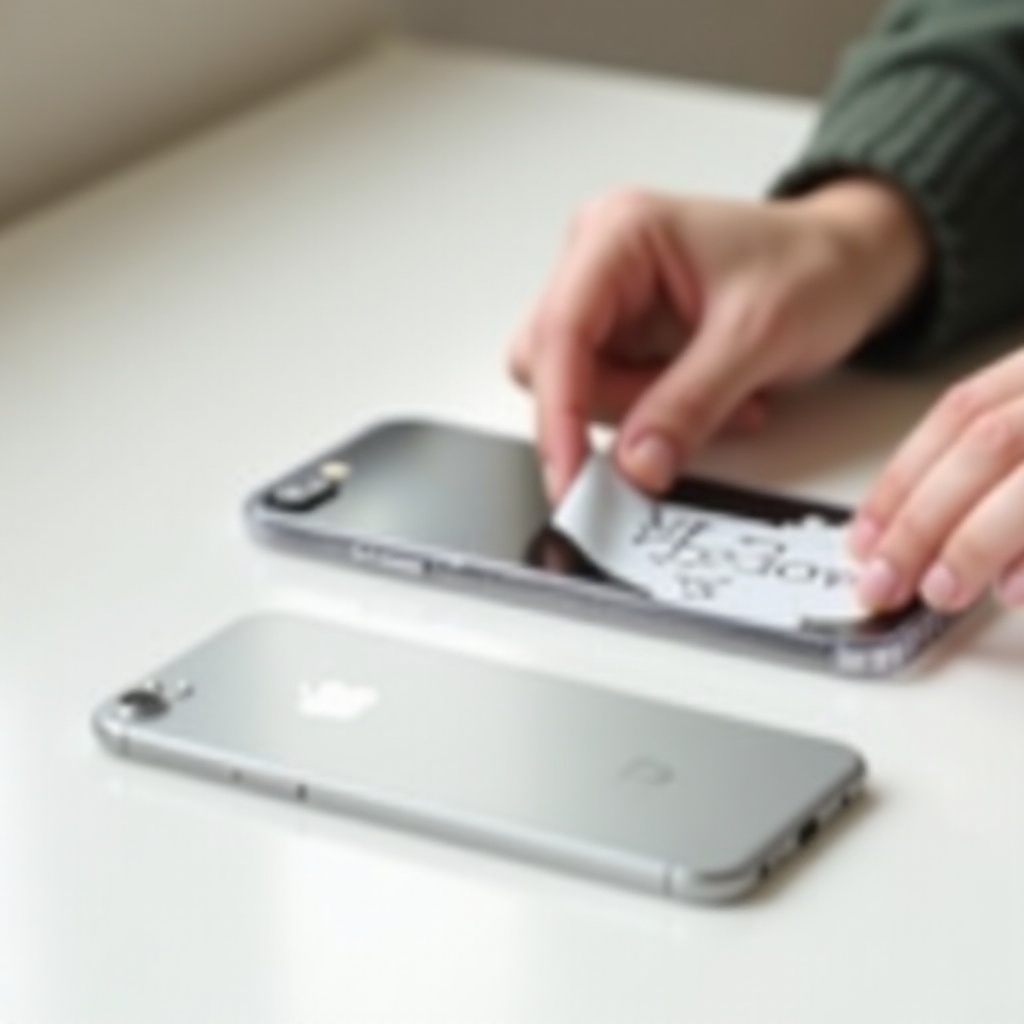
How do I remove old, dried stickers that are cracking on my iPhone?
For old, dried stickers that crack or flake, avoid forcing them off with sharp tools. Instead, use a hairdryer on a low setting from about 8‑12 inches away to warm the sticker for 10‑20 seconds. Then lift a corner with your fingernail or a plastic card and peel slowly at a low angle. If small pieces remain, press a strip of low-tack tape over the fragments and peel it away to lift them. Finish by wiping the area with a microfiber cloth and a small amount of 70% isopropyl alcohol on glass or metal surfaces.
Is it safe to use adhesive remover products on an iPhone?
Some adhesive remover products are safe to use on an iPhone, but you must choose carefully. Only use removers labeled as safe for electronics or plastics and always test a tiny amount on a hidden area of the phone or case first. Apply the remover to a cloth, not directly on the device, and keep it away from ports, speakers, microphones, and the camera. If you are unsure about a product, stick to 70% isopropyl alcohol and microfiber cloths, which are generally safer and effective for most sticker residues.