Introduction
You pick up your iPhone, tap out a message, and realize text will not capture your tone or detail. A short voice note would say it better, but the controls look different and your contact list mixes iPhone and Android. This guide shows how to text a voice recording on iPhone quickly and clearly, no matter who you are texting.
You will learn three dependable methods: a quick audio message from Messages, a reusable recording from Voice Memos, and a high‑quality audio file or link from Files. We will also cover sending to Android contacts, saving or forwarding clips, turning on transcripts, managing auto‑expire and storage, improving clarity, and fixing common problems. As you move from one section to the next, watch for short bridge notes that connect each step to the best next action for your situation.
Quick Answer: The Fastest Way to Send a Voice Recording
If you need to send a clip right now, do it from Messages:
1) Open Messages and enter a conversation.
2) Tap the + button near the typing field.
3) Tap Audio.
4) Press and hold the red record button and speak clearly toward the bottom mic.
5) Release to preview, then tap Send.
This method works best between iPhone users because it stays lightweight and easy to play in the chat. If you plan to keep a copy, or you are texting someone on Android, record in Voice Memos and share the file instead. That approach creates a standard M4A you can rename, edit, resend, and save anywhere. With the quick win in hand, let us compare your options to choose the right method for each conversation.
Audio Message vs Voice Memo vs Audio File: What is the Difference?
Choosing the right path saves time and prevents playback issues later. Here is how each option works and when to use it.
- Audio Message (from Messages):
- Fastest. You record and send inside the chat.
- Plays inline, often with automatic transcription for quick scanning.
- Can auto‑expire to save space unless you choose Keep.
-
Ideal for quick, casual back‑and‑forth with iPhone users.
-
Voice Memo (from Voice Memos):
- Creates a standalone M4A file you own.
- Lets you trim, rename, and enhance for clarity.
- Shares cleanly to Messages and cross‑platform apps.
-
Best when you want a permanent copy you can manage and forward.
-
Audio File (from Files or iCloud Drive):
- Supports longer or higher‑quality audio (M4A, MP3, WAV).
- Attaches in Messages or sends as a shareable link when large.
- Perfect for important details, long notes, or sending to Android without size surprises.
Now that you understand the trade‑offs, check a few settings to avoid recording or sending errors before you hit record.
Before You Start: Settings and Permissions to Check
A minute of prep prevents failed recordings and broken sends.
- Confirm reachability:
- Make sure your contact can receive iMessage or SMS/MMS.
- Blue bubbles indicate iMessage. Green bubbles use SMS/MMS and can limit attachment size.
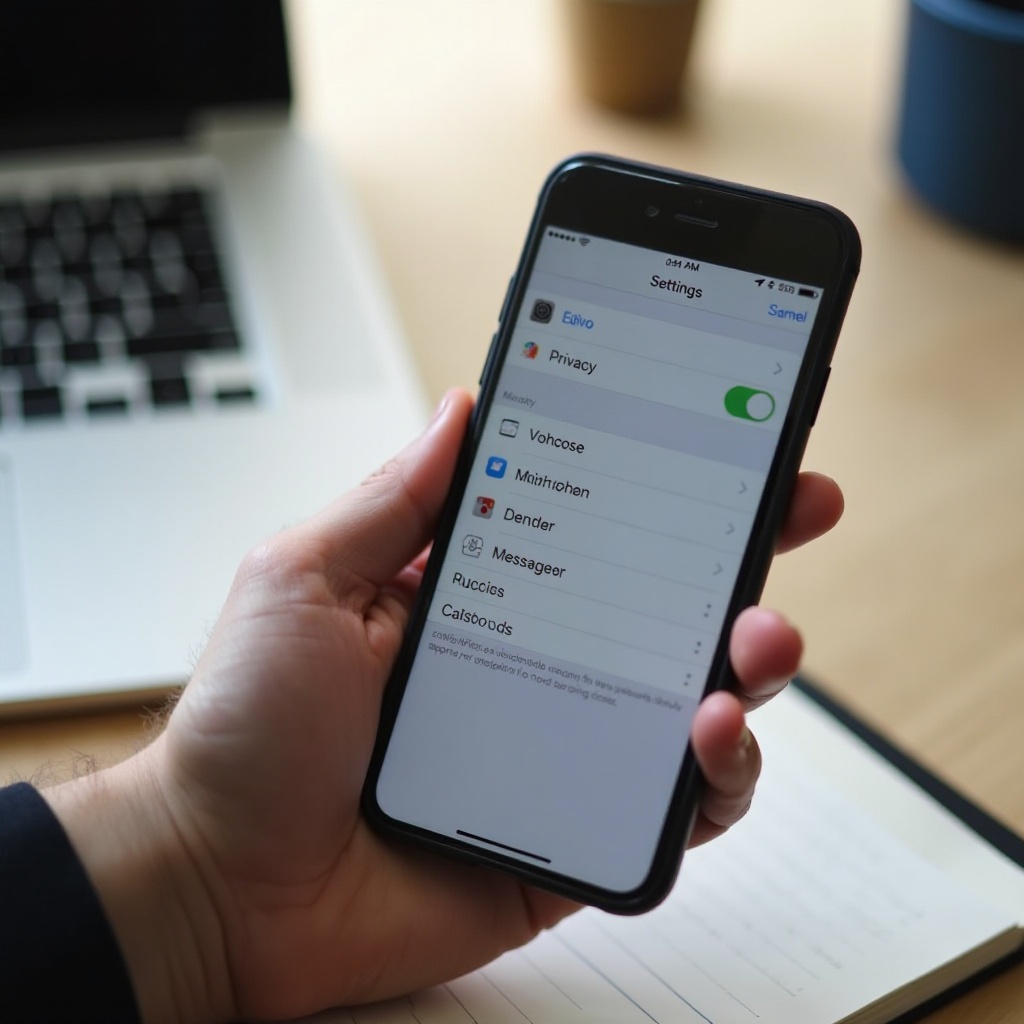
- Grant microphone access:
- Go to Settings > Privacy & Security > Microphone.
- Allow access for Messages and Voice Memos.
- Check storage and network:
- Free up space in Settings > General > iPhone Storage if you are low.
- Confirm cellular data or Wi‑Fi is on. Toggle Airplane Mode off and on if needed.
- Plan for Android contacts:
- Use Voice Memos or Files to send a reusable audio file or a link.
With the basics in place, start with the fastest integrated option: recording an audio message directly in a chat.
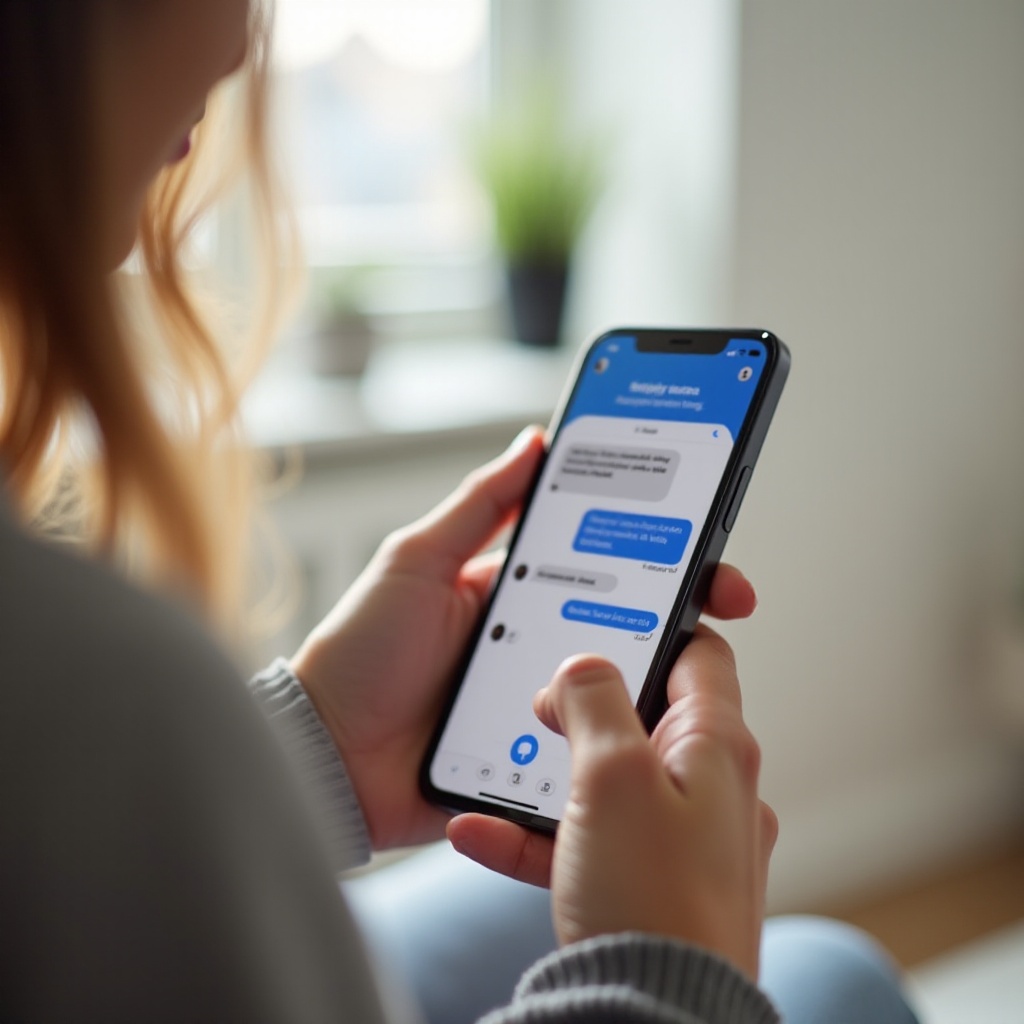
Method 1: Send an Audio Message in Messages (Tap +, then Audio)
This is the most streamlined way to send a voice note between iPhones.
Steps
1) Open Messages and pick a conversation.
2) Tap the + button next to the text field.
3) Tap Audio. The recorder appears at the bottom.
4) Press and hold the red record button and speak steadily. Keep the bottom mic clear of your hand and case.
5) Slide up to lock recording for hands‑free capture if needed.
6) Tap Stop to finish, then tap Play to review.
7) Tap Send to deliver, or tap X to discard and try again.
Pro tips
- Speak 6–8 inches from the mic for clear, warm sound.
- Move to a quieter space and reduce background noise.
- If transcription shows below your clip, it helps your recipient scan content quickly.
- After sending, tap Keep (or press and hold the bubble and tap Keep) to prevent auto‑expire.
If you need a permanent file you can reuse across conversations or platforms, create it in Voice Memos and share from there.
Method 2: Share a Voice Memo to Messages via the Share Sheet
Voice Memos produces a tidy M4A file you can edit, rename, and store for later.
Steps
1) Open Voice Memos and tap the red circle to record.
2) Hold the phone steady and avoid rubbing the mic. Pause and resume as needed.
3) Tap the magic wand (Enhance) to reduce background noise and boost clarity.
4) Tap the recording name to rename it for context.
5) Trim if needed: tap the three dots > Edit Recording > use the trim handles > Save.
6) Share: tap the three dots > Share > Messages.
7) Pick your contact, add a note if you want, and send.
Why this method helps
- You keep a master copy you can forward or edit again.
- Attachments send as standard audio files most apps can play.
- You can move the file into Files or iCloud Drive for long‑term storage and cross‑device access.
When you want maximum quality, long duration, or a shareable link for any device, send from Files.
Method 3: Send a High‑Quality Audio File from Files or iCloud Drive
Files gives you the most control over quality and size, and it works cleanly with Android recipients.
Steps (attach the file)
1) Save your audio to Files (On My iPhone or iCloud Drive). You can do this from Voice Memos via Share > Save to Files.
2) Open Files, find the audio, and press and hold it.
3) Tap Share > Messages, choose your contact, and send.
Steps (send a link for very large files)
1) In Files, press and hold the audio, then tap Share.
2) Tap Add People or Copy iCloud Link.
3) Paste the link into Messages and send. Your recipient downloads or streams the file from the link.
When to use this
- You are sending a long or high‑bitrate recording.
- MMS size limits or poor mobile data make file attachments risky.
- You need a single link that works on any device and does not compress the audio.
Since many conversations include Android contacts, let us cover the best way to ensure they can play your message without errors.
How to Send a Voice Recording to Android Contacts
Audio message bubbles from iMessage do not carry over to Android. Think file or link instead.
- Best practice: Share a Voice Memo as an M4A. It appears as an attachment that Android users can save and play in their default player.
- If MMS size limits block the send, share a link:
1) Save the recording to Files on iCloud Drive.
2) In Files, tap Share > Copy iCloud Link.
3) Paste the link in Messages so the recipient can download the original. - Cross‑platform apps: If you both use a cross‑platform messenger that supports voice notes or larger files, send the recording there for more reliable delivery.
Once your clip arrives, you may want to keep it, pass it on, or respond precisely. Here is how to manage voice messages in a conversation.

Save, Forward, Reply, and Transcribe Audio Messages
Handling received audio should be as easy as sending it. Use these quick actions.
- Save permanently:
1) Press and hold the audio bubble.
2) Tap Keep to prevent auto‑expire, or tap Save to Voice Memos if available.
3) You can also press and hold > More > Save to store a copy you control. - Forward to someone else:
1) Press and hold the audio bubble.
2) Tap More, check the message, then tap the forward arrow and choose a contact. - Inline reply:
1) Press and hold the message and tap Reply.
2) Record or type your response in context so the thread stays organized. - Transcription:
- If a transcript appears under the audio, your recipient can read or skim. Availability depends on language and region.
To prevent surprises, review how expiration, storage, and privacy settings affect your audio messages.
Manage Auto‑Expire, Storage, and Privacy for Audio Messages
Audio messages can consume space. Smart settings keep your phone tidy without losing important clips.
- Control expiration:
1) Go to Settings > Messages.
2) Under Audio Messages, set Expire to After 2 Minutes or Never.
3) Choose Never if you prefer to keep everything by default. - Clear clutter safely:
1) Open Settings > General > iPhone Storage.
2) Tap Messages and review large attachments.
3) Remove old junk while keeping essential audio. - Protect your privacy:
- Record only what you are comfortable sharing. Remember that recipients can save or forward.
- Review which apps have microphone access in Settings > Privacy & Security > Microphone and disable any you do not trust.
- Lock your device and avoid recording sensitive details in public spaces.
With storage and privacy handled, your next win is audio quality. Small changes produce clearer, richer voice notes.
Recording Tips for Clear, Loud Voice Notes
A few simple habits elevate your recordings.
- Face the bottom mic and keep 6–8 inches from your mouth.
- Do not cover the mic with your palm, case, or a finger.
- Move to a quiet room; switch off fans, TV, or music.
- In Voice Memos, tap Enhance to reduce background noise.
- Speak steadily and project without shouting.
- For windy or outdoor spots, shield the mic or use a wired or wireless mic.
- Rename important recordings with clear titles so you can find and share them quickly.
Even with best practices, you may hit a snag. Use the checklist below to diagnose and fix issues fast.
Troubleshooting: Voice Message Not Recording or Sending
Work through these steps from quickest to more advanced.
1) Check connectivity:
– Toggle Airplane Mode off and on.
– Open a webpage to confirm data is working.
2) Relaunch Messages:
– Force close Messages and reopen it.
– Start a fresh recording and try again.
3) Verify iMessage and SMS/MMS settings:
– Go to Settings > Messages and confirm iMessage is on.
– If iMessage is off or unavailable, your phone may fall back to SMS/MMS with tighter size limits.
4) Grant microphone permission:
– Go to Settings > Privacy & Security > Microphone.
– Turn on access for Messages and Voice Memos.
5) Free storage:
– Go to Settings > General > iPhone Storage.
– Delete unused apps or large videos so recordings can save and send.
6) Restart your iPhone:
– Power off and back on to clear temporary glitches.
7) Update iOS:
– Install the latest update for bug fixes related to Messages and Voice Memos.
8) Find the audio control:
– In a conversation, tap the + button. The audio recorder lives in the app drawer instead of the text field mic.
9) Bypass MMS limits when texting Android:
– Share a Voice Memo as a smaller M4A file or send a link from Files instead of attaching a large file directly.
10) Fix playback volume or silence:
– Raise the volume while playing. Make sure your recipient is not muted and has downloaded the attachment.
If you still cannot send, share the clip as an iCloud Drive link or switch to a cross‑platform app temporarily while you contact Apple Support or your carrier. With the roadblocks removed, you can send voice notes confidently in any conversation.
Conclusion
You now have three reliable ways to text a voice recording on iPhone: a quick audio message in Messages, a reusable Voice Memo file, and a high‑quality attachment or link from Files. Choose the path that fits your goal and the recipient’s device. Keep important clips from expiring, store master copies you can reuse, and follow the recording tips for clear, natural sound. When problems appear, run the troubleshooting checklist to get unstuck fast. With these skills, your voice will travel as clearly and quickly as your text.
Frequently Asked Questions
Why did the audio message button move in Messages?
Apple placed voice recording in the + menu next to the text field to separate it from dictation and reduce accidental taps. Open a chat, tap +, then tap Audio to record. You can still preview, delete, lock for hands‑free, and send from the recorder sheet.
Can I send a long voice recording without compression?
Yes. Record in Voice Memos, then share the M4A from Files. If the file is too large to attach, send an iCloud Drive link: save to Files on iCloud Drive, copy the link, and paste it into Messages. This preserves quality and avoids MMS limits.
How do I save an audio message permanently?
Press and hold the audio bubble, then tap Keep or Save to Voice Memos. You can also long‑press > More > Save. To prevent future auto‑deletion, go to Settings > Messages > Audio Messages > Expire and set it to Never. Store important files in Files or iCloud Drive for backup.