
Introduction
You want a reliable way to capture phone conversations on your Samsung Galaxy without guesswork. Many Galaxy models include call recording, but carriers and regions can limit the feature. Your dialer app also matters, because Samsung Phone and Google Phone offer different controls. That mix of factors explains why some users see a record button while others do not.
This guide walks you through each part of the process. You will confirm support, enable Samsung’s built-in recording, and set up auto record for your most important contacts. You will also learn how to record a single call on demand, where to find your saved audio, and how to organize and back it up. If the feature is missing on your device, you will find dependable alternatives and hardware options. Along the way, you will see simple tips for better audio and secure storage.
Before you change settings, start with the rules. Understanding consent and legal limits keeps you safe and sets the tone for the rest of this guide.
Know the Rules First: Call-Recording Legality and Consent in the U.S.
Call recording laws in the United States vary by state. Federal law follows a one‑party consent standard, which means you can record if at least one participant in the call approves. Some states, however, require all parties to consent. If either you or the other person is in an all‑party consent state, you need approval from everyone on the line. Many businesses also have stricter internal policies that apply regardless of state law.
Always be transparent. Tell the other person that you intend to record the call and ask for a clear yes before you start. Some carriers and apps play an audible tone or speak a message that the call is being recorded. Do not try to suppress those notices. They are there for compliance.
Secure storage is part of responsible recording. If you collect names, addresses, or payment details, treat the audio as sensitive data. Limit access, encrypt your backups, and keep recordings only as long as needed. This guide is informational and not legal advice. If your work involves regulated industries, consult a qualified professional. With expectations set, you can now check whether your Galaxy supports built‑in recording.
Check Support on Your Samsung Galaxy: One UI Version, Dialer App, and Carrier Limits
Whether you can record calls depends on your phone’s software, your default dialer, and your carrier. Samsung’s Phone app provides built‑in call recording on many models, while some carriers in the U.S. disable it. Google Phone offers different recording rules and, on many devices, will not record both sides of a cellular call.
Follow these checks:
– Open Settings > About phone > Software information to confirm your One UI version.
– Open the Phone app. Tap the three‑dot menu > Settings. Look for ‘Record calls’. If you see it, your region likely allows built‑in recording.
– If you use Google Phone by default, switch to Samsung Phone: Settings > Apps > Choose default apps > Phone app > select ‘Phone’ by Samsung.
– If you have dual SIM or eSIM, set your primary calling line to a SIM that is not restricted by carrier policy and reboot.
– Update your device: Settings > Software update > Download and install.
– If you still do not see ‘Record calls’, your carrier or region may block it.
These checks prevent frustration later. If your Galaxy passes them, enable built‑in recording. If not, keep reading; the alternatives section will help you capture calls within policy.
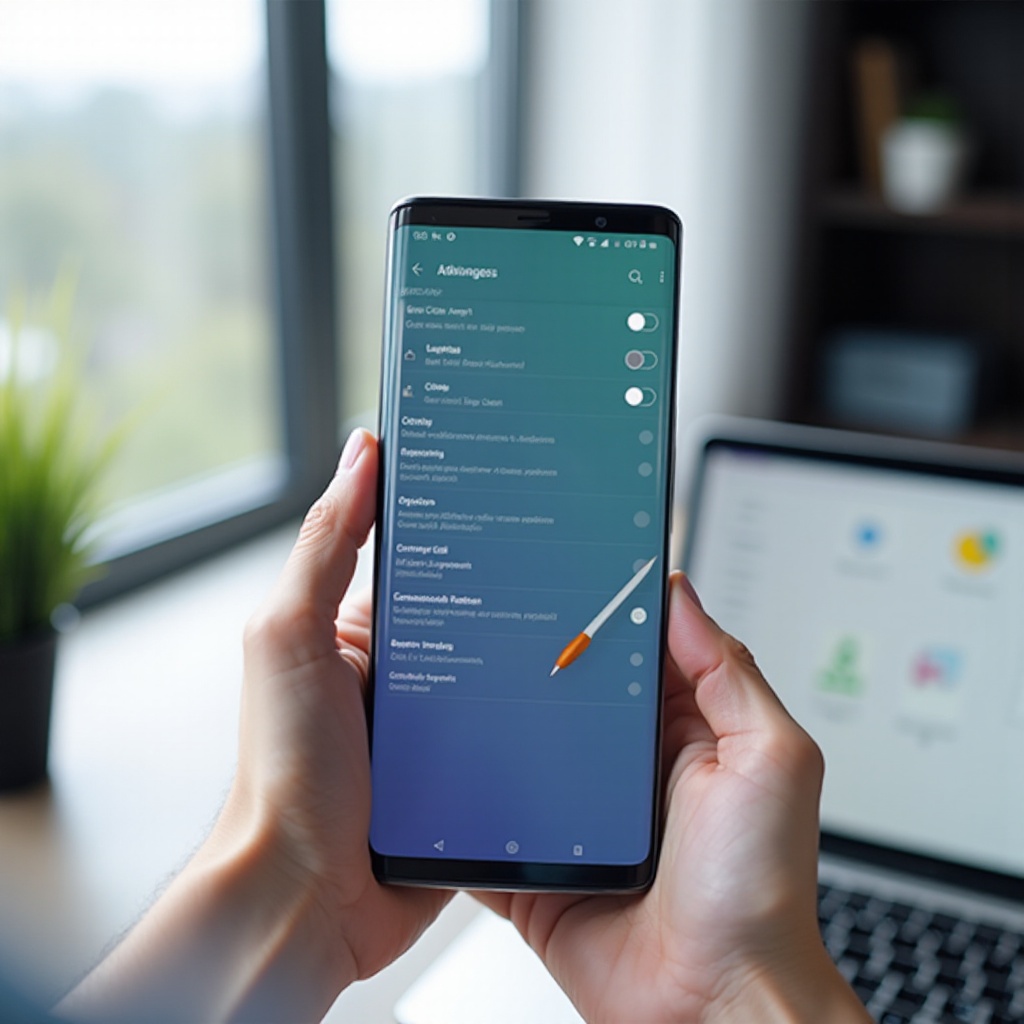
Enable Built-In Call Recording in the Samsung Phone App (Step-by-Step)
When the option is available, Samsung’s Phone app makes recording straightforward. Set it up once, then control recordings as you need.
Turn on manual call recording
1) Open Phone.
2) Tap the three‑dot menu in the top right.
3) Tap Settings.
4) Tap ‘Record calls’.
5) Toggle ‘Record calls’ on to allow manual recording during calls.
6) Place a test call and look for the ‘Record’ button on the in‑call screen.
Choose format and storage
- Recording format: Pick M4A for higher quality or AMR for smaller file sizes.
- Storage location: Choose internal storage or SD card if your device supports it.
- Optional toggles: If you use call screening or spam protection, confirm it does not interfere with recording. You can toggle screening off temporarily and test again.
After enabling manual recording, you can decide whether to automate it. The next section shows you how to set up auto record and select which calls to capture.
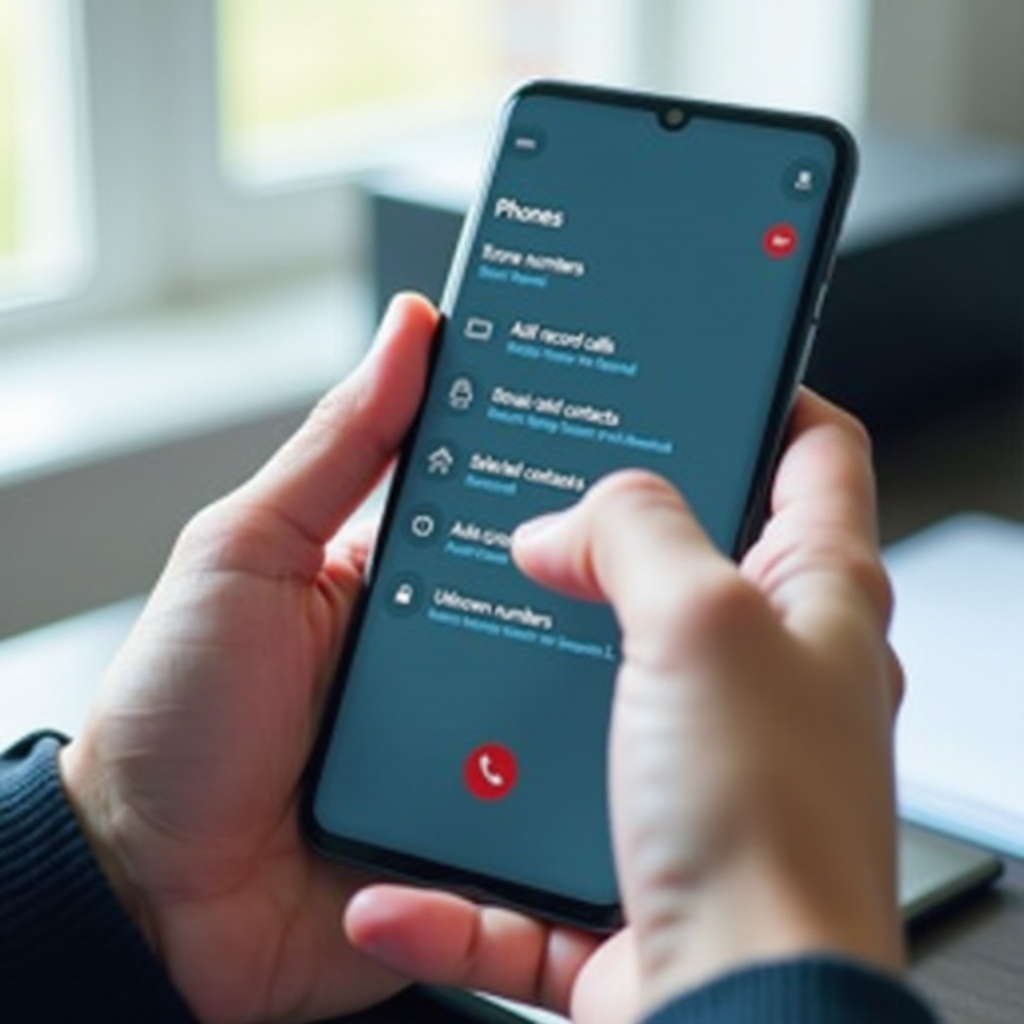
Set Up Auto Record: All Calls, Selected Contacts, and Unknown Numbers
Auto record reduces friction by capturing calls without tapping the record button. You can record all calls or limit automation to specific numbers or unsaved callers.
Configure auto record
1) Open Phone > Menu > Settings > ‘Record calls’.
2) Tap ‘Auto record calls’.
3) Pick one option:
– All calls: Every call is recorded.
– Calls with specific numbers: Choose contacts or enter numbers to auto record.
– Calls with unsaved numbers: Record calls from numbers not in your contacts.
4) Review ‘Recording format’ and ‘Storage location’ so you know where the files go.
Best practices for automation
- Use ‘specific numbers’ for interviews, client calls, or appointments you need documented.
- Avoid ‘all calls’ if you are in an all‑party consent state unless you obtain permission on every call.
- Check free space weekly to avoid losing recordings when the storage fills.
- Test your setup with a short call to confirm audio on both sides is captured.
Auto record is convenient, but sometimes you need to capture only a single call. The next section covers on‑demand recording and controls during a live conversation.
Record a Single Call on Demand: Start, Pause, and Stop Controls
If you prefer not to record everything, capture only what you need with one tap.
- Start: Place or answer a call. Tap ‘Record’ on the in‑call screen. If a consent prompt appears the first time, confirm and continue.
- Pause and resume: On some models, you can tap ‘Pause’ to stop temporarily and ‘Resume’ to continue. If your device does not show pause, it will record in a single continuous file.
- Stop: Tap ‘Stop’ to end the recording before the call finishes, or simply hang up. The Phone app will save the file automatically.
If the ‘Record’ button does not appear, revisit the settings in the Phone app to ensure recording is enabled and that Samsung Phone is your default dialer. When controls are not available due to carrier rules, move ahead to the alternatives for a reliable workaround.
Find and Manage Your Recordings: Paths, Naming, Sharing, and Backup
Recordings are only useful if you can find and manage them fast. Samsung provides in‑app access and a storage folder in My Files.
Access your recordings
- From the Phone app: Phone > Menu > Settings > ‘Record calls’ > ‘Recorded calls’. Tap a file to play, rename, or share.
- From My Files: My Files > Internal storage > Call (or Call/Recordings on some devices). Files use names like Call_YYYYMMDD_HHMMSS_[number_or_name].m4a or .amr.
Organize and back up
- Rename files with context, such as ‘Client_Acme_Quote_05‑12’.
- Create folders by client, project, or month.
- Share securely: Use apps that encrypt in transit and require sign‑in. Avoid sending sensitive audio over unsecured messaging.
- Back up options:
1) Cloud: Upload to Google Drive, OneDrive, or Samsung Cloud. Set a weekly reminder.
2) Local: Copy to a PC or an encrypted SD card using My Files or a USB cable. - Clean up old files to free space and reduce risk.
With your archive under control, you can focus on improving audio quality and saving storage. Small tweaks make a big difference.
Optimize Audio Quality and Storage: Formats, Microphone Tips, and Cleanup
Good audio helps you transcribe, quote, and reference conversations later. Use these simple adjustments to get clearer sound with less space.
Get clearer audio
- Format: M4A usually offers better clarity. Choose AMR if space is tight and voice quality is acceptable.
- Volume: Keep call volume moderate to avoid distortion. Extremely high volume may clip the recorded audio.
- Microphone path: Avoid Bluetooth headsets when possible. Many devices record only your voice over Bluetooth. Use the earpiece or turn on speakerphone to balance both sides.
- Environment: Move to a quiet area and reduce background noise like fans or traffic.
- Test: Make a short test recording before important calls to confirm both sides sound clear.
Save space safely
- Monitor storage: Settings > Device care > Storage shows how much space is left.
- Compress or archive: Move older recordings to the cloud or a PC and remove them from the phone.
- Delete duplicates: Remove redundant copies after backup.
If problems arise, do not worry. The next section walks through practical fixes when recording options are missing or not working.
Troubleshooting: Missing Call Recording Option, Region Blocks, and App Conflicts
If you cannot find ‘Record calls’ or the button never appears during a call, work through these steps in order. After each step, place a test call to check the result.
1) Confirm the default dialer:
– Settings > Apps > Choose default apps > Phone app > select Samsung Phone. If Google Phone is active, the feature may be hidden.
2) Update your device:
– Settings > Software update > Download and install. Reboot and check again.
3) Clear Phone app cache and data:
– Settings > Apps > Phone > Storage > Clear cache. If needed, tap Clear data to reset preferences, then reconfigure ‘Record calls’.
4) Remove conflicts:
– Temporarily disable call screening or third‑party spam blockers and test again.
– Uninstall third‑party recording apps that use accessibility features; they can interfere with Samsung’s recorder.
5) Check SIM and region policies:
– Carriers can block recording. If you have dual SIMs, set your default calling line to a different SIM and reboot.
– After travel or eSIM changes, restart the device to refresh policy flags.
6) Verify permissions:
– Settings > Apps > Phone > Permissions. Allow Microphone and Storage. If Nearby devices appears, allow it as well.
Avoid risky modifications such as CSC changes, bootloader unlocking, or unofficial firmware. These steps can break recording, void warranties, and compromise security. If built‑in recording remains unavailable, the next section covers dependable alternatives that respect policies and deliver workable audio.
Alternatives If Built-In Recording Is Not Available: Google Voice, Third-Party Apps, and Hardware
Not every Galaxy can record calls natively due to regional or carrier rules. You still have several ways to capture important conversations.
Google Voice for incoming calls
- Availability: Works in supported regions for personal Google Voice accounts.
- How it works: It records incoming calls only. Answer the call through Google Voice and press 4 to start or stop. Callers hear a notice that the call is being recorded.
- Access: Find recordings in the Voice app or on voice.google.com. Download and back up as needed.
- Best for: Interviews or customer support where the other party calls you.
VoIP apps, third‑party recorders, and hardware
- VoIP apps: Some services include built‑in recording with consent prompts (for example, certain meeting platforms). Check each app’s settings and policies.
- Third‑party recorders: Due to Android privacy limits, many can capture only your microphone, so the other side may be faint or missing. Test thoroughly before relying on an app.
- Hardware recorders: USB‑C call recording adapters or 3.5 mm line recorders capture both sides more reliably. Use the adapter’s instructions, set the phone to speaker if needed, and keep consent.
Choose the alternative that fits your workflow. For consistent quality on blocked devices, a simple hardware adapter often works best. Once you have a method in place, treat the saved audio with the same care you would give written records.
Privacy and Data Handling Best Practices: Retention, Encryption, and Secure Sharing
Responsible handling reduces risk for you and your contacts. Build a light process that you can follow every time.
Set retention rules and minimize data
- Keep only what you need. Decide on a retention window such as 30, 90, or 180 days.
- Delete outdated recordings promptly, especially those with sensitive details.
- Document consent at the start of each recorded call.
Encrypt and share securely
- Turn on device encryption and lock your phone with a strong PIN or passcode.
- Use cloud services with two‑factor authentication. Limit access to specific folders.
- Share links that expire, rather than sending raw files in chat apps.
- Use accurate file names so you can audit and purge systematically.
With legal awareness, precise settings, and simple security habits, you can record calls confidently and ethically.
Conclusion
Samsung Galaxy phones provide flexible call recording when your region and carrier allow it. Start by confirming support and making Samsung Phone your default dialer. Enable manual recording, then set auto record for important contacts so you never miss a call. Keep your library tidy with clear names, folders, and regular backups. If your device lacks the feature, dependable options like Google Voice for incoming calls or a compact USB‑C adapter will cover your needs. Above all, get consent and protect stored audio to stay compliant. With a few careful choices, you can record calls smoothly and securely on your Samsung Galaxy.
Frequently Asked Questions
Why do I not see the Call Record option on my Samsung Galaxy?
Carriers or regions can disable the feature. Make Samsung Phone your default dialer, update software, and check Phone > Settings > Record calls. If it still does not appear, your carrier likely blocks it. Consider Google Voice for incoming calls or a simple hardware recorder.
Where are my call recordings saved, and how can I back them up?
Open Phone > Settings > Record calls > Recorded calls to see files. Or use My Files > Internal storage > Call. Rename and organize, then upload to Google Drive, OneDrive, or Samsung Cloud. For bulk backup, connect to a PC and copy the Call folder.
Can I record VoIP calls like WhatsApp, Messenger, or Zoom on my Galaxy?
Samsung’s recorder targets standard phone calls and often cannot capture VoIP. Some apps include their own recording with consent. If not, use speakerphone with a hardware recorder, or rely on the app’s built‑in recording when available. Always follow local consent rules.