
Introduction
Locking your iPhone screen protects your data, prevents accidental taps, and keeps private info out of view. You press a button, the display sleeps, and your passcode or biometrics seal your device. Yet many people mix up screen locking with rotation lock or forget that previews and widgets can still expose data when the phone is locked. Others set Auto-Lock too long, which leaves the phone usable if someone picks it up.
This guide shows how to lock the screen fast, set a strong passcode, enable Face ID or Touch ID, and control what appears on the Lock Screen. You will also learn to prevent pocket wakes, use Guided Access to block touch, and tune modern features like Always-On Display, StandBy, and Focus. By the end, you will have a lock setup that is quick, private, and reliable.
With the goal clear, let us define exactly what the iPhone Lock Screen does and what it does not do.
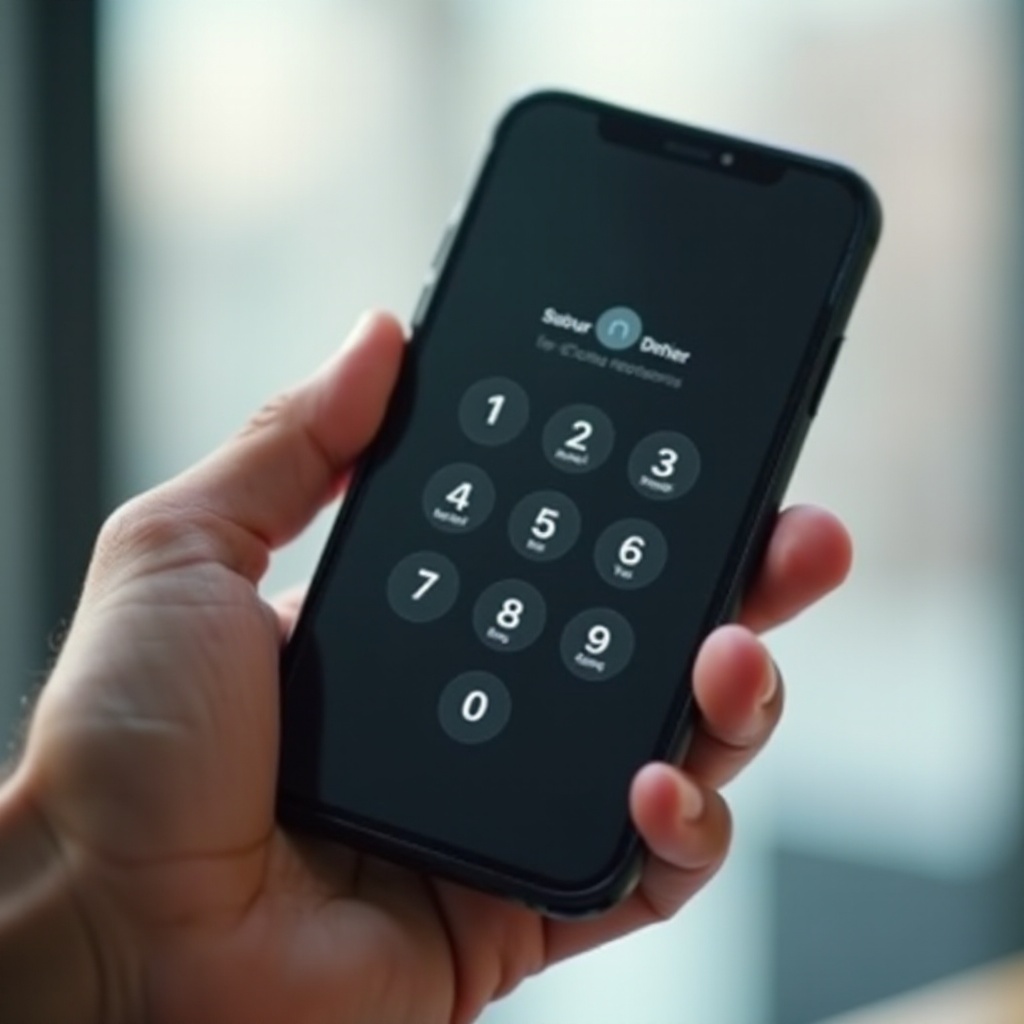
What the iPhone Lock Screen Really Means (and Common Mix-ups)
The Lock Screen is the protective barrier that sits between your data and anyone who picks up your phone. When locked, the iPhone requires a passcode, Face ID, or Touch ID to unlock. The phone can still show select items such as the time, widgets, and notification banners if you allow them. That means a locked phone can still reveal small snippets unless you limit what appears when locked.
Do not confuse screen lock with orientation lock. Portrait Orientation Lock only stops the screen from rotating. It does not secure the device or hide your data. Also remember that a sleeping display is not the same as a locked state. The display can turn off while the device remains unlocked for a short period, depending on your Require Passcode setting. On models with Always-On Display, the screen may show dim info while remaining locked. That does not reduce security, but it may reveal more than you want.
Knowing what the lock state does helps you choose the right settings. Now, let us cover the fastest ways to lock your iPhone on demand.
Quick Ways to Lock Your iPhone Instantly (Side Button, AssistiveTouch, Back Tap)
Your iPhone offers multiple ways to lock the screen right now. Use whichever feels fastest and most reliable to you.
1) Side button
– Press the Side button once to lock instantly. This is the quickest and most dependable method.
2) AssistiveTouch software button
– If the Side button is hard to press or damaged, add a virtual lock control.
– Go to Settings > Accessibility > Touch > AssistiveTouch and turn it on.
– Tap Customize Top Level Menu > Add > Lock Screen to place a lock control in the floating menu.
– Optional: Set a Custom Action (Single-Tap, Double-Tap, or Long Press) to Lock Screen for one-touch locking.
3) Back Tap helper
– iOS does not include a native lock action for Back Tap, and Siri cannot lock the phone.
– A practical workaround: set Back Tap to open AssistiveTouch. Then tap the Lock Screen icon from the AssistiveTouch menu.
– Go to Settings > Accessibility > Touch > Back Tap and assign Double Tap or Triple Tap to AssistiveTouch.
Once you can lock instantly, secure the lock with a strong passcode and biometrics to keep intruders out.
Set Up Core Security: Passcode, Face ID/Touch ID, Require Passcode Immediately
A locked screen only works if the barrier is strong. Build that barrier with a robust passcode and biometrics.
-
Create a strong passcode
1) Go to Settings > Face ID & Passcode or Touch ID & Passcode.
2) Tap Turn Passcode On or Change Passcode.
3) Choose a longer numeric code or an alphanumeric code for best protection. -
Enable biometrics
1) In the same menu, set up Face ID or Touch ID to make secure unlocks fast.
2) Add an alternate appearance or extra fingerprints where supported. -
Require the passcode immediately
1) Still in Face ID & Passcode, set Require Passcode to Immediately.
2) Turn on Attention for Face ID to require your eyes looking at the screen before it unlocks. -
Review access when locked
1) In the Face ID & Passcode screen, review the list under Allow Access When Locked.
2) You will fine-tune these items later, but understanding them now helps you make informed choices.
With a strong passcode and fast, safe biometric unlocks, your iPhone stays secure the moment the screen sleeps. Next, decide how quickly the iPhone locks itself when you stop using it.
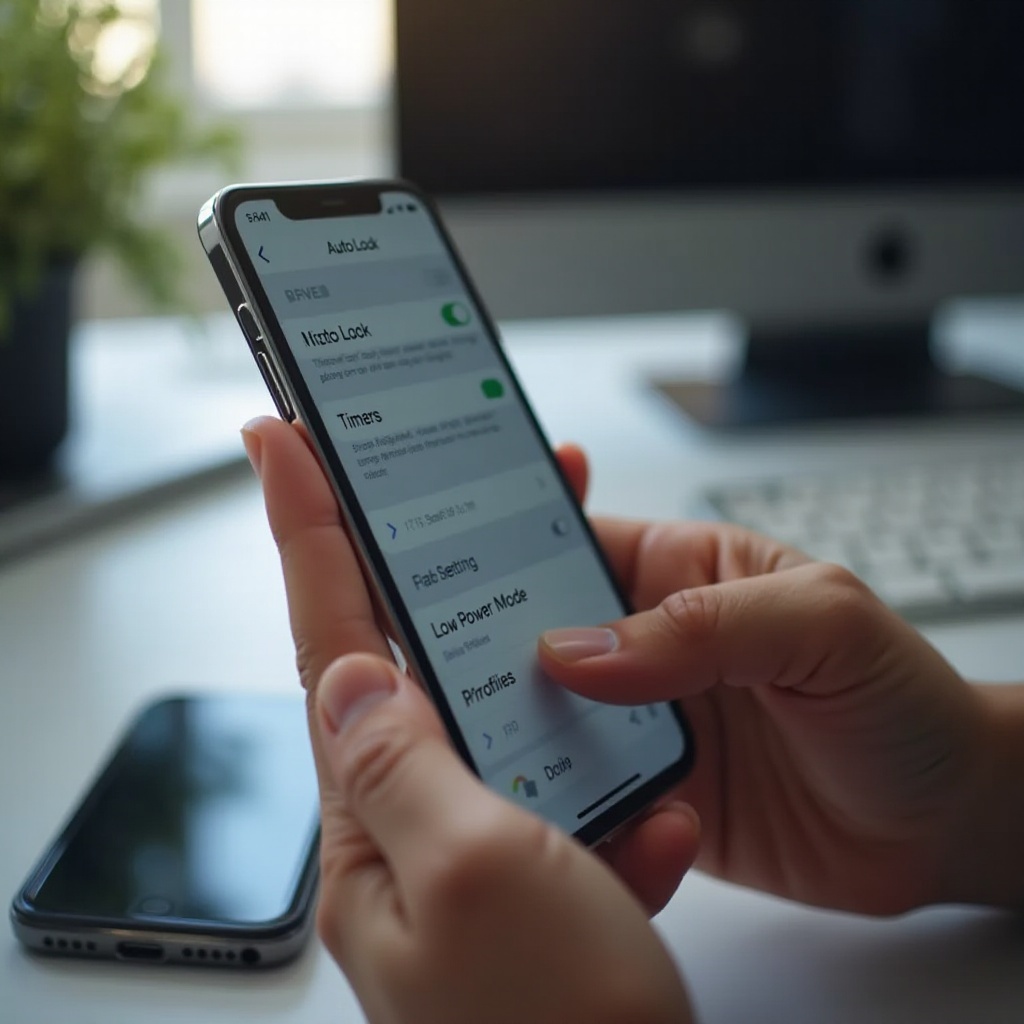
Control When Your iPhone Auto-Locks (Timers, Low Power Mode, Profiles)
Auto-Lock decides how long the phone waits before turning off the display and locking itself. Shorter times lower risk. Longer times are more convenient. Find your balance.
-
Change Auto-Lock
1) Go to Settings > Display & Brightness > Auto-Lock.
2) Pick a time from 30 seconds to 5 minutes, or choose Never if you truly need the display to stay on. For most people, 30 seconds to 2 minutes is ideal. -
Fix Auto-Lock grayed out
1) If Auto-Lock is stuck at 30 seconds and grayed out, you likely enabled Low Power Mode. Go to Settings > Battery and turn off Low Power Mode.
2) If a work or school profile manages your device, a Mobile Device Management profile may enforce a timeout. Check Settings > General > VPN & Device Management.
Shorter Auto-Lock pairs well with Face ID because a quick glance unlocks the device when you return. Now that you have timing set, restrict what the Lock Screen reveals to others.
Keep What’s on Your Lock Screen Private (Notifications, Widgets, Control Center, Wallet, Siri)
A locked device can still leak details through previews, widgets, and quick controls. Trim those leaks and keep prying eyes out.
-
Hide notification previews
1) Go to Settings > Notifications > Show Previews.
2) Choose When Unlocked to hide message content on the Lock Screen.
3) For sensitive apps, open each app in Settings > Notifications and disable Lock Screen or set previews to Never. -
Limit widgets and Lock Screen info
1) Long-press the Lock Screen and tap Customize.
2) Remove widgets that show private data such as full calendar items, to-dos, or health stats.
3) Favor minimal complications that reveal less. -
Restrict access when locked
1) Go to Settings > Face ID & Passcode.
2) Under Allow Access When Locked, turn off items you do not want exposed: Today View, Notification Center, Control Center, Siri, Reply with Message, Home Control, Wallet, and Return Missed Calls. -
Manage Wallet convenience vs. privacy
1) Express Cards can work without Face ID. Use them only if that convenience outweighs the small privacy tradeoff.
With the Lock Screen cleaned up, stop accidental touches and pocket wakes that can lead to calls, DMs, or music blasting at the wrong time.
Stop Accidental Touches and Pocket Dials (Guided Access, Tap to Wake, Raise to Wake)
Unwanted taps happen in pockets, bags, and in kids hands. Stop them with a few smart settings.
-
Guided Access to disable touch temporarily
1) Go to Settings > Accessibility > Guided Access and turn it on.
2) Set a Guided Access passcode. Open an app, triple-press the Side button, then tap Start to freeze the app.
3) Tap Options to disable touch, the keyboard, or buttons while a video plays or a child watches. -
Reduce accidental wakes
1) Turn off Tap to Wake: Settings > Accessibility > Touch > Tap to Wake.
2) Turn off Raise to Wake: Settings > Display & Brightness > Raise to Wake.
3) Use a snug case or screen protector that reduces false touches without blocking sensors.
You have curbed accidental inputs. Next, clear up one lingering confusion: orientation lock is not the same as screen lock.
Orientation Lock vs. Screen Lock: What’s the Difference?
Screen lock secures your device behind a passcode or biometrics the moment the display sleeps. Orientation lock simply stops rotation. It does not protect your data. To toggle orientation lock, open Control Center and tap the lock-with-arrow icon. On Face ID models, swipe down from the top-right. On Touch ID models, swipe up from the bottom.
Use orientation lock for reading or watching videos without rotation. Use screen lock when you hand the phone to someone or set it down. If you want both, lock the screen first, then turn on orientation lock as needed.
Now that the basics are clear, make modern Lock Screen features work for your privacy, not against it.
Master Modern Lock Screen Features (Always-On Display, StandBy, Focus)
New iPhone features change how the Lock Screen behaves, but they do not reduce security if you configure them well.
-
Always-On Display
1) On supported models, the display can show dim time, widgets, and notifications when locked.
2) To reduce exposure, go to Settings > Display & Brightness > Always On Display and turn off Show Wallpaper or Show Notifications, or turn the feature off entirely.
3) Your device remains locked either way. You decide how much to display. -
StandBy
1) When charging in landscape, the phone can show large clock faces, widgets, and photos.
2) Go to Settings > StandBy to manage notifications, night mode, and widget content.
3) Keep previews limited if your phone sits in a shared office or kitchen. -
Focus linked to Lock Screens
1) Long-press the Lock Screen, create multiple Lock Screens, and link each one to a Focus.
2) Build a minimal work Lock Screen with no sensitive widgets. Use a richer home Lock Screen when privacy is not a concern.
With features tuned to your environment, add extra safeguards for high-risk scenarios and travel.
Advanced Safety Options (USB Restricted Mode, Lockdown Mode, Emergency SOS)
If you face higher risk or travel across borders, enable a few advanced settings to protect access.
-
USB Restricted Mode
1) Go to Settings > Face ID & Passcode.
2) Turn off USB Accessories. This requires the device to be unlocked before new USB accessories can connect, helping block unauthorized data access via the Lightning or USB-C port. -
Lockdown Mode
1) Go to Settings > Privacy & Security > Lockdown Mode.
2) Turn it on if you are at high risk of targeted attacks. The phone will limit certain attachments, links, and web technologies to reduce the attack surface. -
Emergency SOS and quick lock
1) Press and hold the Side button and either volume button to bring up the Emergency SOS slider.
2) This screen also provides quick access to Medical ID and the power-off slider, which locks the device once it shuts down.
If your phone still wakes too often or refuses to lock properly, work through the troubleshooting checklist next.
Troubleshooting: When Your iPhone Won’t Stay Locked or Keeps Waking
Some settings, habits, or hardware issues can make a phone wake in your pocket or unlock too easily. Fix those problems step by step.
1) Tighten Auto-Lock
– Go to Settings > Display & Brightness > Auto-Lock.
– Choose 30 seconds or 1 minute for stricter behavior. Longer times increase exposure.
2) Stop unintentional wakes
– Turn off Tap to Wake and Raise to Wake.
– Keep the screen clean and dry. Moisture can trigger false taps.
3) Tune Always-On Display
– If the dim screen causes confusion, turn off Always-On Display or hide wallpaper and notifications.
4) Harden Face ID or Touch ID
– In Settings > Face ID & Passcode, turn on Require Attention and Attention Aware Features. This helps prevent unlocks when you are not looking directly at the screen.
– Re-enroll Face ID or add fresh fingerprints if unlocks fail or misfire.
5) Lock Screen access controls
– Turn off Notification Center, Control Center, Wallet, Siri, and other items under Allow Access When Locked.
– For Wallet, consider disabling Express Cards in shared or high-risk environments.
6) Fix Auto-Lock grayed out
– Disable Low Power Mode in Settings > Battery.
– If a profile manages your device, check for enforced timeouts in Settings > General > VPN & Device Management.
7) Use AssistiveTouch if hardware fails
– Assign Lock Screen to a Custom Action so you can lock with a single tap on the floating button.
8) Update and restart
– Install the latest iOS updates, then restart the device.
– Clean the sensors near the notch or Dynamic Island and ensure a case or protector is not blocking them.
9) Get support
– If the Side button, proximity sensor, or display issues persist, contact Apple Support or visit an authorized repair provider.
By tackling settings, habits, and hardware step by step, you can restore a predictable lock and a quiet pocket.
Conclusion
A secure, convenient iPhone lock pairs instant actions with smart settings. Lock the screen fast with the Side button or AssistiveTouch. Protect access with a strong passcode and Face ID or Touch ID, and set Require Passcode to Immediately. Use a short Auto-Lock timer, limit what shows on the Lock Screen, and restrict access to Control Center, Wallet, and Siri when locked. Prevent pocket taps with Guided Access, Tap to Wake off, and Raise to Wake off where needed. Then tailor Always-On Display, StandBy, and Focus to your space. Follow the troubleshooting steps if the phone still wakes or fails to lock. With these practices, you will master how to lock phone screen iPhone, keep your data private, and stay efficient every day.
Frequently Asked Questions
Can I lock individual apps on iPhone with Face ID or a passcode?
iOS does not provide a system wide lock for any app. Many apps include their own lock, like banking, password managers, and notes. For Apple Notes, you can lock specific notes. You can also use Screen Time to add a passcode limit that acts like a lock for selected apps.
Can Back Tap lock my iPhone screen?
Back Tap does not include a native lock action. Siri cannot lock the device either. A workaround is to set Back Tap to open AssistiveTouch, then tap the Lock Screen icon in the AssistiveTouch menu. It adds one extra tap but helps if the Side button is hard to use.
Why is Auto Lock grayed out on my iPhone?
Low Power Mode forces Auto Lock to 30 seconds and disables changes. Turn off Low Power Mode in Settings > Battery. If a work or school profile manages the device, it may enforce a timeout. Check Settings > General > VPN & Device Management, then restart and update iOS if needed.