Introduction
Screen recording on iPhone is one of the easiest ways to show someone how to do something, capture app bugs, or save a quick gameplay moment. After a new iOS update, though, many users open Control Center and suddenly cannot find the Screen Recording icon where it used to be. The layout changes, options move, and you are left wondering how to add screen record on iPhone after the new update.
This guide walks you through every step in clear language. You will learn how to add the Screen Recording button back into Control Center, how to start and stop recordings, and how to turn the microphone on or off. You will also see the key changes in the latest iOS, get tips to improve recording quality, and learn how to fix common problems. By the end, you will feel confident using screen recording on your updated iPhone.
Before you begin changing settings and recording your screen, it helps to understand what actually changed in the new update and why things look different.
What Changed for Screen Recording in the New iPhone Update?
Apple often adjusts the Control Center design and privacy tools when it releases a new iOS version. These changes can affect how screen recording looks and behaves. If you updated recently and the interface feels unfamiliar, you are not alone.
Some users notice that icons now appear in a different order or that the Screen Recording button is no longer visible at all. Others see new privacy indicators or pop-ups when they start recording. These tweaks are meant to improve security and usability, but they can also cause confusion if you are used to the old layout.
Understanding these changes makes it easier to follow the steps later in this article. You will know what to expect and why the new behavior is normal rather than a sign that something is broken.
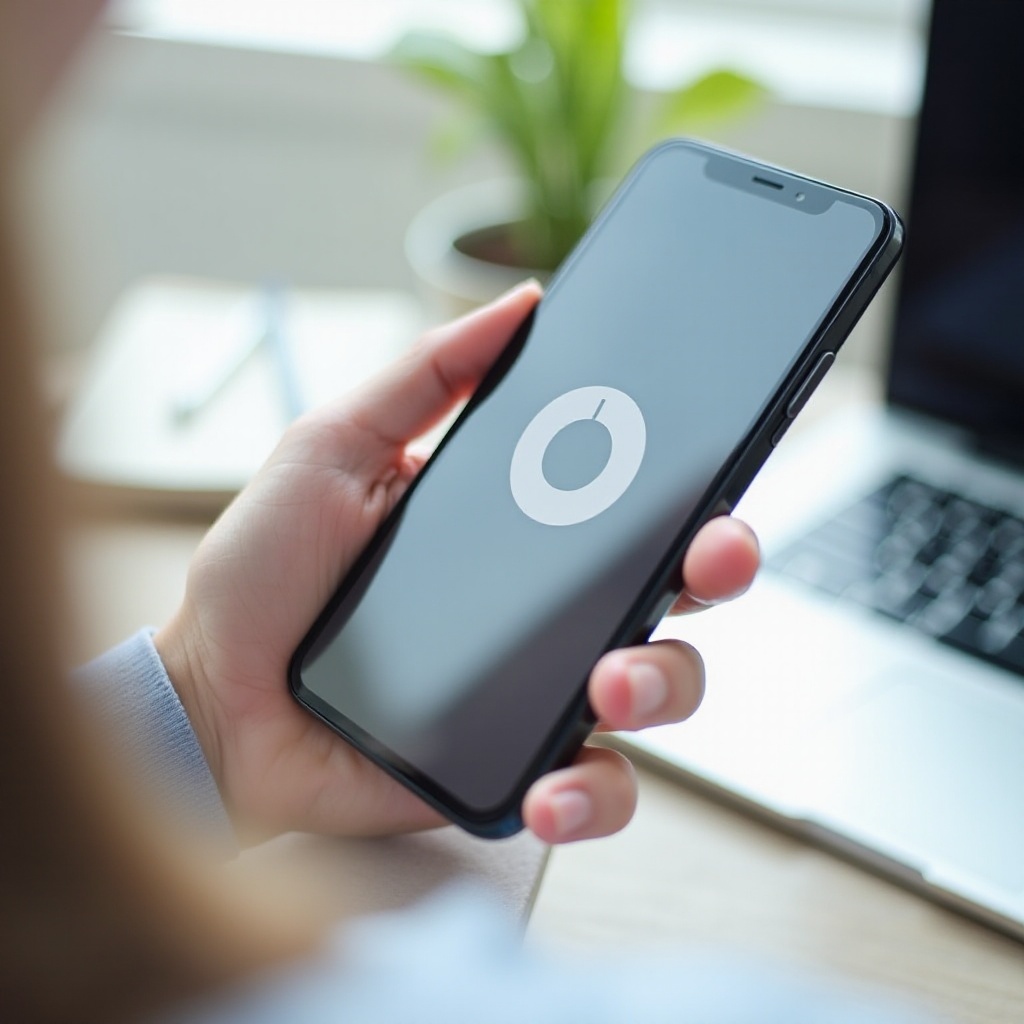
New Control Center Look and Layout
The most visible change after a new iOS update is the Control Center layout. Icons may look sharper or more rounded. The spacing can change. Some toggles move to a different row, and new shortcuts may appear.
Because of this, the Screen Recording toggle might not sit where you remember it. In some cases, it is removed from the active list and moved back to the ‘More Controls’ section in Settings. That is why many people search for how to add screen record on iPhone after the new update: the feature still exists, but the toggle is not currently active in Control Center.
Updated Privacy and Recording Indicators
Apple puts strong focus on privacy in its newer iOS releases. Recent updates add clearer indicators to show when your microphone or camera is in use. When you start a screen recording, you might see:
- A red or colored icon in the status bar or Dynamic Island.
- Small dots near the signal icons if the microphone or camera is active.
These visual cues help you see when recording is live and when the device is capturing audio. They also make it clear to anyone using your phone that the screen is being recorded.
Now that you know why the interface looks different and what the new indicators mean, the next step is to confirm that your device and software can actually run screen recording without issues.
Check Compatibility and Prepare Your iPhone
Before you try to add or use screen recording, confirm that your iPhone and software version support the feature. Most modern iPhones do, but if you use an older device or skipped updates, you may run into problems.
Preparation also helps avoid common issues like failed recordings, missing audio, or full storage. A quick check now saves you from frustration later when you start a long recording only to find that it never saved.
Make Sure Your iPhone Is Updated to the Latest iOS
To check and update your iPhone:
- Open the Settings app.
- Tap General.
- Tap Software Update.
- If an update is available, tap Download and Install.
Keeping your device on the latest iOS ensures you have the current Control Center layout and all improvements to screen recording. It also helps fix bugs that might cause recordings to fail or crash. If you already see that your software is up to date, you can move on.
Confirm Your iPhone Model Supports Screen Recording
Almost all iPhones running recent iOS versions support screen recording, including many older models up to the newest releases.
To confirm support:
- Open Settings.
- Go to Control Center.
- Look for Screen Recording in the list.
If you can see ‘Screen Recording’ in either the Included Controls or More Controls lists, your device supports it. If the option does not appear at all, there may be a restriction profile from work or school, or a software issue. In that case, contact your IT admin or Apple Support.
Once you know your iPhone and iOS version are ready, you can add the Screen Recording shortcut back into Control Center and start using it again.
How to Add Screen Record to Control Center on the New iOS
The most important step is enabling the Screen Recording toggle in Control Center. Without this, you cannot start a recording from the quick menu. After a new update, Apple may reset or change your list of included controls, so you must check and re-add the feature.
This process only takes a minute and immediately restores the familiar screen record icon.
Open Settings and Find the Control Center Menu
Follow these steps:
- Open the Settings app on your iPhone.
- Scroll down and tap Control Center.
Here you see two lists:
- Included Controls: These appear in Control Center now.
- More Controls: These are available but not active.
If you do not see ‘Screen Recording’ in the Included Controls section, that is why the icon is missing when you swipe into Control Center.
Add ‘Screen Recording’ to Included Controls
To add the screen record toggle:
- In Settings > Control Center, look under More Controls.
- Find Screen Recording in the list.
- Tap the green + button next to Screen Recording.
The control will move up into the Included Controls area. This means the icon is now active and ready to use in Control Center. You have just completed the key step for how to add screen record on iPhone after the new update.
If you still do not see Screen Recording in either section, there may be restrictions set by Screen Time or a management profile. You can check this in Settings > Screen Time > Content & Privacy Restrictions, or ask your admin if it is a work phone.
Reorder Controls for Faster Access to Screen Record
You can also place the Screen Recording icon in a more convenient position:
- In the Included Controls list, tap and hold the three-line icon next to Screen Recording.
- Drag it up or down to move it toward the top.
Controls near the top of this list appear closer to the top of Control Center. Placing Screen Recording near the top makes it quicker to tap, which is useful when you need to start a recording fast.
Now that the icon is visible and easy to reach, you are ready to start and stop recordings from Control Center whenever you need them.
How to Start and Stop Screen Recording After the Update
Once Screen Recording is in Control Center, using it is simple. Still, the latest iOS may show new icons or animations when you turn it on or off. Understanding this behavior helps you avoid confusion and ensures that you know exactly when the phone is recording.
This section covers how to start recording, what the countdown means, and how to stop and locate your saved videos.
Start a Screen Recording from Control Center
To begin a screen recording:
- Open the app or screen you want to record.
- Open Control Center:
- On iPhones with Face ID, swipe down from the top-right corner.
- On iPhones with a Home button, swipe up from the bottom edge.
- Tap the Screen Recording button (a solid circle inside another circle).
The icon will start a short countdown, usually three seconds, before recording begins. This gives you time to close Control Center and get ready on the screen you want to capture.
Use the 3-Second Countdown and Status Indicators
When you tap the Screen Recording icon, watch for the visual cues:
- A 3-second countdown appears in the center of the screen.
- After the countdown, the icon turns solid, and you may see a red or colored indicator in the status bar, Dynamic Island, or around the time.
These indicators confirm that your iPhone is now recording the screen. If you do not see them, the recording might not have started, and you should try again.
Stop a Screen Recording and Find the Saved Video
To stop recording, you can:
- Open Control Center again and tap the Screen Recording icon, or
- Tap the status bar / indicator at the top and confirm you want to stop.
Once you stop, iOS saves the recording automatically to the Photos app. You will see a brief banner saying ‘Screen Recording video saved to Photos.
Open Photos, go to Recents, and you should see your new screen recording ready to play, edit, or share.
Being able to record is useful, but many recordings also need voice narration or silence. The next section explains how to control the microphone while you record.
Turn Microphone On or Off While Screen Recording
Sometimes you want to narrate while you record. Other times you may want silent footage with no background noise. The latest iOS makes this easy with a quick microphone toggle built into the Screen Recording button.
Knowing how to manage microphone audio is crucial for tutorials, bug reports, and gameplay videos where your voice matters.
Enable Microphone for Voice Narration
To turn on the microphone while you record:
- Open Control Center.
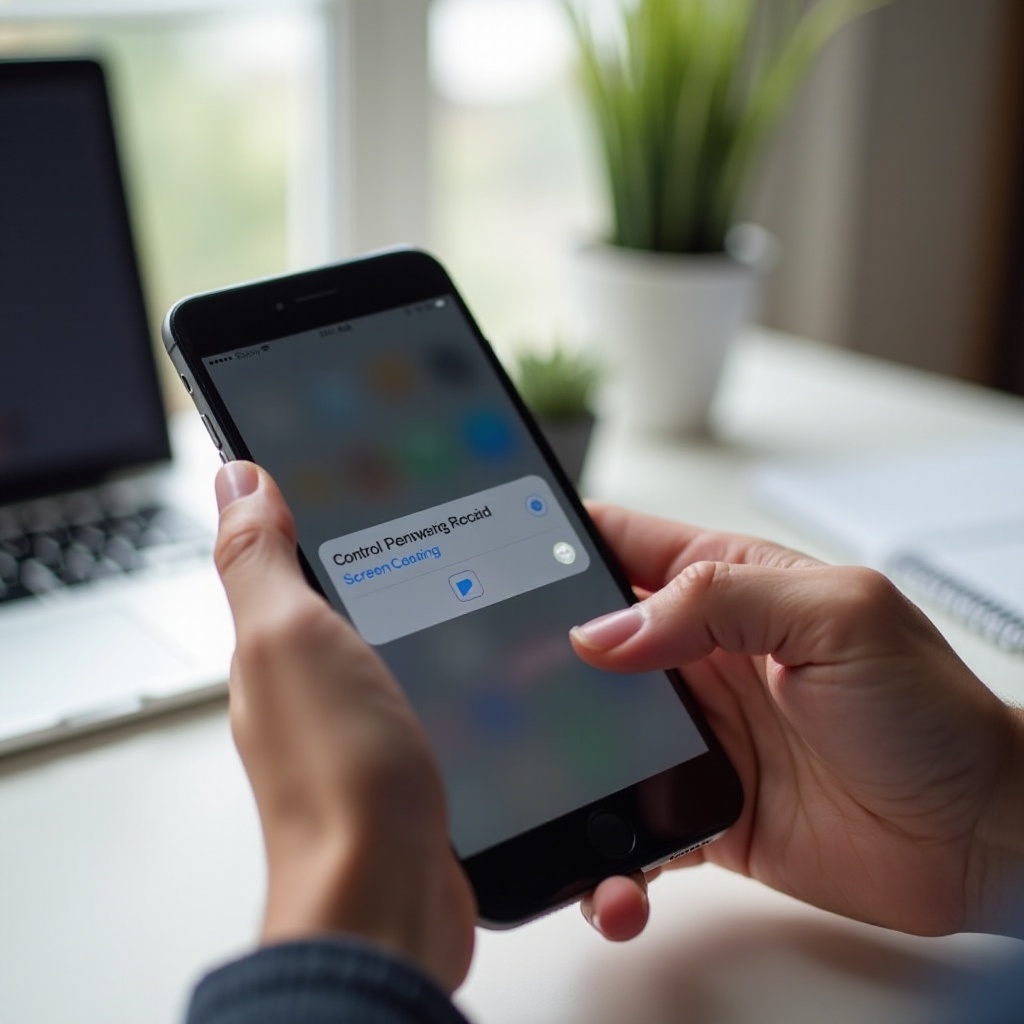
- Press and hold the Screen Recording icon (long-press).
- A small panel appears with a Microphone icon.
- Tap the Microphone to toggle it On (it turns red or shows ‘On’).
- Tap Start Recording.
With the microphone on, the iPhone records your voice along with on-screen actions. Speak clearly and keep the phone’s bottom microphone area uncovered for best audio quality.
Record Without Microphone for Silent Screen Captures
If you do not want any external sound:
- Long-press the Screen Recording icon again.
- Tap the Microphone so it shows Off.
- Start the recording.
In this mode, the video will capture screen activity and system audio (where allowed), but it will not record your voice through the microphone.
Fix Microphone Option Missing or Greyed Out
If the microphone icon is missing or greyed out:
- Make sure no other app is already using the microphone.
- Restart your iPhone and try again.
- Check Settings > Privacy & Security > Microphone to ensure apps have permission.
If you still cannot enable it, a software glitch or restriction might be the cause. In that case, updating iOS again or contacting Apple Support can help.
Once you have audio under control, you can focus on improving the overall quality and reliability of your recordings so they look clean and professional.
Best Settings and Tips for Smooth Screen Recordings
Even when screen recording works, poor setup can lead to cluttered, noisy, or choppy videos. A few simple changes improve the final result and reduce the chance of failed saves or lag.
These best practices make your recordings look cleaner and more professional, even if you only use built-in tools.
Use Focus or Do Not Disturb to Block Notifications
Notifications can ruin a good screen recording. To prevent incoming alerts from popping up on camera:
- Open Control Center.
- Tap Focus or Do Not Disturb.
- Choose a Focus mode that blocks most notifications while you record.
This keeps texts, calls, and app alerts from appearing in the video. It also protects your privacy by hiding personal messages that you do not want to record.
Manage Storage and Video Length to Avoid Failed Saves
Screen recordings can be large files, especially for games or long tutorials. To avoid ‘Failed to save’ errors:
- Go to Settings > General > iPhone Storage and check available space.
- Delete or offload unused apps, old videos, and large files.
- Keep individual recordings shorter when possible.
If you plan to record for a long time, consider capturing in segments. Stop and save one recording, then start a new one. This approach reduces the risk of losing everything if the phone runs out of storage or overheats.
Optimize Brightness, Volume, and Orientation Before Recording
Before you tap record:
- Adjust brightness so the screen is easy to see but not too bright.
- Set volume to an appropriate level if you want system sounds.
- Rotate the phone to landscape if you need a wide video, such as for games or tutorials.
These small steps make your final recording easier to watch and more pleasant to follow.
After you capture a clean recording, the next step is to edit and share it so others can view it easily.
How to Edit and Share Screen Recordings on the Latest iOS
The Photos app offers useful tools to clean up your screen recordings without third-party software. You can trim out mistakes, add small notes, and share directly to your favorite apps or cloud services.
Knowing these basics helps you turn a raw recording into a polished, shareable video.
Trim and Tidy Your Screen Recording in Photos
To trim a recording:
- Open the Photos app.
- Find and tap your screen recording.
- Tap Edit in the top right.
- Use the slider handles at the bottom to adjust the start and end points.
- Tap Done, then choose Save Video or Save Video as New Clip.
Trimming lets you cut out the awkward moments where you open Control Center or fumble with menus.
Add Markup, Text, or Audio Using Built-In Tools
For simple annotations:
- Use Markup to draw or highlight parts of the screen.
- Add text labels to explain steps.
- Adjust sound by changing volume or reducing noise in supported editing apps.
While Photos is basic, it works well for quick edits. For advanced editing, you can export to a video editor like iMovie.
Share Recordings to Messages, Social Apps, or Cloud Storage
To share your screen recording:
- Open the recording in Photos.
- Tap the Share icon (square with an arrow).
- Choose Messages, Mail, AirDrop, or a social app like WhatsApp, Instagram, or TikTok.
- You can also select Save to Files or upload to iCloud Drive, Google Drive, or other cloud services.
Sharing is quick once your recording is trimmed and ready. If you start seeing errors while saving or sending, the troubleshooting section below can help you identify the cause.
Troubleshooting Screen Recording After the New Update
Even with everything set up correctly, you may still face issues. Common problems include missing icons, silent videos, lag, or failed saves. The latest iOS update sometimes changes background settings that affect these behaviors.
Use the steps below to solve the most frequent screen recording issues and keep the feature running smoothly.
Screen Record Button Missing From Control Center
If the Screen Recording icon disappears again:
- Go to Settings > Control Center.
- Check Included Controls to see if Screen Recording is still there.
- If not, find Screen Recording under More Controls and tap +.
If Screen Recording is missing from both lists, check Settings > Screen Time > Content & Privacy Restrictions. Restrictions from work, school, or parental controls might hide the feature.
Screen Recording Has No Sound or Cuts Out
When your recording has no audio:
- Long-press the Screen Recording icon and ensure the Microphone is set to On if you want voice commentary.
- Check volume levels and whether the app you record allows system audio capture. Some apps limit or block it for privacy or copyright reasons.
- Restart the phone and test again.
If recordings stop in the middle, your phone may be:
- Low on storage.
- Overheating.
- Running too many apps at once.
Close background apps, free storage, and let the device cool down before another long recording.
Fix Overheating, Lag, or ‘Failed to Save’ Errors
To reduce overheating and lag:
- Turn off high-performance settings in games if possible.
- Lower screen brightness a bit.
- Avoid charging the phone while recording for a long time.
For ‘Failed to save’ errors:
- Check iPhone Storage and free space.
- Restart your iPhone.
- Try a shorter test recording to confirm that everything works.
If problems continue, back up your data and consider updating iOS again or contacting Apple Support for a deeper check.
Conclusion
Learning how to add screen record on iPhone after the new update starts with one simple action: enabling the Screen Recording icon in Control Center. Once that toggle is in place, you can quickly start and stop recordings, turn the microphone on or off, and capture clear videos of your screen.
You saw how the latest iOS update changes Control Center and privacy indicators, how to check compatibility, and how to manage audio settings. You also learned best practices for blocking notifications, managing storage, trimming your clips, and sharing them. Finally, you now know how to fix common problems such as missing icons, silent recordings, and failed saves.
With this knowledge, you can record tutorials, gameplay, app demos, and more without getting lost in new menus or layouts. Your updated iPhone is ready to capture your screen whenever you need it.
Frequently Asked Questions
Why can’t I see the screen record icon in Control Center after the new update?
The icon usually disappears because the update reset your Control Center layout. Go to Settings > Control Center, look under More Controls, and tap the + next to Screen Recording to add it back. If you still do not see it, check Screen Time or device management restrictions that might be hiding the feature.
Does iPhone screen recording capture internal audio and phone calls on the latest iOS?
Screen recording can capture system sounds and in-app audio in many cases, but it does not record regular phone call audio for privacy and legal reasons. Some apps, especially streaming services, block internal audio or video capture entirely. You can enable the microphone to record your voice, but not both sides of a normal phone call.
How long can I screen record on iPhone before it stops automatically?
There is no fixed public time limit, but two factors will stop a recording: storage space and device performance. When your iPhone runs low on space, the recording stops or fails to save. Very long recordings can also cause heat and lag. For reliability, record in shorter segments and check available storage before you start.