
Introduction
Need more storage or a faster way to move files between devices? You can connect a flash drive to your phone and copy photos, videos, and documents without relying on the cloud. This guide explains what you need, how to check compatibility, and the exact steps for Android and iPhone. You will learn which file systems work best, how to power larger drives, and how to fix common detection issues.
We use clear language and direct steps so you can plug in, see your files, and transfer with confidence. Whether you use a slim USB stick, a dual‑interface drive, or a compact SSD, your phone can handle it when you set things up the right way. Start by confirming your port and OTG support, then pick the correct adapter. Next, follow the step‑by‑step instructions for your platform, manage files safely, and finish with a proper eject. With the basics in place, you are ready to connect flash drive to phone and make secure, speedy transfers.
Understand Your Phone’s Port and OTG Support
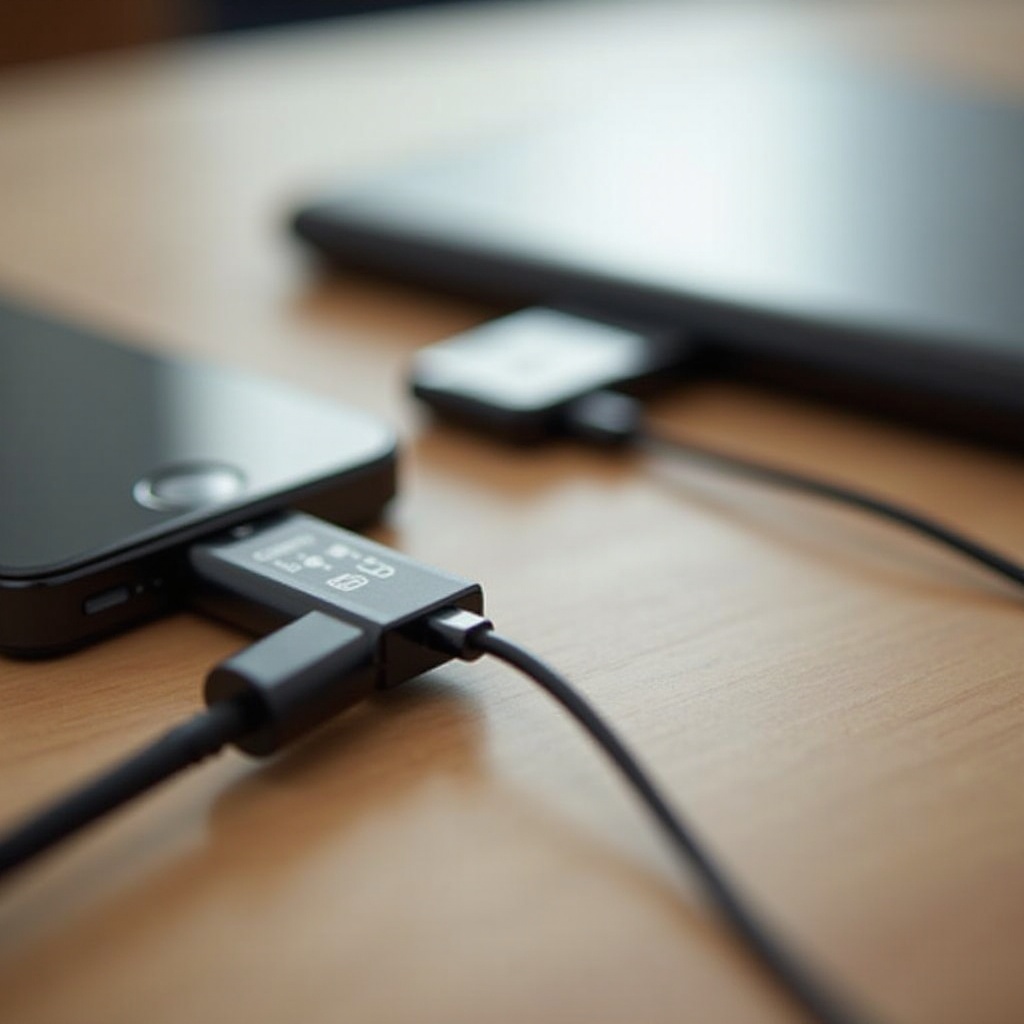
Your phone’s port determines the adapter you need and whether the connection can power and read a flash drive. Most modern Android phones use USB‑C and support USB On‑The‑Go (OTG). Some older Android models use micro‑USB and require an OTG adapter to host a USB device. iPhones now ship with USB‑C; earlier models use Lightning and need Apple’s Lightning to USB 3 Camera Adapter for USB‑A flash drives and some SSDs.
Confirm OTG support before buying gear. Check the manufacturer’s specs, search your model on the support site, or use an OTG checker app. If your phone supports external storage, the Files app shows a location for a connected device, often listed as ‘USB drive’ or ‘External storage’. If OTG is missing or disabled, the drive will not mount and transfers will fail.
With your port and OTG status clear, the next step is choosing adapters, cables, and a compatible drive that fits your workflow.
What You Need: Adapters, Cables, and Compatible Flash Drives
The right accessories make the connection reliable. Match gear to your phone and the drive you plan to use.
Android adapters and cables
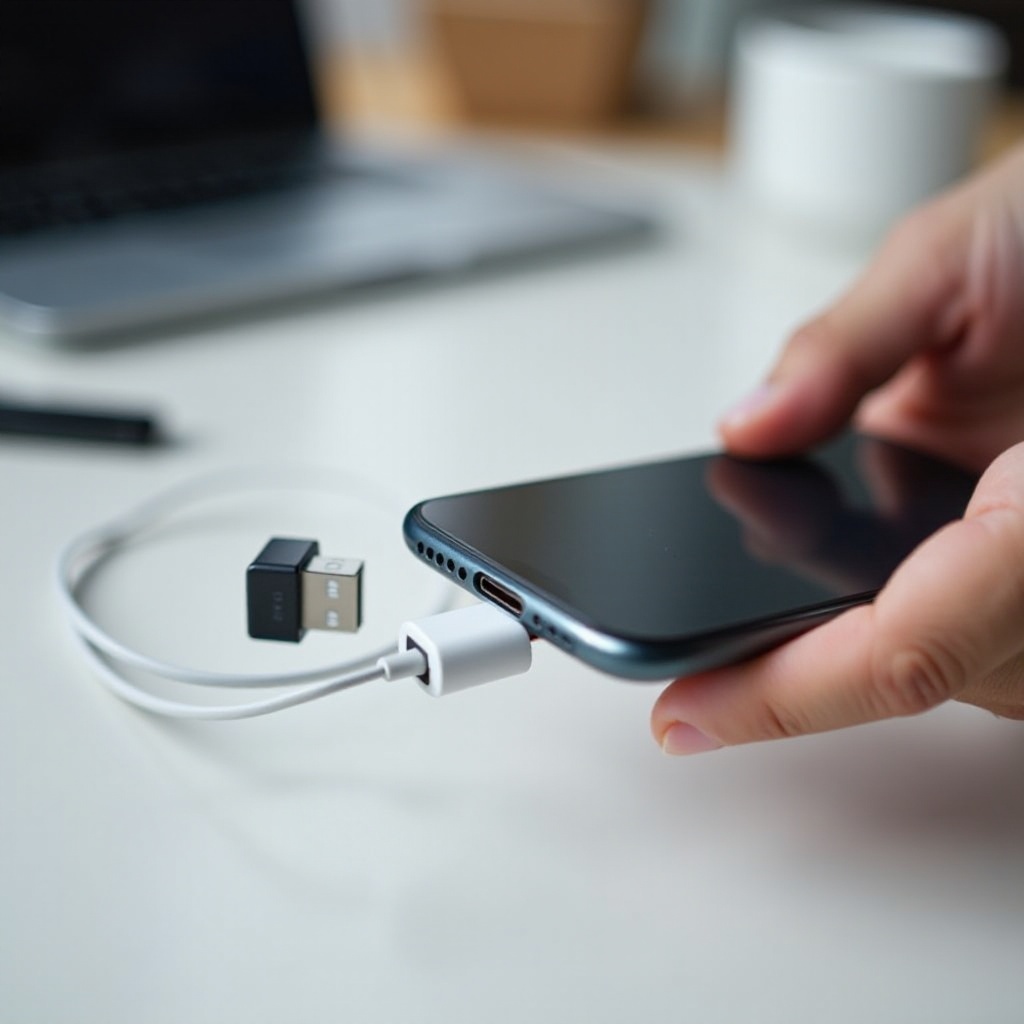
- USB‑C Android phones: plug in a USB‑C flash drive directly, or use a USB‑C OTG adapter to connect a USB‑A drive.
- Micro‑USB Android phones: use a micro‑USB OTG adapter to host the drive.
- Choose data‑capable cables, not charge‑only. Look for USB‑IF certified gear.
iPhone adapters and cables
- USB‑C iPhone: connect a USB‑C flash drive, or use a USB‑C to USB‑A adapter for standard sticks.
- Lightning iPhone: use Apple’s Lightning to USB 3 Camera Adapter; it adds a Lightning pass‑through port for power when needed.
- Prefer short, sturdy cables to reduce strain and improve detection.
Drive types and capacity
- Dual‑interface drives (USB‑C + USB‑A) reduce adapters and work across phones and laptops.
- Compact SSDs deliver higher speeds but draw more power and may need a powered hub.
- Match capacity to use: 64–256 GB suits travel and quick transfers; 512 GB or 1 TB fits large video projects. Keep a small USB‑C extension if your phone case blocks ports.
With hardware lined up, ensure your drive is formatted to a file system your phone can mount without errors.
File System Compatibility on Mobile: exFAT, FAT32, NTFS
Your phone mounts a drive only if the file system is supported. The format also affects speed, reliability, and file size limits.
exFAT for cross‑platform use
exFAT is the best choice when you need to share large files between devices. It handles single files over 4 GB and works on modern Android and iPhone in the Files app. Use a single partition and the default allocation unit size for consistent performance.
FAT32 for legacy support
FAT32 is older and widely compatible but limits single files to 4 GB. That cap breaks long videos and high‑bitrate footage. If you only store small documents and photos, FAT32 can work, but you may hit its limits fast.
NTFS caveats
NTFS offers features on Windows, yet many phones mount it read‑only or not at all. If your drive appears but refuses to write, reformat to exFAT. Avoid APFS or HFS+ for external sharing; iPhone does not write to them for portable use.
If your drive fails to appear, reformat to exFAT on a computer, back up data first, and create a single partition using MBR or GPT. Correct formatting prevents many connection headaches entirely. With the drive ready, follow the platform‑specific steps next.
Step‑by‑Step: Connect Flash Drive to Phone (Android)
Android supports external storage through OTG. Use these steps to set up and transfer safely.
1) Check OTG support. Confirm in specs or test with an OTG checker app.
2) Pick the right connector. Use a USB‑C flash drive, a USB‑C OTG adapter with a USB‑A drive, or a micro‑USB OTG adapter on older phones.
3) Prepare the drive. Format to exFAT for large files and cross‑platform use.
4) Plug in. Connect the drive and watch for a USB notification.
5) Open Files or your phone’s file manager. Tap Browse and find the drive under ‘USB drive’ or ‘External storage’.
6) Copy or move files. Use the menu to copy, move, or share. Keep the phone awake during large transfers and connect to power if possible.
7) Safely eject. In Files, tap the eject icon, or use the USB notification, then unplug.
8) Troubleshoot if needed. If the drive does not appear, try a different cable, adapter, or drive, and check formatting.
Once you master the Android flow, you can repeat a similar process on iPhone. The next section explains adapters and power for USB‑C and Lightning models.
Step‑by‑Step: Connect Flash Drive to Phone (iPhone: USB‑C and Lightning)
iPhone can use external drives through the Files app. Follow these steps for a smooth setup.
1) Identify your port. USB‑C iPhone connects directly to USB‑C drives or via a USB‑C to USB‑A adapter. Lightning models need Apple’s Lightning to USB 3 Camera Adapter.
2) Prepare the drive. Format to exFAT for large files and cross‑platform use.
3) Add power if needed. Some Lightning setups fail without extra power. Use the adapter’s Lightning pass‑through with a charger or battery pack.
4) Plug in. Connect the flash drive, wait a few seconds, and open Files.
5) Find the drive. In Files, tap Browse > Locations and select your device name.
6) Copy or move files. Use Select and the move or copy controls. Keep iPhone awake during large transfers.
7) Safely eject. Close open files, navigate back, then unplug. If the drive has an activity LED, wait until it stops blinking.
8) Fix detection issues. Try a different cable or adapter, add power, and reformat to exFAT on a computer.
With your platform connected, focus on safe file handling to prevent corruption and keep transfers on track.
Move, Copy, and Manage Files Safely on Your Phone
Once your drive appears, manage files with care. Clear organization prevents confusion and reduces errors.
- Copy when you want to keep data in both places; move when you need to free phone storage.
- For big batches, transfer in smaller chunks to lower the risk of failures.
- Keep the screen awake and the phone plugged in for long transfers.
- Verify copies by opening a few files on the drive before you eject.
If you edit videos or documents from the drive, use open‑in‑place when supported to avoid duplicates. For media libraries, create folders like Photos, Videos, and Documents, then sort by date or project. When you finish, close any open files and eject properly. Good habits protect data, but power can still affect stability, so address power needs next.
Power Considerations: When You Need a Powered Hub or Adapter
Power matters. Many small USB flash drives run from the phone’s port, but some high‑speed sticks and SSDs draw more current than a phone can supply. Symptoms include the drive disconnecting mid‑transfer, clicking, or never mounting.
Signs of low power
- Random disconnects and transfer failures
- Activity LED flickers or goes dark under load
- Drive mounts read‑only or fails to appear
Solutions on Android
- Use a powered USB‑C hub to provide stable power and extra ports.
- Connect a reliable charger to the hub before you attach the phone and drive.
- Avoid cheap Y‑cables that risk shorts and data loss.
Solutions on iPhone
- On Lightning models, use Apple’s Lightning to USB 3 Camera Adapter and power its pass‑through port first.
- On USB‑C models, you can use a small powered hub if the drive draws too much current.
- Keep iPhone charged and close unused apps that may tax the USB subsystem.
Stable power reduces errors and speeds up transfers. If problems persist, move transfers to a desktop or use a low‑power dual‑interface flash drive. If detection still fails, follow the troubleshooting section next.
Troubleshooting: Phone Won’t Detect the Drive or Mounts Read‑Only
When a phone fails to detect a drive, work through the simplest checks first. Most issues come from accessories and formatting, not the phone itself.
Hardware checks
- Test with another cable, adapter, and drive; faulty accessories cause most problems.
- Reseat the connector and try a different port orientation.
- Reboot the phone to reset USB services.
Format and partition fixes
- Use exFAT with a single partition; avoid hidden volumes.
- Remove extra partitions created by cloning tools and create a clean partition table (MBR or GPT).
- Format on a computer and safely eject before reconnecting to the phone.
Software updates and app tests
- Update your OS to the latest release and install security patches.
- Try a reputable file manager if the stock app does not show the drive.
- Test the drive on a PC; if it fails there, replace it.
With detection issues out of the way, secure your data and protect your phone from unwanted software and leaks.
Security and Privacy: Encryption, Malware, and Safe Eject
A flash drive makes sharing easy, but it also brings security risks. Treat every external drive like a computer you do not fully control.
Protect sensitive data
- Encrypt files before copying or use an app that creates an encrypted vault on the drive.
- Use strong device passcodes and biometric locks to protect Files app content.
- Keep enterprise drives with BitLocker or hardware encryption on supported platforms only.
Avoid malware and risky apps
- Scan drives on a PC if you suspect malware.
- Do not run unknown Android APKs copied from a drive.
- Use reputable apps, not file explorers with ads and trackers.
Safe eject to prevent corruption
- Close open files and stop transfers before unplugging.
- Use the Files app eject control or the USB notification.
- Wait for activity LEDs to stop blinking.
With security covered, apply these practices in real‑world scenarios to make portable storage part of your daily workflow.
Practical Use Cases and Workflows (Travel, Media, Office)
Put your setup to work with these workflows. Organize by project, date, or device to streamline tasks and reduce confusion.
Travel backups
- After a day of shooting, copy camera files through your phone to the flash drive as a second backup.
- Use folders by date and camera to keep batches tidy.
- Verify a sample of files before you eject and pack up.
Media libraries
- Load movies, music, and podcasts onto the drive for flights or commutes.
- Use a media app that supports external storage and open‑in‑place playback.
- Keep subtitles and cover art files with the media to avoid missing metadata.
Office and school transfers
- Carry presentations, PDFs, and spreadsheets; edit on your phone and save back to the drive.
- Make a ‘Transfer’ folder to stage files before moving them into final directories.
- Share the drive at meetings or plug it into a laptop to sync changes.
Create folders by date or project, keep consistent naming, and archive completed work to prevent clutter. These habits reduce friction and help you use portable storage wisely. To wrap up, reinforce the key steps that keep your workflow smooth and your data safe.
Conclusion
You can connect a flash drive to your phone with confidence when you match the port, confirm OTG, and choose the right adapter. Format the drive to exFAT, follow the Android or iPhone steps, and keep power stable for smooth transfers. Manage files with clear folders, verify copies, and always eject safely to protect your data. If something fails, troubleshoot cables, formatting, and power, then test on another device. With this workflow in place, you will move media, back up trips, and share documents quickly. Now plug in, find your drive, and start transferring on your terms with less hassle.
Frequently Asked Questions
Why doesn’t my phone detect my flash drive?
Start with simple checks. Swap the cable, adapter, and drive because accessories fail often. Confirm your phone supports USB OTG; without OTG, nothing mounts. Reboot to reset USB. Format the drive to exFAT with a single partition. Add power on Lightning iPhones or for SSDs. Open the Files app and look for a connected device. If it still fails, update your OS and test the drive on a computer.
Which file system should I use to connect a flash drive to my phone?
Use exFAT for the best mix of compatibility and large file support. It handles files over 4 GB and works on modern Android and iPhone in the Files app. FAT32 mounts widely but limits single files to 4 GB. NTFS often mounts read‑only or fails. Create one partition and use default allocation when you format.
Can I use a powered USB hub to connect a flash drive to my phone?
Yes. A powered USB‑C hub can stabilize power on Android and support drives that draw more current. Plug the hub into a reliable charger, then connect phone and drive. Avoid cheap Y‑cables. On Lightning iPhones, use Apple’s Lightning to USB 3 Camera Adapter and power its pass‑through port first, then plug in the drive to prevent disconnects and errors.