Introduction
Exploring the capabilities of the iPhone 14, its advanced camera features include an Auto Enhance function designed to elevate your photos with minimal effort. However, for users who prefer to have complete creative control, turning off this feature may be desirable to tailor images to their personal taste. This comprehensive guide will show you how to disable Auto Enhance, delve into its functionality, and provide manual editing tips.
Understanding Auto Enhance on iPhone 14
Auto Enhance is a clever feature integrated into the iPhone 14 that automatically adjusts image settings like brightness, contrast, and saturation to enhance photos. It benefits casual photographers by streamlining improvements, but it may not align with everyone’s creative vision.
Definition and Functionality
Auto Enhance swiftly evaluates images, applying enhancements to colors and lighting without user intervention. It caters to those seeking quick image polish and consistent quality.
Benefits of Auto Enhance
- Effortlessly improves photo appearance
- Saves time in post-processing
- Automatically balances light and color
Common Situations for Auto Enhance Use
Auto Enhance shines in busy settings where speedy photo adjustments are necessary, such as during events or spontaneous outings.
Transitioning from understanding to action, let’s examine the process of disabling Auto Enhance and the alternative of manual editing.
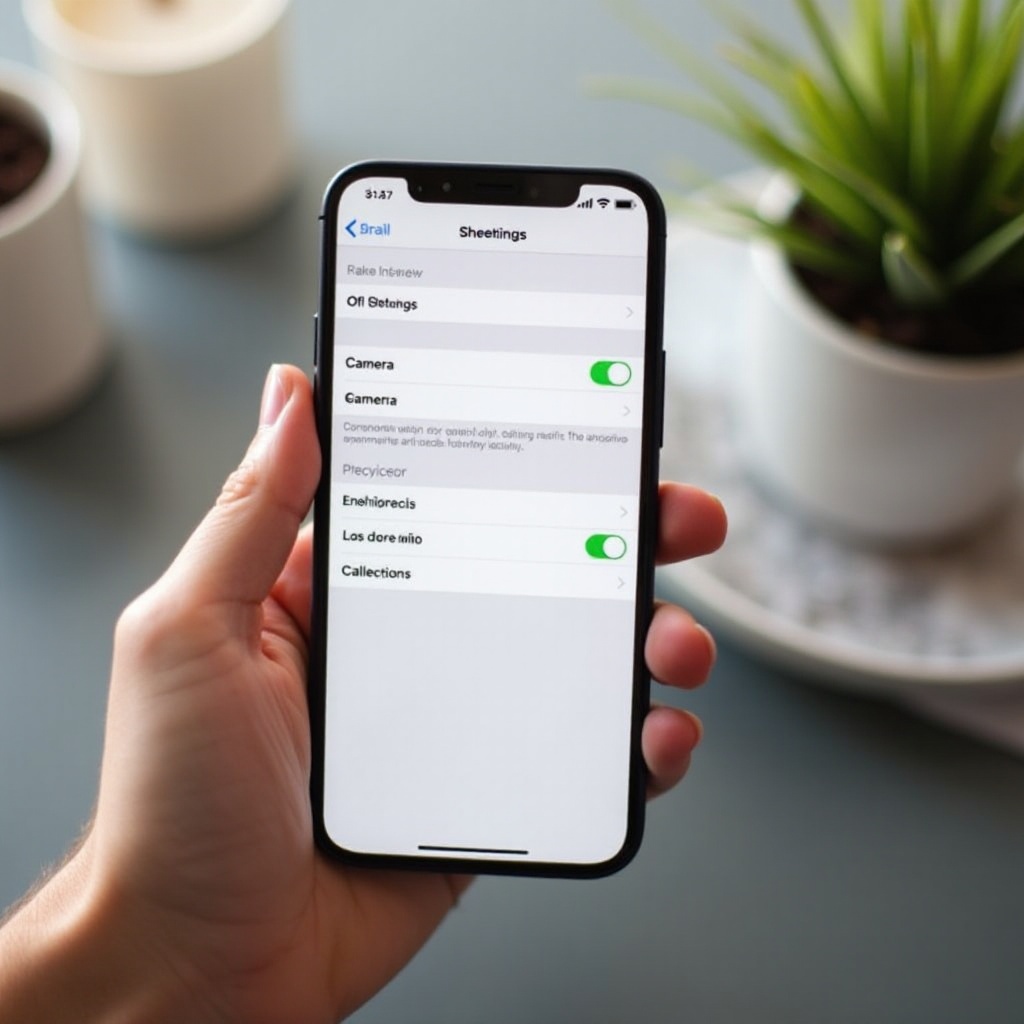
Step-by-Step Guide: Turning Off Auto Enhance
Disabling Auto Enhance on your iPhone 14 allows for personalized photo management. Follow these instructions to adjust your phone’s settings:
- Open the ‘Settings’ app on your iPhone 14.
- Scroll down and select ‘Camera’.
- Tap on ‘Formats’ and ensure compatibility settings are optimized.
- Return to the Camera’s main settings.
- Locate ‘Auto Enhance’ within the options.
- Toggle the switch to deactivate Auto Enhance.
Taking control of photo editing means a more hands-on approach, but it also opens doors to creativity and refining your skills.
Manual Photo Enhancement Tips
With Auto Enhance turned off, mastering manual editing can take your photography game to new heights. Here are some tips to guide you:
Utilizing Built-In Editing Tools
- Open the ‘Photos’ app and find your desired image.
- Tap ‘Edit’ in the corner of the interface.
- Experiment with adjustment sliders to alter brightness, contrast, and color to your taste.
Adjusting Brightness, Contrast, and Sharpness
- Tweak ‘Brightness’ to handle overexposure and shadows.
- Increase ‘Contrast’ to define edges and details.
- Adjust ‘Sharpness’ for more refined textures and details.
Recommended Apps for Advanced Editing
- ‘Adobe Lightroom’: For detailed control over photo elements.
- ‘VSCO’: Known for creative filters and polished edits.
- ‘Snapseed’: Offers comprehensive editing options, including selective adjustments.
By diving into manual editing, you unlock the ability to inject personal flair and precision beyond what Auto Enhance provides.
Pros and Cons of Disabling Auto Enhance
The choice between retaining Auto Enhance and opting for manual edits depends on your photography goals. Here are some considerations:
Pros: Greater Control and Customization
- Personalize photo edits according to your vision.
- Heighten your understanding of photo elements and techniques.
- Hone your photography skills by experimentation.
Cons: Increased Editing Time
- Demands a learning curve and practice.
- Extends the time dedicated to each image.
Comparing Auto Enhance with Manual Edits
While Auto Enhance speeds up the process, manual interventions cater to unique artistry, offering both challenges and rewards.
Considering these factors can inform whether disabling Auto Enhance aligns with your photography needs. Nevertheless, there are still moments when Auto Enhance holds its value.

When to Consider Keeping Auto Enhance Enabled
Despite the advantages of manual editing, certain situations may benefit from keeping Auto Enhance active:
Casual Photography Situations
During family gatherings or effortless social outings, immediate enhancements deliver share-ready results quickly.
Time-Sensitive Scenarios
In dynamic environments, like sports events or performances, fast edits prevent missing out on capturing the moment.
Automatic Adjustments Enjoyed by Users
Some users appreciate minimal contact with settings and value Auto Enhance’s reliable automatic adjustments.
Mastering when to enable or disable this feature enriches your approach and adapts to varying photographic contexts.
Conclusion
Opting to disable Auto Enhance on your iPhone 14 grants greater freedom in personalizing your photo portfolio. By following the steps and insights outlined here, you will gain mastery over both automatic adjustments and manual photo enhancement techniques, allowing your creativity to soar. Balance convenience with individual expression to preserve the best moments according to your artistic taste.
Frequently Asked Questions
Can I re-enable Auto Enhance after turning it off?
Yes, you can visit the Camera settings to toggle Auto Enhance back on whenever you wish.
Does disabling Auto Enhance affect video quality?
No, disabling Auto Enhance only impacts photo editing features, not video settings.
Are there third-party apps that offer similar features to Auto Enhance?
Certainly. Apps like ‘Snapseed’ and ‘VSCO’ provide advanced features that replicate Auto Enhance functionalities with added control.