Introduction
Setting up an eSIM when transitioning from an Android device to an iPhone can be straightforward. With technology continuously moving forward, eSIMs provide unmatched flexibility and convenience by eliminating the need for physical SIM cards. Whether you’re upgrading or switching to an iOS environment, knowing how to navigate this process is crucial. This guide will walk you through each step to ensure a seamless eSIM activation on your new iPhone.

Understanding eSIM Technology
eSIM stands for embedded SIM, a programmable SIM card incorporated directly into a device. Unlike traditional SIM cards, eSIMs do not require physical swapping; instead, you can download a SIM profile over the air. This technology offers flexibility, allowing users to switch carriers without needing a new SIM card, and it simplifies international travel as you can easily change networks.
The mounting popularity of eSIMs is due to their ease of use and convenience. Transitioning from an Android device to an iPhone with an eSIM is manageable once you grasp the fundamentals. As more mobile carriers support eSIMs, it’s becoming the standard for modern smartphones.
Preparing Your Devices for eSIM Transfer
Prior to transferring your eSIM, make sure both your Android device and your new iPhone are prepared adequately.
- Check Compatibility of Android and iPhone: Not all Android devices support eSIMs. Verify that your current device does. Similarly, ensure your iPhone supports eSIM functionalities. iPhone models from the iPhone XS, XR, and later offer eSIM support.
- Ensure Both Devices are Unlocked: If either of your devices is locked to a specific carrier, you’ll need to unlock it. Contact your mobile carrier for assistance if you’re unsure of your phone’s status.
By preparing your devices, you ensure a smoother transition to your new iPhone.
Steps to Transfer eSIM from Android to iPhone
With your devices ready, follow these steps to transfer your eSIM:
- Deactivate eSIM on Android Device: Access your Android’s settings, navigate to ‘Network & Internet,’ and then ‘Mobile Network.’ Locate your eSIM profile and select ‘Remove’ or ‘Deactivate’ to free up the profile for activation on your iPhone.
- Obtain eSIM Activation Code from Carrier: Request an eSIM activation code (often a QR code) from your mobile carrier. This code is necessary to set up your eSIM on the new iPhone. Carriers usually provide this via email or through their app.
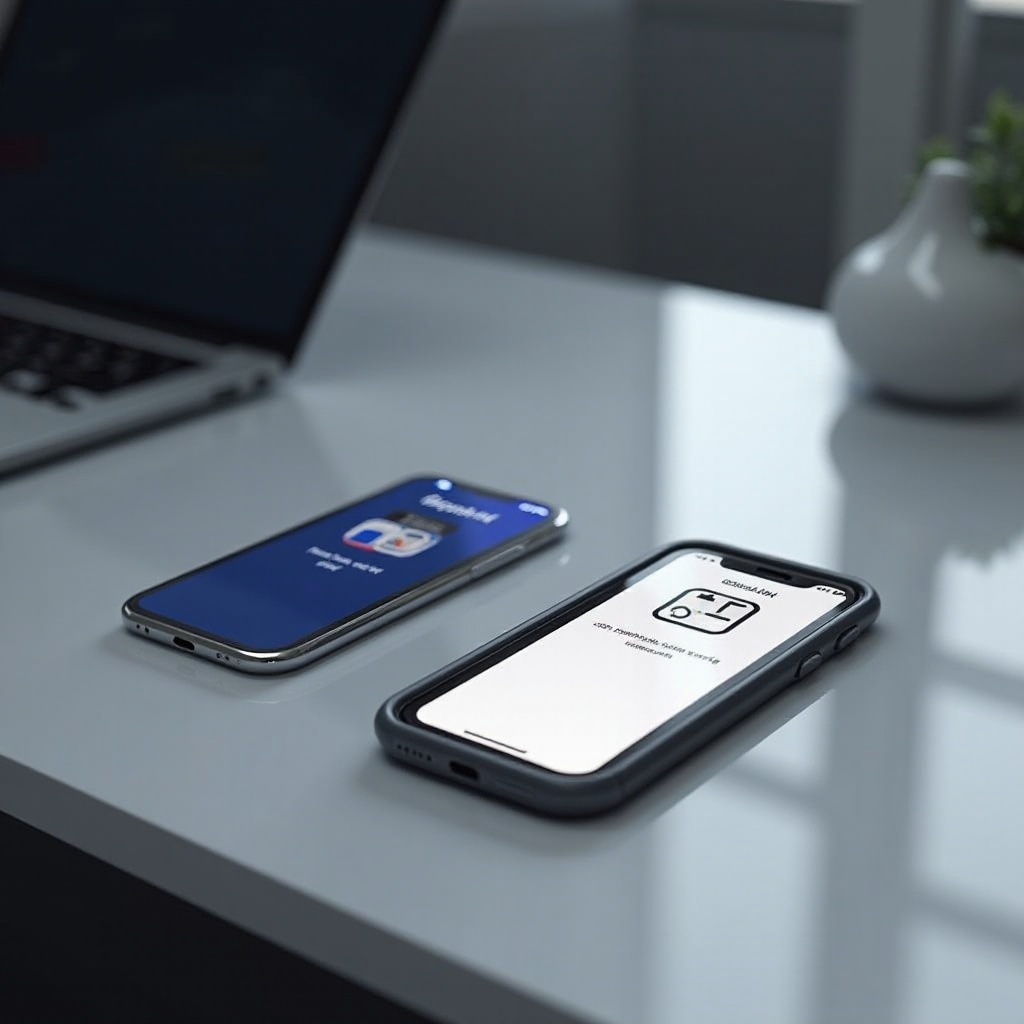
- Activate eSIM on iPhone:
- Open the Settings app on your iPhone.
- Go to ‘Cellular’ or ‘Mobile Data.
- Tap ‘Add Cellular Plan.
- Use your iPhone’s camera to scan the QR code provided by your carrier.
- Follow the on-screen instructions to finalize the activation.
Each step is crucial for a successful eSIM setup on your iPhone. After setup, your iPhone should display the network at the top of the screen.
Troubleshooting Common Issues
Even with careful preparation, issues may arise. Here are some common problems and their solutions:
- Activation Failures: If your iPhone doesn’t activate, ensure your device is connected to Wi-Fi, and try scanning the QR code again. If problems persist, contact your carrier for further assistance.
- Network Connectivity Issues: If you experience connectivity issues after activation, restart your iPhone. Ensure your network settings are correctly configured under Settings > Cellular > Network Selection. If required, reset network settings through Settings > General > Reset.
Effective troubleshooting often resolves most eSIM-related issues, allowing your device to function optimally.
Benefits of Using eSIM
Embracing eSIM technology opens doors to numerous benefits:
- Flexibility in Carrier Choice: Easily switch between carriers without the need for a physical SIM swap.
- Streamlined International Travel: Swap out plans for local carriers easily, avoiding hefty roaming charges.
- Enhanced Device Design: Without the need for a SIM card slot, manufacturers can create more efficiently designed smartphones, increasing durability and waterproofing.
Understanding these benefits highlights why eSIMs are increasingly preferred by tech-savvy individuals globally.

Conclusion
Successfully setting up an eSIM when moving from an Android to an iPhone offers numerous conveniences. By following the outlined steps, you can enjoy the seamless functionality that eSIM technology provides. As the mobile industry shifts toward integration of this advanced technology, equipping yourself with this knowledge helps streamline your mobile experience.
Frequently Asked Questions
What should I do if my eSIM activation code doesn’t work?
Ensure your device is connected to a stable Wi-Fi network. Retry scanning the QR code, or manually enter the activation details provided by your carrier. Contact your carrier for additional support if the issue persists.
Can I use my eSIM for international roaming?
Yes, eSIMs are excellent for international roaming. You can easily switch to a local carrier’s plan without needing a physical SIM card, which helps avoid high roaming fees.
How can I reset my eSIM on the iPhone?
To reset your eSIM, go to Settings > Cellular > Tap on the eSIM plan you want to remove > Remove Cellular Plan. You can then add a new eSIM by following the activation process.