Installing a Blink doorbell can significantly enhance your home’s security by providing real-time alerts and high-definition video feeds. This comprehensive guide aims to simplify the Blink doorbell installation process, ensuring even first-time users can complete the setup with ease. Whether you’re upgrading or installing a new system, these instructions will guide you through each step meticulously.
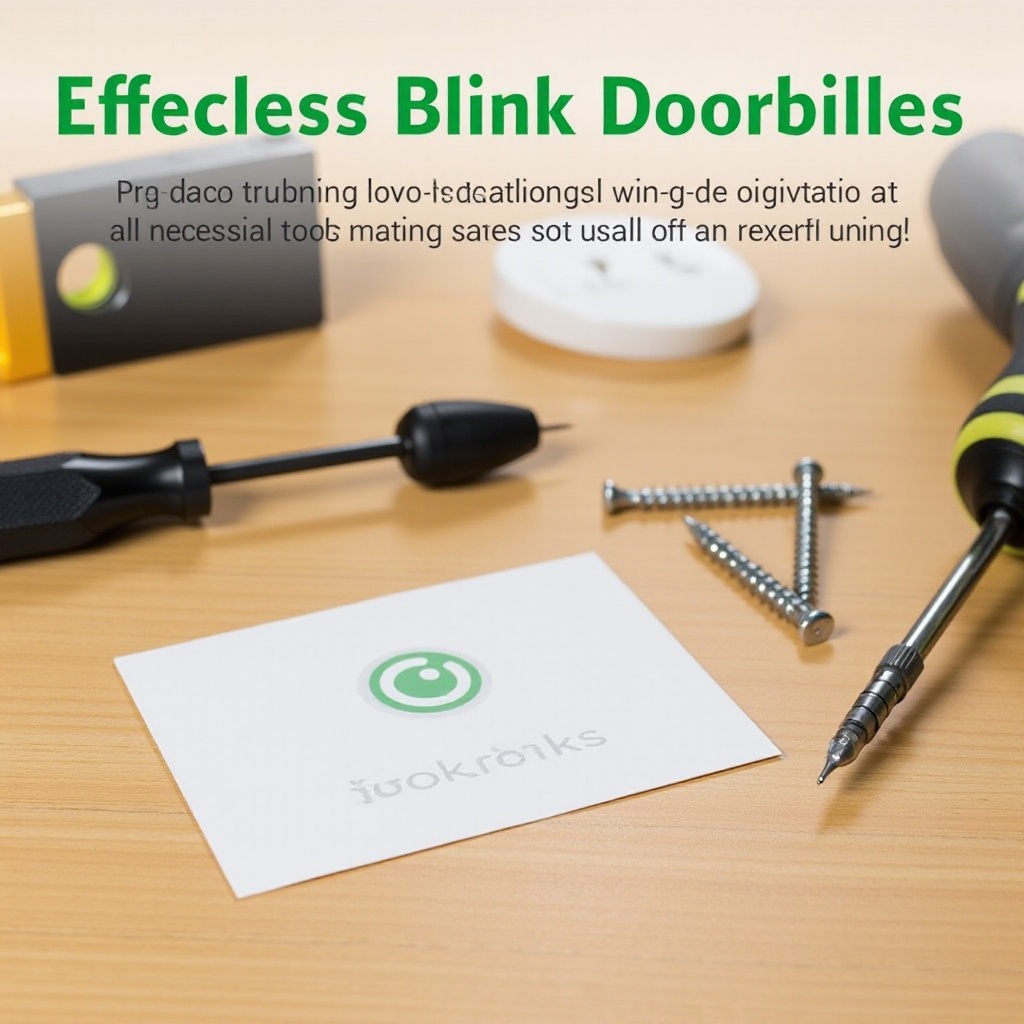
Before beginning the installation process, gather all necessary tools and materials to streamline the setup.
Here’s what you’ll need:
- Screwdriver: Essential for securing the doorbell to its mounting bracket.
- Drill: Required for installing the mount if external wiring is used.
- Level: Ensures the doorbell is installed evenly.
- Smartphone: Necessary for app download and configuration.
Clear your work area of any clutter and ensure the location for installation is accessible. A tidy workspace helps keep tools organized and prevents unnecessary delays later. With your tools in hand and area prepared, let’s dive into the installation process.
Now that you have everything ready, let’s proceed with installing your Blink doorbell. Begin by unboxing the package and identifying all components, including the doorbell unit, mounting bracket, screws, and instruction manual. Next, choose the perfect location for your doorbell. High-traffic areas near your front entrance work best, but ensure the chosen spot is within Wi-Fi range for uninterrupted connectivity.
For the wiring and mounting phase, if you opt for a battery-powered installation, simply secure the bracket to the wall with screws and make sure it’s level. For homes equipped with existing doorbell wiring, connect these wires to the Blink doorbell, adhering to the positive and negative markings. With your Blink doorbell physically set up, downloading and setting up the Blink app is your next step. Use your smartphone to access the App Store or Google Play, download the Blink app, and follow the prompts to create an account and connect your device.
On the Blink app, select ‘Add Device’ and follow the pairing instructions, ensuring your phone is close to the doorbell during this process for a smooth connection. A successful installation leads to a final confirmation screen on the app, indicating your Blink doorbell is live and recording.
With the doorbell installed, it’s time to verify its functionality and optimize performance. Conduct a functionality test by pressing the doorbell button, checking if alerts are received and if the video feed appears on your app. If the video lags or disconnects frequently, consider repositioning your router or using a Wi-Fi extender to boost signal strength in areas with poor connectivity. Having a robust signal ensures seamless notifications and video streaming quality.
Though Blink doorbells are designed for user convenience, occasional issues may arise.
Here are common problems and their solutions:
- Connectivity Problems: Verify your Wi-Fi password is correct. If issues persist, reset the router or doorbell.
- Power Supply Issues: For wired setups, inspect connections. If the bell doesn’t ring, check for loose wires.
Addressing these challenges quickly ensures your Blink doorbell remains an effective security tool.
In conclusion, installing your Blink doorbell doesn’t have to be daunting. With thorough preparation and this guide, you can achieve a successful setup in a short time. Enjoy significant enhancements in your home’s security with real-time alerts and HD monitoring from your Blink doorbell.
Frequently Asked Questions
How do I reset my Blink doorbell if it doesn’t connect?
To reset, press and hold the reset button for 10 seconds until the LED light flashes. Reconnect using the Blink app.
Can I install the Blink doorbell without existing doorbell wiring?
Yes, Blink doorbells can be installed wirelessly using battery power. Ensure you secure the mounting bracket using screws.
What should I do if my Blink doorbell is offline frequently?
Improve connectivity by repositioning your router closer to the doorbell or using a Wi-Fi extender to enhance signal coverage.