Introduction
Adding the screen recording feature to your iPhone menu can enhance your ability to capture and share what’s happening on your device. Whether you’re creating tutorials, capturing gameplay, or recording video calls, this feature is incredibly useful. This guide provides clear steps to add the screen record feature to your iPhone menu in 2024, helping you maximize your device’s potential.

Preparing Your iPhone for Screen Recording
Before using screen recording, ensure your device is compatible. Keeping your iOS updated is crucial for accessing the latest functions and enhancements.
Ensuring Device Compatibility
- Check iOS Version: Confirm your iPhone runs iOS 11 or later by going to Settings > General > About.
- Update Your System: If needed, go to Settings > General > Software Update to install any available updates.
These steps ensure your device is ready for adding new features like screen recording efficiently.
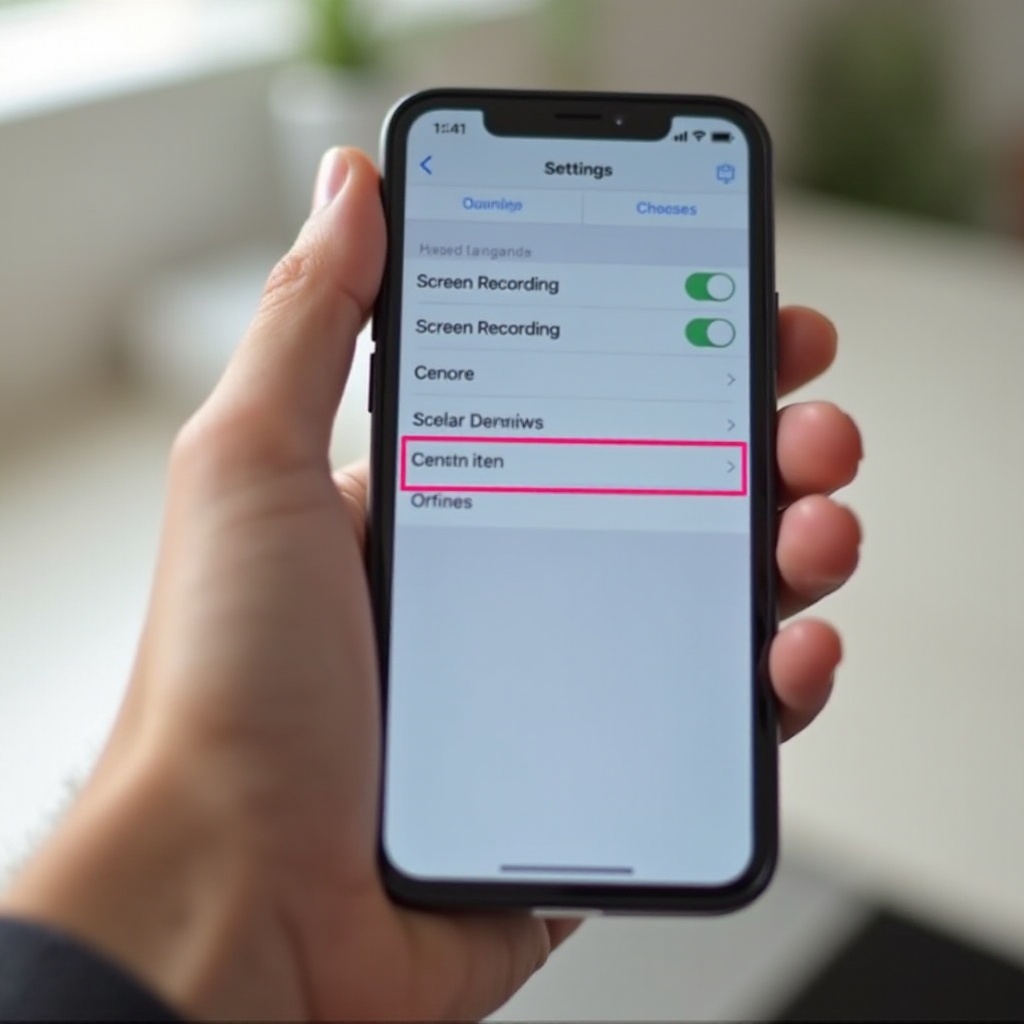
Accessing Control Center Settings
Now, let’s tailor your Control Center for easy access to screen recording. Follow these steps:
– Open Settings on your iPhone.
– Scroll to and select ‘Control Center’.
– Tap ‘Customize Controls’.
Setting up your Control Center allows quick access to device features, streamlining your everyday interactions.
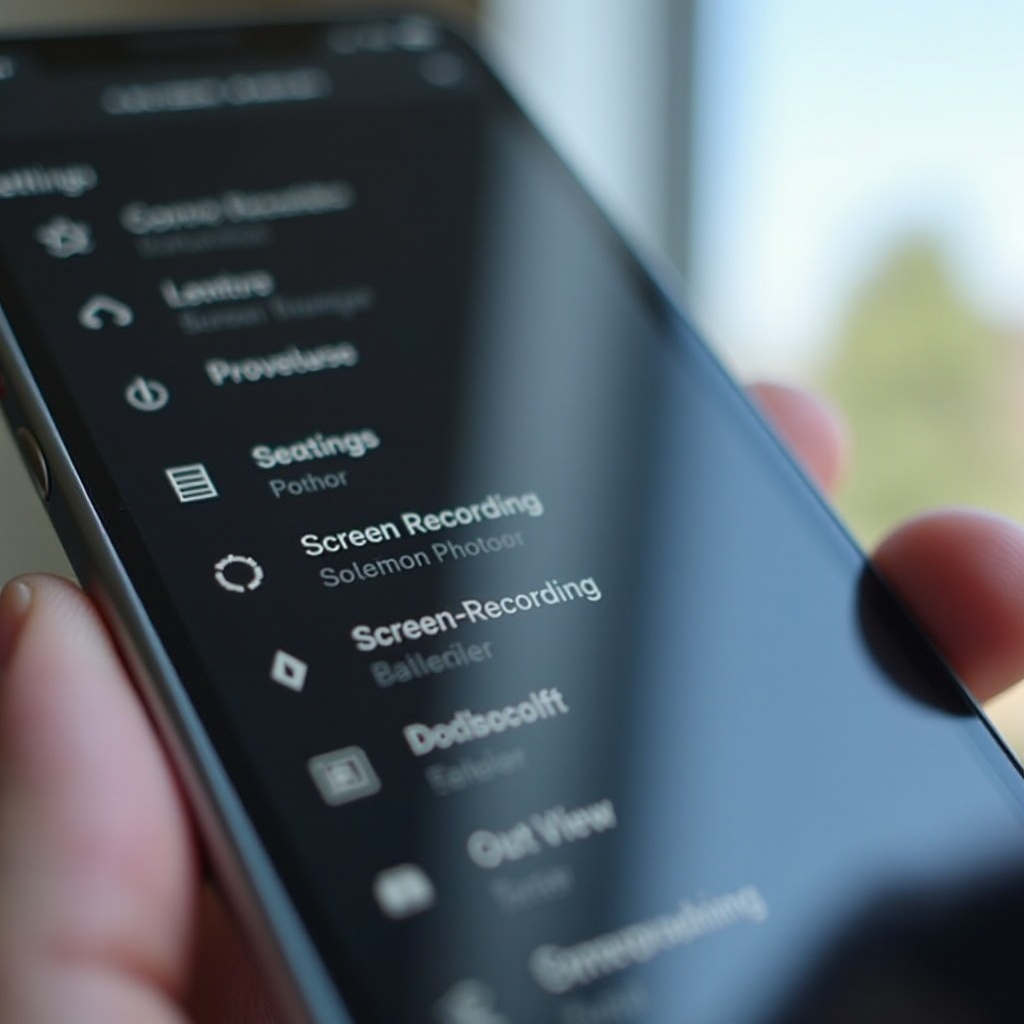
Adding Screen Recording to the Control Center
With your Control Center set up, you can now add screen recording, ensuring efficient access whenever needed.
Customizing Your Control Center
- Add Screen Recording: Under ‘More Controls’, tap the green ‘Add’ next to ‘Screen Recording’.
- Reorder Tools: Arrange tools by dragging icons for a personalized layout.
Customizing these elements makes your iPhone’s features more accessible and efficient for daily use.
Verifying Setup
- Swipe from the top-right on newer iPhones or from the bottom on older models to access the Control Center.
- Ensure the Screen Recording icon is present.
Verification ensures that everything is correctly set up, ready for recording whenever you desire.
Using the Screen Recording Feature
With setup complete, learn to use screen recording to capture and preserve important moments.
Starting a Screen Recording Session
- Initiate Recording: Access the Control Center and tap the Screen Recording icon.
- Countdown: A three-second countdown allows you to prepare.
- Sound Options: Tap and hold the icon to enable microphone audio if needed.
These simple actions start your screen recording, with options for including audio to enhance the captured content.
Managing and Stopping Recordings
- To stop, tap the red bar at the top and select ‘Stop’.
- Your recording is automatically saved to the Photos app.
Knowing how to manage recordings ensures all captured material is securely stored for easy access and sharing later.
Advanced Screen Recording Tips
To make the most out of your screen recording feature, consider these advanced tips and uses.
Enhancing Recording Quality
- Lighting and Stability: Ensure good lighting and steady your phone for clear footage.
- External Microphones: Use external microphones if you need superior audio quality.
Optimizing these factors will improve your final recording output, making it suitable for professional use.
Creative Uses for Screen Recordings
Consider various applications for screen recordings:
– Tutorials and Demos: Perfect for creating instructional videos and demonstrations.
– Capturing Gameplay: Record game highlights and share unique gaming experiences.
– Sharing: Easily share content via iCloud or social media platforms.
These creative possibilities introduce various ways to use screen recording effectively, both in personal and professional scenarios.
Troubleshooting Common Issues
Despite its simplicity, you might face issues when using screen recording. Here’s how to address common problems:
– Missing Icon: Double-check in Settings and make sure ‘Screen Recording’ is added.
– No Sound: Ensure your microphone is enabled in the recording setup.
These tips help resolve issues, preventing frustration and ensuring a smooth recording experience.
Conclusion
Adding screen recording to your iPhone’s Control Center enriches your device’s functionality. By following these steps, you gain quick access to a feature designed for enhancing your digital life. Start using screen recording today and explore its varied applications, making everyday tasks and creative projects more engaging.
Frequently Asked Questions
How can I add a screen recording on older iPhone models?
Ensure your iPhone is updated to at least iOS 11. Follow the steps outlined in this guide to access and customize the Control Center.
Why doesn’t my screen recording have sound?
Check if you have enabled the microphone during recording by pressing the Screen Recording icon, then selecting ‘Microphone Audio’.
How do I share my screen recordings with others?
Once saved in the Photos app, you can share them via social media, email, or cloud storage platforms like iCloud or Google Drive.